


 EN
 ไทย


Customers Also Purchased



Belt Sanders is one of the woodworking tools that provides high sanding power. It removes wood quickly and helps smooth out rough, wavy, or old-finish wood surfaces in a short time. However, a very common problem encountered is that after sanding for a while, the wood develops burn marks or dark brown stains on the surface, ruining the workpiece.
The question is: why do belt sanders burn wood even without direct fire or flames, and how can we prevent this problem from recurring or happening frequently?
"Wood burning" from using a belt sander is caused by the accumulation of heat generated between the sandpaper and the wood surface. As the sandpaper spins at high speeds and rubs continuously against the wood, heat builds up. If it cannot dissipate in time or if too much pressure is applied in one spot for too long, the wood surface can discolor, darken, and produce a burning smell, affecting subsequent staining, finishing, and overall woodworking quality.
Are Belt Sanders More "Aggressive" Than You Think?
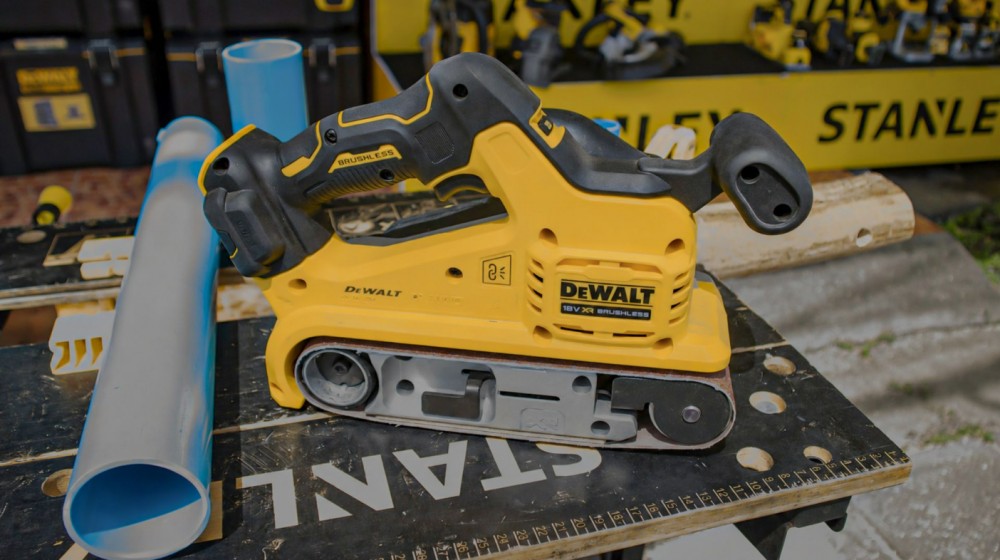
5 Things to Know Before Buying a Belt Sander to Get the Best Value A belt sander doesn't work like a typical orbital sander. This type of sander uses sandpaper in the form of a continuous belt looped around rollers. The sandpaper moves continuously in one direction at relatively high speed.
Belt sanders already have their own weight and sanding force. If you apply too much downward pressure, the friction between the sandpaper and the wood increases drastically, heat builds up, and wood dust will clog the sandpaper much faster. Once the abrasive surface starts to clog, instead of sanding effectively, it simply rubs the wood surface with even more heat until burn marks appear.
Why does a belt sander burn wood?
The most common cause is pressing down on the belt sander harder than necessary, especially when seeing that the surface isn't smooth yet or when trying to quickly erase old marks.
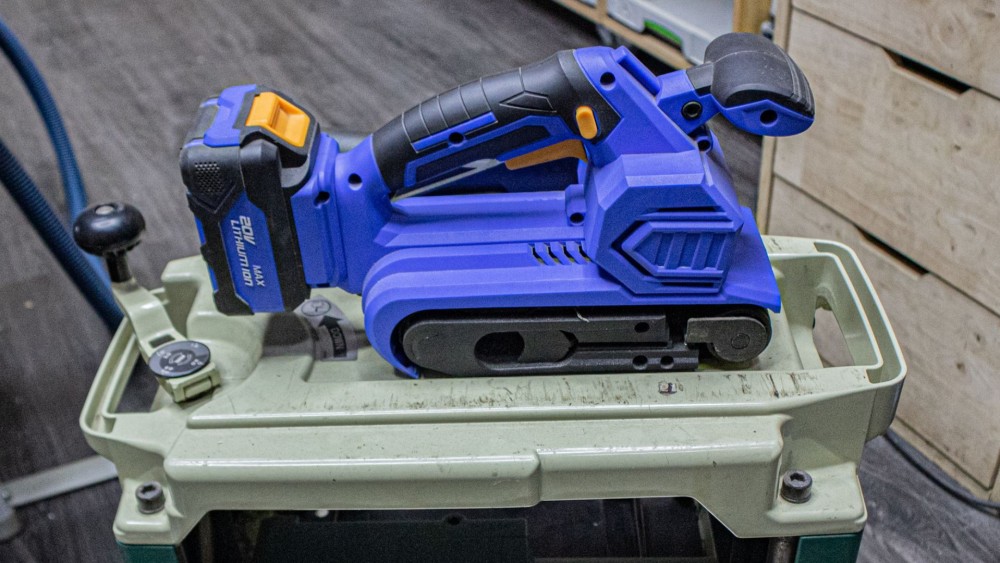
Many people want to finish the job quickly, so they use arm strength to push the tool down hard onto the wood surface. However, pressing harder doesn't always lead to good results because the sandpaper is forced to create more friction against the wood, causing heat buildup to spike. On softwoods, rubberwood, pine, or resinous woods, the chances of burn marks occurring are even higher.
- Let the weight of the machine do most of the work.
- Your job is simply to control the direction and guide the tool steadily.
- There's no need to apply much extra pressure.
- If it feels like it's barely removing material, check the grit size, the condition of the sandpaper, or the sanding direction first.
- Do not solve the problem by immediately pushing down harder, as this can cause burn marks, surface waviness, and uneven material removal.
Sanding in the same spot for too long
Another very common cause of burnt wood is lingering in one spot for too long. A belt sander has a relatively long contact area and runs at high speed. Pausing in place for just a few seconds can instantly build up heat on that section of wood, especially when first placing the tool down, changing directions, or trying to sand away a specific spot.
The key principle is to keep the machine moving smoothly at all times without staying in one place for too long. If there are deep marks or specific spots you want to eliminate, gently blend and feather out the surrounding area. Achieving a smooth, beautiful wood finish isn't about removing material as fast as possible; it's about controlling the tool so wood is removed evenly across the entire surface.
Using the wrong sandpaper grit
The choice of sandpaper grit affects both sanding speed and the likelihood of burning the wood. If you start with sandpaper that is too fine on wood that is still rough, has tool marks, or has old paint, the sandpaper won't be able to bite into the wood effectively, easily causing heat to build up.
Conversely, using sandpaper that is too coarse for finishing work can leave deep scratches that require multiple passes to fix, increasing the chance of overheating the wood from repeated sanding. The right approach is to choose the sandpaper grit based on the surface condition. How much wood does the coarsest grit sandpaper remove? Reasons to be careful
Old, clogged, or dull sandpaper
Sandpaper that has been used for a long time will lose its sharpness, and the abrasive grains can no longer cut the wood fibers effectively. When the sandpaper surface becomes dull or clogged with wood dust, resin, or old paint residue, the tool stops cutting the wood and starts merely rubbing against it with increased friction. Heat rises as a result, which is why many users notice that even though the machine is spinning normally, the wood burns more easily.
Why Do Sanding Belts Clog Even When They Aren't Dull Yet? How to Tell Before Throwing Them Away Signs indicating it's time to change the sandpaper include: the belt sander removes less material, more force is required, dark or sticky residues appear on the sandpaper surface, a burning smell develops quickly, or sanding leaves a glazed sheen instead of fresh scratch marks.
The speed is too high for certain types of wood
Some belt sander models feature variable speed control, which is a very useful function, especially when working with various types of wood, as different wood species respond differently to heat.
If the tool has adjustable speed settings, it is best to start at a medium speed when you are unsure how the wood will react, then increase or decrease it based on the actual results seen on the workpiece.
Wood with accumulated sap, oil, or moisture
Some wood species contain natural oils, sap, or moisture within the grain. When exposed to the heat of sanding, these can melt and adhere to the sandpaper surface, causing the abrasive to clog quickly and generating even more heat in a vicious cycle.
If you need to sand wood with sap or moisture, ensure the wood is properly dry before working, choose a grit that is not too fine for the initial stage, and periodically clean the sandpaper surface during use. If you notice the sandpaper clogging very quickly, stop and check immediately. Do not force the sanding, as applying extra pressure will only generate extreme heat and increase the risk of burning a larger area of the wood.
How can you detect burn marks from sanding wood?
Burn marks from a belt sander often start with a slight discoloration of the wood, appearing as dark yellow, dark brown, or black streaks along the sanding path. Sometimes there is a faint burning odor like scorched wood, and when running a hand over the surface, certain spots may feel slick, glossy, or harder than the surrounding area.
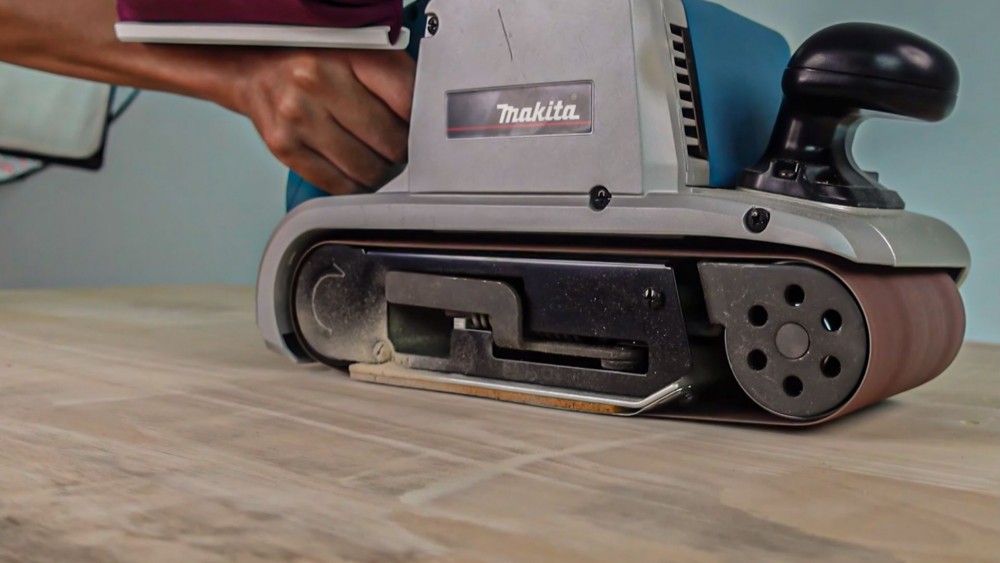
These marks might look like mere surface stains, but in reality, the discoloration can penetrate into the upper layers of the wood, making it harder to sand out than expected—especially if heavy pressure was applied and the tool was held in the same spot for a prolonged period.
A major issue is that burn marks do not just look unsightly; they also affect finishing. Areas that are burnt or overheated to the point of altering the wood's surface may absorb wood stains, oils, or lacquer unevenly compared to the rest, resulting in blotchy, dark, or dull patches that are difficult to fix after finishing.
Therefore, if you begin to see dark marks or smell burning while sanding, stop immediately to inspect the workpiece. Do not continue sanding, as it can deepen the marks and make them much harder to correct.
How to prevent a belt sander from "burning wood"
The most fundamental rule when using a belt sander is not to press down too hard. Allow the weight of the tool itself to provide natural downforce onto the wood surface, and use your hands merely to guide its movement steadily.
- Belt sanders and safety considerations you shouldn't overlook
Applying extra downward pressure should be done with great caution and only when strictly necessary. As pressure increases, heat builds up, and the wood surface will be cut unevenly. Therefore, if you need more material removal, choose the right sandpaper grit for the job rather than trying to solve it with brute force.
- Keep the tool moving constantly and overlap passes evenly Maintain a smooth and steady stroke rhythm, overlapping each pass slightly to achieve an even surface across the entire board. Do not focus solely on spots that seem uneven; if you need to fix a localized flaw, blend the surrounding area gradually rather than dwelling on a single spot until heat builds up in the wood.
- Choose the right sandpaper grit for each stage Do not rush through the grits. If the surface is still very rough, start with a grit that removes stock appropriately, then progressively work your way up to finer grits in sequence. Do not use an unnecessarily coarse grit for finishing passes, as it will leave deep scratches that require more time to sand out.
- Replace sandpaper when it begins to clog or dull While sanding, if you feel that the belt sander is removing less wood material, there are black residue marks on the sandpaper surface, or a burning smell starts sooner than usual, you should stop to check and change the sanding belt so that sanding remains an efficient cutting of the wood surface.
- Use a dust collection system or clean away dust between sanding passes Dust will clog the sandpaper surface, preventing the abrasive grains from working at full capacity and turning into repetitive rubbing of the wood surface instead of clean, efficient sanding.
If your belt sander has a dust bag or a vacuum port, use it properly, and stop periodically to brush dust off the wood surface, because dust management helps reduce burn marks, provides a clearer view of the actual work surface, and makes working safer.

Conclusion: Wood burning can be caused by how a belt sander is used
The reason a belt sander causes wood to burn is due to heat accumulation between the sanding belt and the wood surface, which involves several factors simultaneously, including:
- Applying too much pressure on the tool
- Staying in the same spot for too long
- Using the wrong sandpaper grit
- A clogged or dull sanding belt
- Excessive speed
- Types of wood with higher than normal resin, oil, or moisture content
Prevention must therefore start with understanding the nature of both the tool and the material, not just switching on the tool and sanding away continuously. If you want to use a belt sander to achieve a smooth, beautiful finish and reduce the chance of burn marks, let the tool's weight do the work, keep the machine moving steadily, change the sanding belt as soon as it begins to clog, use a dust extraction system, and test on scrap wood before starting the actual workpiece, especially when sanding high-value wood or pieces with exposed finished surfaces.
When used correctly, Belt Sanders it will be a tool that makes woodworking faster, smoother, and easier to control for quality—without compromising the beauty of the piece with burn marks.