EN
 ไทย


Customers Also Purchased
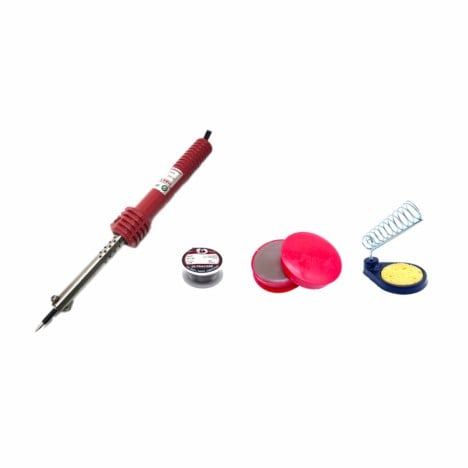
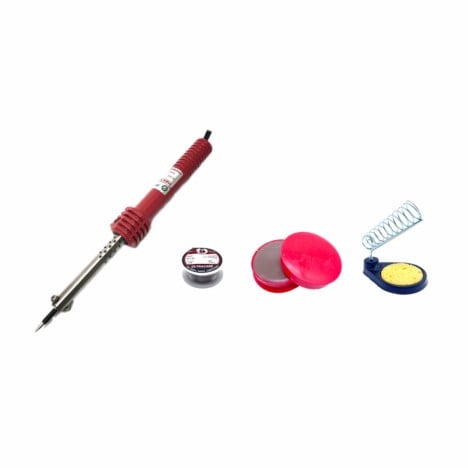
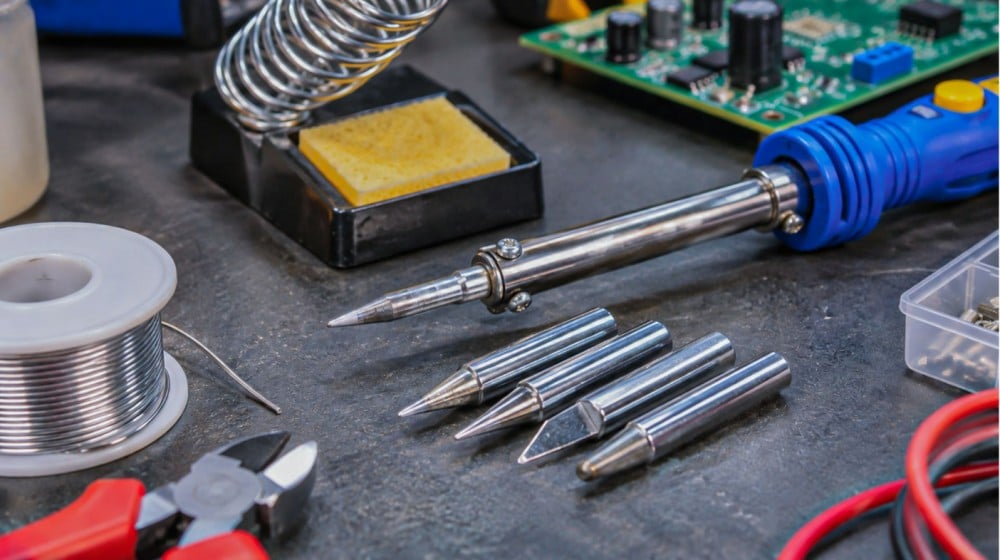
Working on an audio circuit board at the workbench: needing to desolder large capacitor leads and then solder a row of tiny IC pins using Soldering iron the same soldering iron that came with a pointed tip from purchase. On large solder joints, no matter how long you hold it, the solder won't flow; on small pins, it bridges adjacent leads, requiring repeated desoldering.
The immediate question that follows is: "Is the soldering iron not hot enough? Do I need a higher wattage one?" In reality, the problem might not be the soldering iron itself, but the shape and size of the tip used, because a tip that doesn't match the solder joint cannot transfer heat into the workpiece effectively, even if the soldering iron is hot enough.
Let's look at which soldering iron tip shapes are suited for which jobs, how to choose tip sizes, what kind of tip wear is still usable versus what needs replacement, and what not to do with tips to prevent premature failure.
Why Does the Soldering Iron Tip Shape Matter Even When Using the Same Tool?
Heat from the internal heating element of a soldering iron must travel through the tip core to the contact point. How much heat flows into the solder joint depends on how large the contact area is between the tip, component leads, and copper pad, and whether the tip has enough metal mass to store and transfer heat.
A fine-pointed tip touches the workpiece at only a single point and has little metal mass, so heat dissipates quickly when touching a large joint, causing the tip temperature to drop immediately. In contrast, a wide chisel tip makes full-surface contact and has more metal mass, transferring heat more continuously. Think of a garden hose nozzle: adjusted to a fine jet, it sprays accurately but with low volume; adjusted to a shower spray, it delivers high volume but less precision.
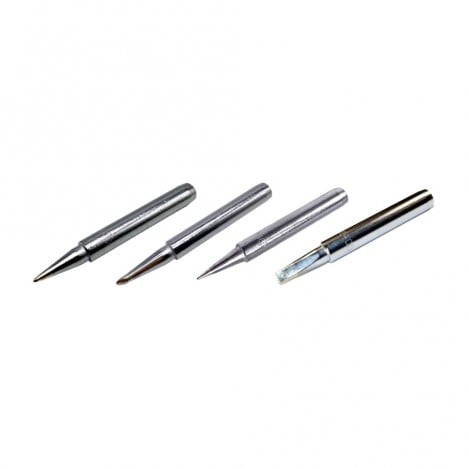
Conical tips: suitable for small joints, but too slow to transfer heat into large joints
A conical tip is a pencil-point tip that comes standard with many soldering iron models. It seems versatile for every job, but in reality, it is best suited for small, closely-spaced solder joints.
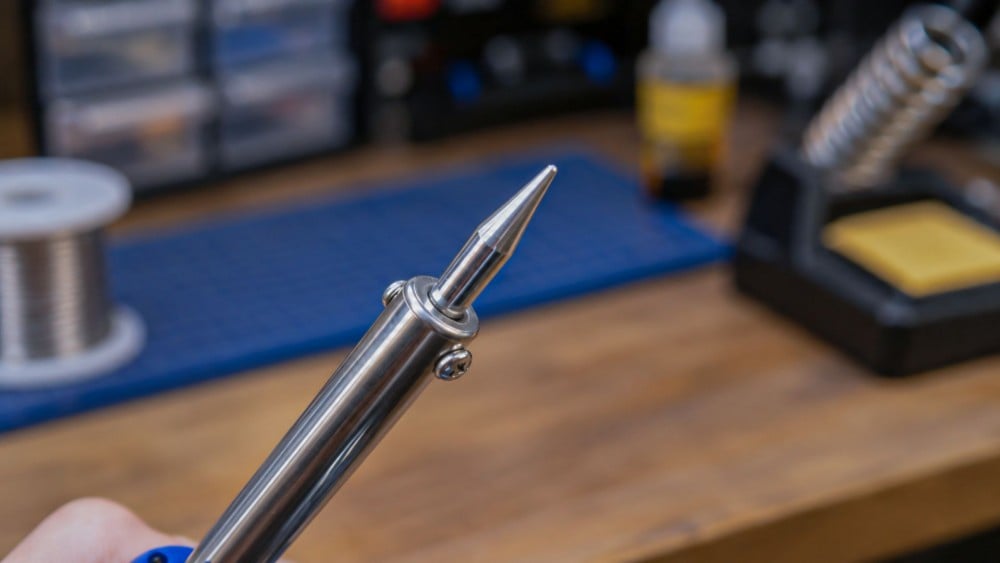
Where conical tips excel
Use them on small component leads, solder joints in tight spaces, or rework on a single point on crowded boards. The pointed tip reaches the spot without touching neighboring components.
Problems when used for the wrong job
When a conical tip is applied to thick leads, wide copper planes, or heavy-gauge wires, heat cannot transfer fast enough. You have to dwell on the joint for a long time, causing heat buildup that may lift the copper trace, or leaving solder cold and balled up without wetting. The solution is switching to a chisel tip for these jobs, not cranking up the temperature higher and higher.
Chisel tips are the most versatile shape for general work.
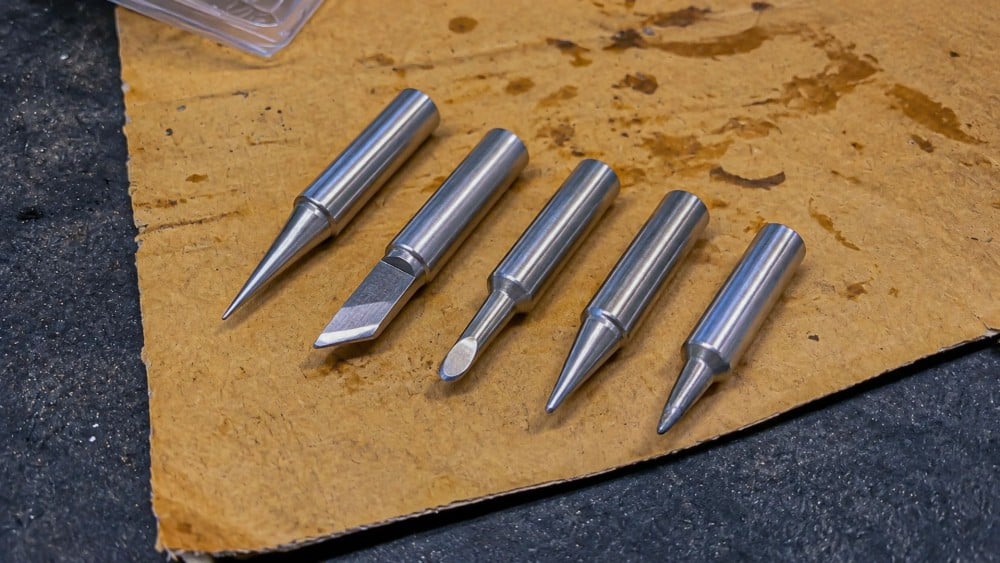
A chisel tip features two flat sides and a straight-cut end. The flat face can contact both the component lead and the copper pad simultaneously, allowing heat to transfer into both parts at the same time—which is essential for a good solder joint.
Choose the right chisel width
The general rule is to choose a chisel face width that is close to or slightly smaller than the copper pad of the joint. If it is too wide, it will touch adjacent joints; if it is too narrow, you will face the same issues as with a pointed tip. For general repair work, having two chisel tips for your soldering iron—one narrow and one wide—will cover almost all tasks.
Use the flat face, not the tip's corner
A common mistake is holding the soldering iron vertically and touching the workpiece with the sharp corner of the chisel, which yields results no different from a conical tip. The solution is to tilt the handle so the flat face sits flush against the lead and copper pad, then feed the solder from the opposite side of the joint rather than directly onto the tip.
Bevel tips are ideal for applying solder and drag soldering multiple pins.
A bevel tip has an angled face, resembling a pencil sharpened on only one side. This angled surface holds more solder than other tip shapes, making it suitable for tasks requiring a continuous solder supply—such as drag soldering rows of pins, tinning wires, or soldering medium-sized terminals.
Drag soldering multiple pins without bridging
When dragging the bevel face across a row of pins, apply flux first, then drag slowly with light pressure. The solder will adhere only to the pins and copper pads, while the excess clings to the tip. If any pins bridge together, clean the tip, apply more flux, and drag through the area again, or use desoldering braid (solder wick) to remove the excess.
Knife tips are used for fixing solder bridges and working on long copper pads.
A knife tip features a thin edge on one side and a flat face on the other. You can use the edge to touch narrow points and the flat face to drag across long copper traces or pads. Circuit board technicians use this shape to clear solder bridges and desolder multi-pin components that require heating several pins at once.
This shape is not necessary for those who only solder wires or do general repairs. If your work mostly does not involve boards with fine-pitch pins, chisel and bevel tips are sufficient—no need to buy one just to keep it in storage.
Match the soldering iron tip size to the solder joint
Using the right shape but the wrong size still causes problems. A tip that is too small for the joint will not heat up fast enough, while a tip that is too large can spread excessive heat to adjacent components and cause solder to bridge to other points.
Small joints on circuit boards
Use a smaller tip that fits the copper pad of that joint, and pair it with fine solder wire to easily control the amount of solder. Keep contact time as brief as possible while ensuring the solder completely fills the joint.
Wires, terminals, and large joints
Use a wide, flat tip with substantial thermal mass to quickly transfer heat into the wire or metal terminal, minimizing dwell time so the wire insulation doesn't melt. If you use a large tip and it still doesn't heat up fast enough, that job requires a soldering iron with higher thermal output. An important thing to know is The wattage of a soldering iron doesn't determine how hot it gets
Soldering iron tip symptoms: Which are still usable, which should be replaced?
Every soldering iron tip wears out with use. Knowing which symptoms can be fixed and which require replacement helps prevent wasting usable tips and avoids struggling with completely worn-out ones.
Tip is blackened and won't take solder, but the shape is still good
Most often, this is oxidation buildup from leaving the tip hot without a solder coating. It can usually be resolved by cleaning and re-tinning the tip. How often should you clean a soldering iron tip, and what is the proper method? If you've done that and solder still doesn't stick, you need to check further regarding: Why solder won't stick to the soldering iron: What is the real cause?
Tip is pitted, corroded, or deformed
If the tip has a pit in the center of the surface, chipped/corroded edges, or is shortened to the point of losing its shape, it means the protective plating has been breached. Solder will erode the internal copper core at an accelerating rate. Such tips cannot be repaired; replace them with a new tip.
Tip is loose, wobbly, or doesn't heat up as before
A tip that is loose in the handle will transfer heat poorly. Unplug the unit, wait for the soldering iron to cool down, then tighten or secure it according to the manual. If the threads or locking mechanism are damaged, or the tip has swelled and seized up, send it to a repair shop. Never use pliers to twist it while hot.
Plated soldering iron tips wear out faster the more you scrub them
Most modern tips feature a copper core plated with metals that better resist solder erosion. This plating layer is very thin. When abraded with sandpaper, files, or stiff wire brushes, the plating strips away, allowing the solder to pit the internal copper in no time.
The rule of thumb is to clean only with a damp sponge or brass wire wool, and use tip tinner/activator exclusively for severely oxidized tips. If buildup cannot be removed by these methods, it is time to replace the tip—not continue scrubbing. The cost of a new tip is always cheaper than the time spent troubleshooting boards damaged by poor heat transfer.
Can a soldering iron use a single tip for all tasks?
When almost all tasks are of the same type—such as standard wiring and terminals, or board repair with similarly sized component leads—a single medium chisel tip handles most jobs well.
When soldering iron tasks include both small joints on circuit boards and large joints like heavy wiring or metal terminals, or when desoldering closely spaced fine-pitch leads, forcing the use of a single tip requires cranking up the temperature or holding it in place too long, which causes copper pads to lift and rapidly degrades the tip.
If your soldering iron allows tip replacement, always select tips specifically specified for that model, as tips from different models may fit physically but will not deliver full heat transfer.
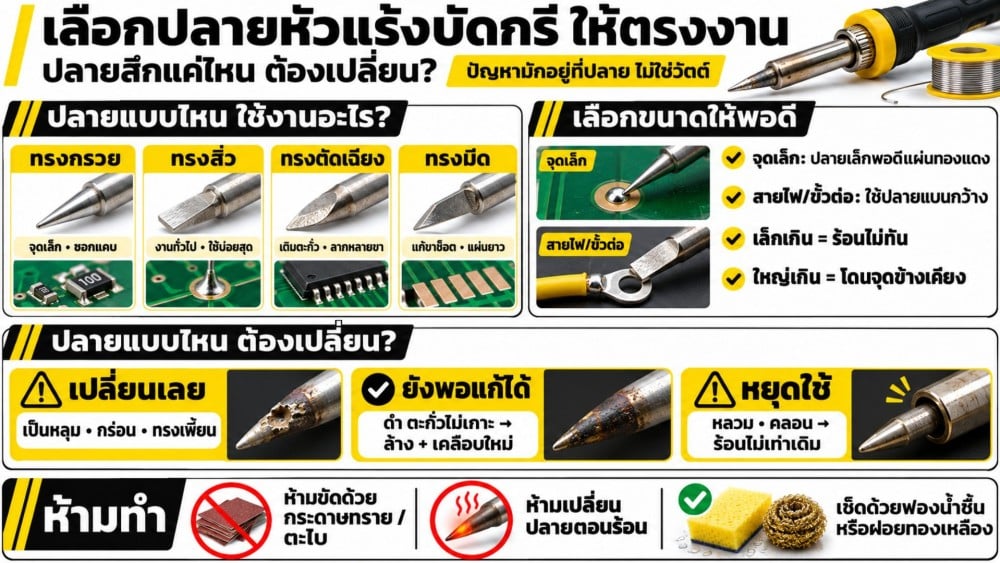
Summary: A soldering iron delivers good heat transfer if the tip makes proper contact, fits the joint size, and remains in good condition
A soldering iron that doesn't seem hot enough, won't adhere properly to large solder joints, or causes solder to bridge adjacent pins on small joints is often due to using the wrong tip shape, wrong size, or a worn-out tip. Whether it's repairing an audio board, connecting speaker wires, or soldering battery terminals in electrical equipment, choosing the right tip for the job makes soldering faster and reduces work errors.
What you should do is use a conical tip for small joints in tight spaces, use a chisel tip for general work by placing the flat face against the pin and copper pad, use a bevel tip when adding solder or drag soldering across multiple pins, choose a tip size that matches the joint, clean it with a damp sponge or brass wire cleaner, and tin the tip before storing.
Never file or sand plated tips, never change the tip while the soldering iron is still hot or plugged in, and if the tip is pitted, the power cord has burn marks, or the handle smells burnt, replace the tip or send it for repair without hesitation.
If you are looking for soldering irons or equipment suited to your work, browse the category Soldering iron at iToolmart now.