


 EN
 ไทย


Customers Also Purchased


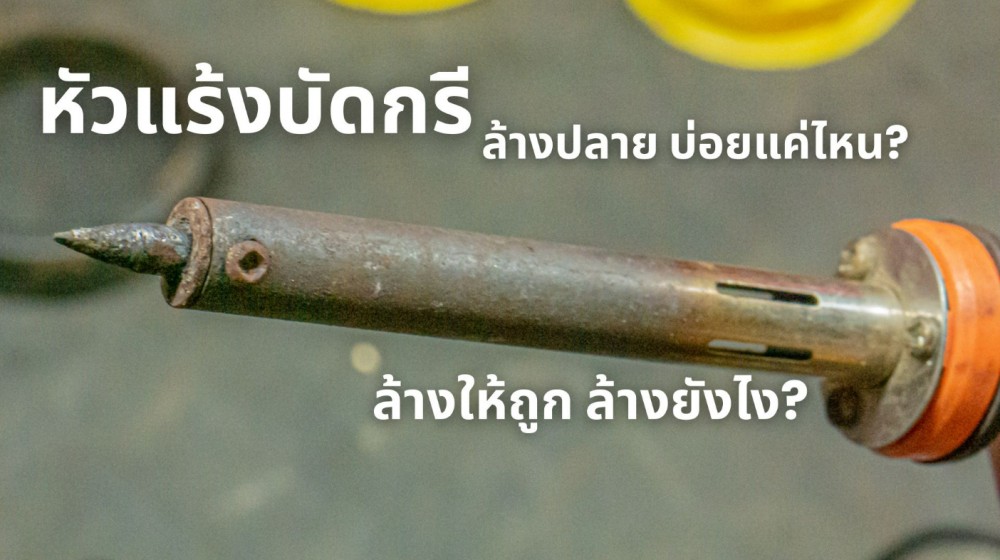
It is completely normal that when we use a Soldering iron soldering iron for a while, we start to see black residue, accumulated oxidation, or burnt flux stuck on the tip, causing the solder not to flow smoothly as before, even though the iron still heats up normally. Because of this, many people probably wonder: How often should we clean a soldering iron tip, and what are the correct cleaning methods?
Most importantly, the soldering iron tip is the point that transfers heat directly to the workpiece. If the tip is dirty or improperly maintained, your work will slow down, and the quality will drop as well. Therefore, in this article, we'll take a closer look at when to clean a soldering iron tip, how often is just right, what to clean it with, what methods are correct, and what things you should avoid doing.
Such small details directly affect the smoothness of your soldering work, solder joint quality, and the lifespan of the soldering tip itself. This is essential for anyone who wants their soldering iron to perform at peak efficiency, melt solder effectively, and avoid replacing tips more often than necessary.
Why Soldering Iron Tips Need Regular Cleaning
Many people think a soldering iron tip's only job is to get hot and touch solder to melt it. In reality, the tip works much more delicately than that, as it must transfer heat from the heating element to the workpiece while maintaining a surface ready to hold a thin layer of solder to help conduct heat to the solder joint. If the tip is clean and has a good surface condition, the work goes very quickly—bonding in just a few seconds. However, whenever burned flux residues, oxide buildup, or degraded old solder cling to the surface, the soldering iron tip will start transferring heat with noticeably reduced efficiency, which can also cause Soldering Iron Won't Stick! What Is the Real Cause? as well.
The problem is that these deposits don't just form during heavy use; they can happen anytime the tip is exposed to heat, air, and chemicals from flux. The higher the temperature is set above what is necessary, or the longer the iron is left idling hot without being used, the faster the tip surface oxidizes. The black residue thickens, solder stops adhering, and users instinctively start applying more pressure. As more force is applied, the tip wears out even faster and the solder joint risks damage—a vicious cycle many fall into without realizing it.
How Often Should You Really Clean a Soldering Iron Tip?
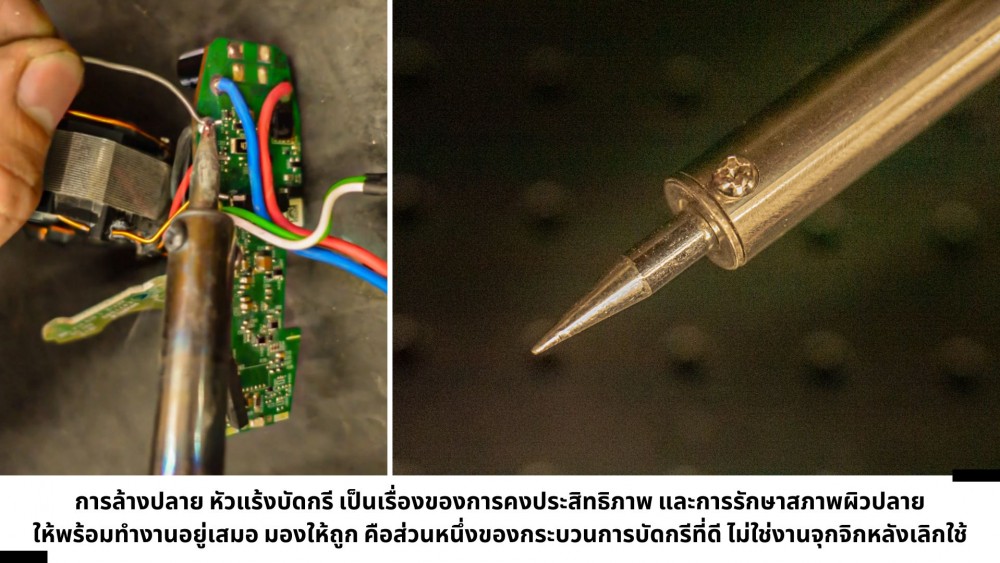
The most straightforward answer is You should clean the soldering iron tip "according to your workflow rhythm," rather than counting fixed minutes or a set number of times. Every job is different. Some jobs involve soldering only small points, but doing so rapidly and continuously might require wiping the tip more often than occasionally soldering large joints. At times, using a lot of flux or soldering old, dirty workpieces causes the soldering iron tip to get contaminated faster than usual.
A simple and practical rule of thumb is to clean or wipe the soldering iron tip whenever you see burnt residue beginning to form, solder failing to stick, solder flowing more slowly, or before starting a critical joint that requires ultra-clean results. In other words, you don't need to wipe it every second, but you shouldn't let the tip turn black and dull before dealing with it, because by then, it's usually one step too late.
For those who want a clear picture, here is a summary of the ideal cleaning intervals for practical work:
Clean before starting work
Before starting to solder every time, give the soldering iron tip an initial wipe clean and apply a thin coat of solder to tin the surface first. This point is just as important as 4 Points to Check Every Time Before Using a Soldering Iron for Safety because a freshly heated tip often carries some oxide residue from being idled previously. If you start working like that, the solder applied to the first joint won't flow as smoothly as it should.
Clean during work when performance begins to drop
This is the most common moment: during work, if you feel that solder is not sticking well to the soldering iron, the tip has dark residue, or the solder joints appear duller than usual, wipe it immediately. Don't wait for it to get worse. A quick wipe during work takes only a few seconds, but it preserves job quality far better than forcing your way through.
Clean before switching from one task to another
If you switch from a task that uses heavy flux to one requiring high cleanliness—such as moving from wiring to fine circuit boards—always wipe the soldering iron tip first. Otherwise, old residue will contaminate the new work and make it difficult to control joint cleanliness.
Clean before short breaks and before packing up
How to use a soldering iron without ruining it: do you need to take breaks during continuous work? Many people mistakenly believe that they don't need to do anything before taking a break and can just clean it when returning, but you should actually wipe the soldering iron tip and apply a thin coat of solder before pausing, especially if it will be left idle for several minutes.
This method effectively reduces oxidation. You should do the same before turning off the tool so the soldering iron tip has a protective layer of solder while it cools down.
Signs that it's time to clean your soldering iron tip
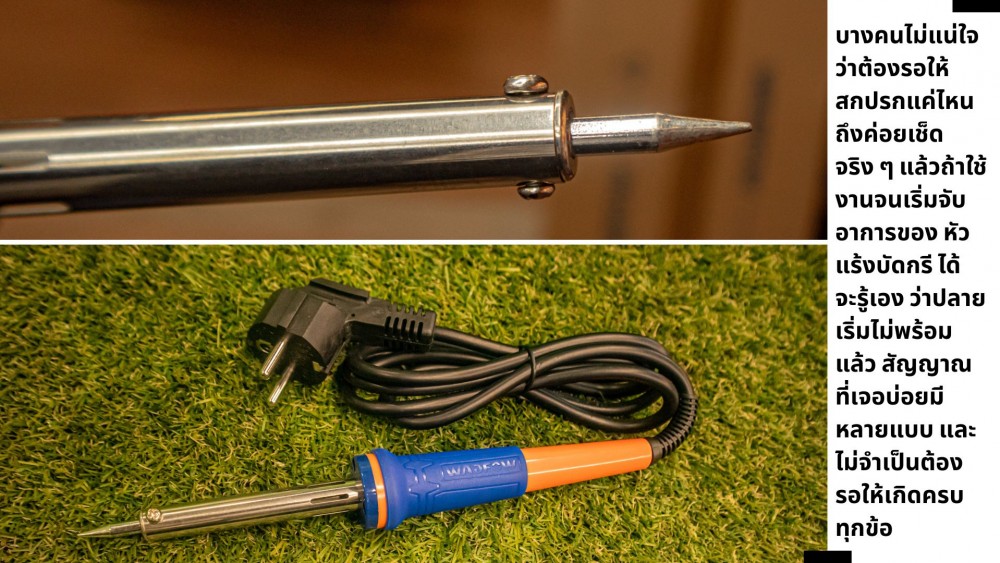
- Solder doesn't stick to the tip like before This means the surface of the soldering tip is starting to accumulate oxidation or dirt. A good soldering iron tip should take solder evenly, not in patches.
- Having to hold the tip longer than usual Previously, solder would flow within 1–2 seconds of contact, but now you have to hold it longer. This may be because the soldering tip is dirty, causing poor heat transfer.
- The tip has black residue or a dull surface A ready-to-use soldering tip looks shiny with a thin coating of solder. If it turns black, matte, or looks dry and dull, that is a clear sign it's time to clean and restore the tip.
- Poor solder joints despite using the same solder and temperature If you are using the same setup but the results change—joints look incomplete, dull, or solder doesn't flow easily—the simplest fix is cleaning it.
What is the proper way to clean a soldering iron tip?
Once you know when to clean it, the next question is: How do you clean it properly? Many people wipe too hard, use the wrong materials, or try to scrub until the tip surface is damaged. Proper cleaning of a soldering iron tip should be gentle enough to remove interfering residue without damaging the tip's protective plating.
1. Wipe away residue with appropriate tools
The most basic method is using a damp sponge or brass wire tip cleaner. Lightly touch or wipe across it to remove burnt flux residue and old solder. Do not scrub hard, as soldering iron tips do not require metal-polishing abrasiveness; harder scrubbing only accelerates the wear of the plating.
2. Immediately re-tin with fresh solder
After wiping, do not leave the soldering iron tip bare. Immediately apply a thin layer of fresh solder to the tip. This process is called tinning, which helps prepare the tip surface for use and adds another layer of protection against oxidation.
3. Test before working on actual jobs
After cleaning and tinning, try touching the tip to solder wire or a test workpiece. If the solder flows smoothly, adheres evenly to the tip, and transfers heat quickly, it means the soldering iron tip is ready for use. However, if it still does not adhere well, you may need to wipe it again or use a tip cleaner to revive a tip with heavier-than-usual oxide buildup.
Things you must never do if you don't want your soldering iron tip to wear out quickly
Some habits might seem to clean the tip quickly, but in reality, they directly damage the soldering iron tip and are the reason many people have to replace tips earlier than necessary.
- Never use sandpaper, files, or hard objects to scrape the tip Most soldering iron tips have a specialized metallic coating to help prolong their lifespan. Sanding with sandpaper or using a file can damage this plating layer. Once damaged, the tip will erode quickly, solder won't adhere, and it will deteriorate much faster.
- Never leave it hot for prolonged periods without solder coating Leaving a hot soldering iron sitting idle with a dry, uncoated tip allows oxidation to fully attack the surface, especially with soldering irons continuously set to high temperatures.
- Never use unnecessarily high heat at all times Excessive heat causes flux to burn quickly, creating residues and accelerating tip wear. It is better to use a temperature suited to the solder type and the size of the workpiece.
- Wiping unnecessarily often and wiping too hard Wiping too hard and too frequently without need can also accelerate soldering iron tip wear. The rule of thumb is to wipe only as necessary and do it gently.

Conclusion: Exactly how often should you clean a soldering iron tip?
Soldering iron tip Should be cleaned "as often as necessary, but not so much that it damages the tip surface." There is no need to set a rigid timer like every 5 minutes or every 10 solder joints. Instead, clean it immediately when you start seeing residue, feel the solder isn't sticking, or before critical joints requiring clean, high-quality finishes. And every time after cleaning, always re-tin the tip with a thin layer of solder.
Caring for a soldering iron lies in keeping the tip surface ready to transfer heat and accept solder at all times. By doing this, soldering tasks become noticeably easier, solder joints look cleaner, work takes less time, and your soldering iron tips will last much longer.
If you feel your soldering iron is starting to perform poorly, don't just blame the tool or immediately crank up the temperature. Check the soldering tip first. Sometimes what your work needs isn't extra heat, but simply cleaning the tip at the right time and in the right way.
Select Soldering iron With the right tool and proper cleaning, the work becomes easier right from the very first solder joint.