


 EN
 ไทย


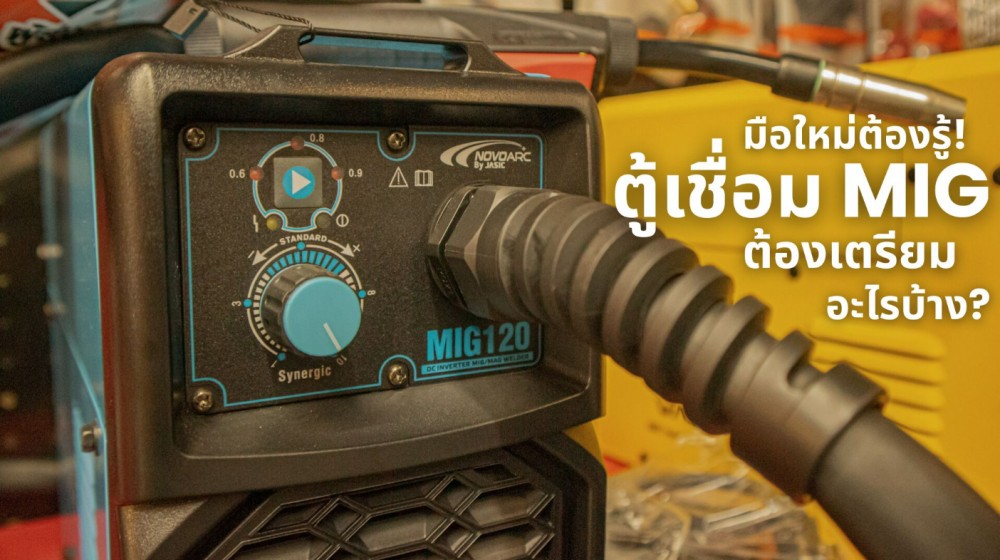
Anyone who has just bought or is thinking of buying MIG welder a new one probably knows that just having the machine isn't the whole story, right? Just like buying a drill doesn't mean you can instantly drill everything. More importantly, when you actually open the machine cover or pull out the cables, you might get confused right away: Which cable connects to what? How do the voltage and wire feed speed need to be balanced? Does a MIG welder require shielding gas for every job, or can this machine use flux-cored wire? What type of wire should you buy to suit thin steel / thick steel? What kind of helmet prevents eye strain and still lets you clearly "see the weld puddle" while actually welding?
See that? Using a MIG welder brings up so many questions. It's not just the equipment that's confusing; when trying to weld for the first time, some people encounter extremely frustrating issues, such as wire burning back to the contact tip, lumpy, irregular weld beads, porous workpieces full of internal pinholes, or spatter flying all over your arms and shirt so much that you have to stop welding. What's even worse is that if we try to fix it by guessing blindly (turning the voltage up and down, adjusting the wire feed randomly), it will only make welding even harder, because a MIG welder is a system where "wire, voltage, gas, and hand distance/angle" must all work in harmony.
Therefore, if you are about to use a MIG welder for the first time, let's clearly break it down systematically into "what equipment you actually need"—both "must-haves" and "nice-to-haves"—along with the reasons why each item solves real welding problems. This way, you can start welding safely, achieve clean welds faster, and, most importantly, avoid wasting money on the wrong items or rebuying gear because it doesn't match your wire or your work.
Why having only a MIG welder isn't enough to start welding?
Picture this: you have a MIG welder sitting in front of your steel workpiece, but you don't have a "wire feeding path", no "shielding gas", no "contact tip" that fits the wire size, no helmet that allows you to see the weld line, and no "wire brush/chipping hammer/angle grinder" to prep the surface and clean up afterward. In the end, what happens is you start welding completely in the dark.
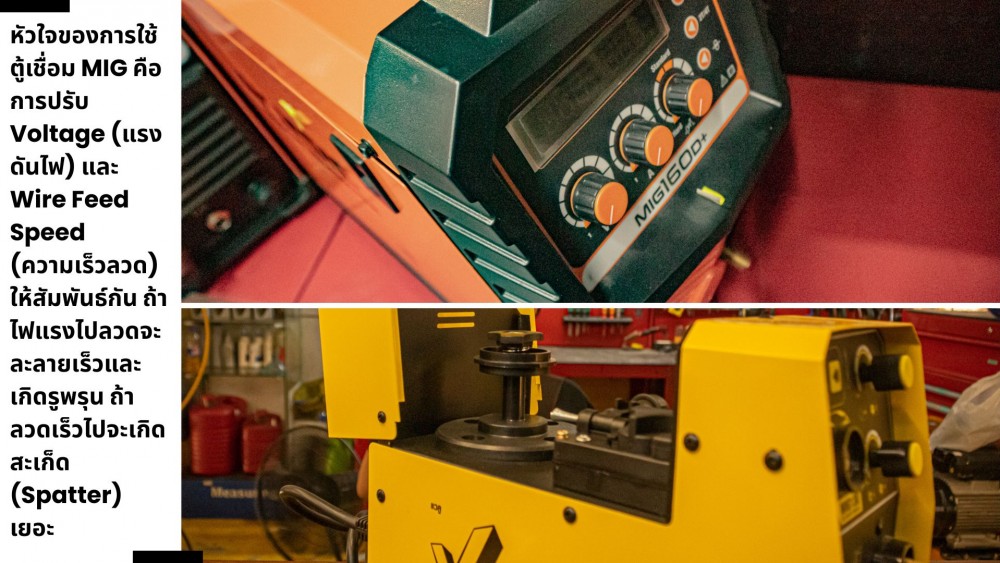
Reasons why MIG welders are known as "smart welders" Simply put, the MIG welder is the "core unit", but making it actually work requires a complete "support system" around it.
Essential Equipment a MIG Welder Cannot Do Without
Must-have items for a MIG welder don't necessarily mean expensive or abundant gear. Rather, they are things without which you can't start the job at all, or if you do start, you'll encounter recurring issues that waste time and ruin workpieces, or weld in an unsafe manner. So, let's look directly at what you should have right in front of you before pulling the torch trigger for the first time, helping you run your MIG welder smoothly right from the start.
1. MIG Welding Wire: Choose the wrong one, and welding becomes difficult before you even start
In fact, there are several types of wire for MIG welders, and the type you choose determines whether you need shielding gas, whether it is compatible with your MIG welder, roughly what settings to use, and whether your weld will be smooth or full of spatter.
- Solid Wire: The most popular wire for general steel work, but most require shielding gas (such as CO₂ or Argon/CO₂). The advantages are clean weld beads, low spatter, and easier control once set up correctly.
- Flux-Cored Wire: This is a wire with flux inside. Some types are "gasless" (known as Self-shielded), ideal for beginners who want to weld outdoors in windy conditions or don't want to deal with gas cylinders. However, the caveat is more smoke, more spatter, and more slag/residue cleanup.
I can tell you that just choosing the right welding wire for the job and environment will cut half of your headaches when using a MIG welding machine.
2. Welding torch kit, torch, and consumables: Tip / Nozzle / Diffuser
Many people unbox a MIG welding machine, see the included torch, and think that's enough. But after welding for a while, the wire starts sticking to the tip, the nozzle starts burning, and the arc becomes unstable. This is when you realize that "torch tip spare parts" are crucial.
Items you should keep on hand:
- Contact Tip: Choose a size that matches the "wire size", such as 0.8 / 0.9 / 1.0 mm. If it doesn't match, the wire will jam or fit too loosely, causing an unstable arc.
- Nozzle: Helps direct shielding gas and shields against spatter. If working on high-spatter jobs, you should have spares.
- Diffuser / Tip Holder: Gas diffuser and tip holder; a component subjected to high heat and wear.
We recommend always buying spare contact tips, because although they are small parts, running out means your work stops immediately.
3. Gas system (when using solid wire): Gas cylinder, Regulator, and gas hose
If you ask "Do I have to use gas every time?", the answer depends on the type of wire. If you are using solid wire with a MIG welding machine, you usually need shielding gas to prevent air from causing porosity and brittleness in the weld bead.
Required equipment:
- Gas cylinder (CO₂ or Argon/CO₂ mix, depending on the job)
- Regulator / Flowmeter For adjusting pressure and flow rate
- Gas hose, hose clamps, and proper fittings
A common mistake beginners make when using a MIG welding machine is "setting the gas flow too high", causing turbulence that draws in surrounding air, or "setting it too low", leading to weld porosity. Getting this setting just right makes a very noticeable difference.
If using a gasless MIG welding machine, what needs to be different?
Clearing the Doubt: Can All MIG Welders Weld Without Gas? If you choose to use a MIG welder with flux-cored wire or a model that supports gasless welding, the advantage is that you don't need a gas cylinder and regulator, but you will need to prepare for other things instead.
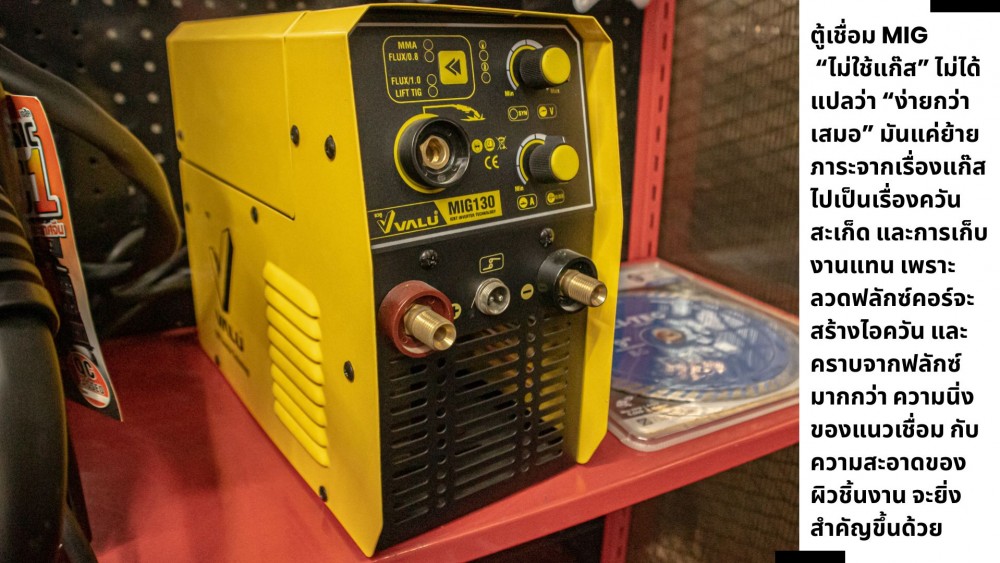
Smoke extraction equipment or welding fume respirator
If you use a MIG welder with flux-cored wire, there will be a lot of smoke and a strong odor. If welding in an enclosed area, don't rely solely on opening a window because the smoke swirls and accumulates very easily, especially in confined corners, under car undercarriages, or in small rooms. These fumes can quickly cause nasal burning, dizziness, and a dry throat.
The method that really helps is creating a controlled "airflow," such as using a fan to extract smoke from behind or the side without blowing directly onto the weld seam. You may use a smoke exhaust duct if available, and you should wear a smoke/dust mask that seals tightly to your face with filters suitable for welding work.
Additional cleanup equipment
The flux-cored bead from a MIG welder produces more slag and spatter than gas welding, and it certainly requires more post-weld cleanup. If you don't clean off the slag thoroughly before laying another pass, the chances of porosity and weak welds will increase.
An easy cleanup method is to let the weld cool until it's touchable, chip off the slag, brush with a wire brush, and inspect the bead (grind/sand further only if needed). Following a systematic routine like this helps you control the work and enjoy using your MIG welder much more.
Equipment that makes things easier, but isn't necessary to buy all on day one
Now, let's look at "MIG welder accessories that make life easier." It's not that you can't weld without them, but once you start using a MIG welder and run into familiar problems—such as heavy spatter on the workpiece, long cleanup times, torch nozzles getting dirty quickly, or trouble aligning workpieces at precise angles—this group of tools will save a lot of time and reduce frustration, especially during the early stages when you're still fine-tuning voltage settings and wire speed.
- Anti-spatter spray Helps reduce spatter sticking to the workpiece and the torch nozzle, making cleanup much easier—especially when you're not yet skilled at tuning settings, which causes extra spatter.
- Wire cutters, combination pliers, nozzle cleaning pliers, or dedicated welding pliers (MIG pliers) Makes cutting wire, servicing tips, and chipping spatter off the nozzle tip much more convenient.
- Gap gauge / feeler gauge, tape measure, and metal marking pen Once you get serious about the work, you'll realize that measuring root gaps and joint fit-up significantly impacts the appearance and quality of the weld bead.
- Welding table or steel backing plate and welding clamps/squares Provides better stability, makes placing workpieces easier, and improves alignment, especially when using a MIG welder for frame fabrication.
Checklist: What must you have in front of you before using a MIG welder for the first time?
When starting out with new equipment—especially in welding where there's electricity, intense heat, spatter, and smoke—missing certain gear might allow you to weld "by forcing it," but you'll waste time repeatedly solving issues until you're exhausted before achieving a good weld. Therefore, to start welding with a MIG welder safely and smoothly, you should have at least:
- MIG welder, welding gun, and earth clamp with the correct type of welding wire (solid wire / flux-cored wire)
- Contact tips / nozzles matching the wire size (e.g., 0.8 wire requires a 0.8 tip) and spare parts
- (If using solid wire) Gas cylinder, Regulator / Flowmeter, and gas hose
- Auto-darkening welding helmet, welding gloves, spark-resistant long-sleeve shirt, and safety glasses for grinding / work prep
- Angle grinder and wire brush / surface cleaning tools
- Locking pliers, clamps, or magnetic welding square
- Fire extinguisher, or at least a fire blanket, and prepare the area to be free of flammable materials
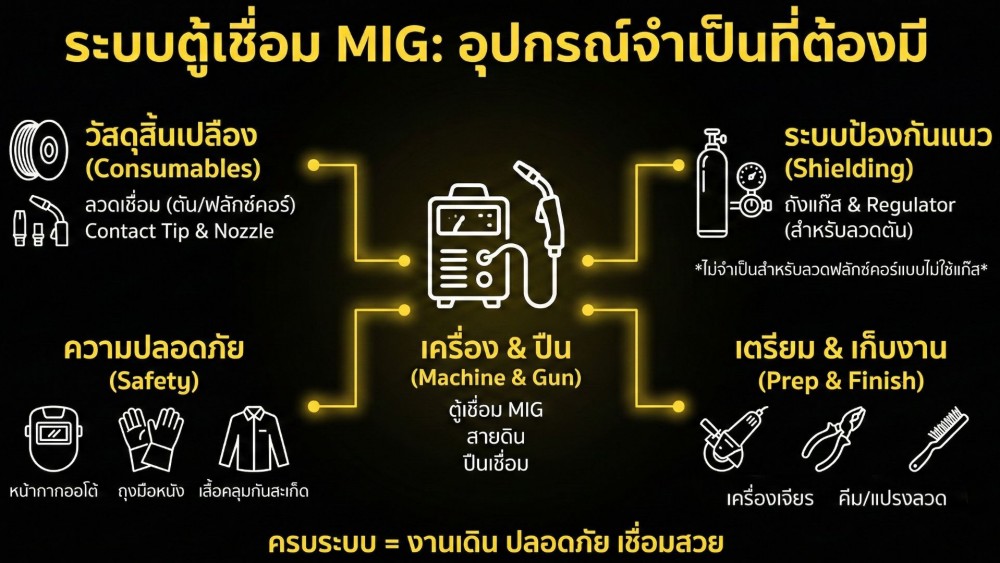
Conclusion: To start using a MIG welder smoothly, you need to think systematically
If you look at a MIG welder as just a "machine," you might get lost in shopping. You might inadvertently focus on thinking the machine must be powerful, expensive, and packed with features for the work to look good. But in actual practice, most problems don't come from the MIG welder itself; they stem from wire that doesn't match the job, rusted/painted work surfaces, loose ground clamps, wire feed speeds not matching the amperage, or improper shielding gas flow.
However, if you shift your perspective and view MIG not just as a MIG welder, but as a "welding system," you'll immediately see that everything is interconnected. From surface preparation, selecting the wire and setting the correct polarity, matching the voltage to the wire feed speed, controlling tip-to-work distance and gun angle, to finishing up by cleaning the weld seam. The surrounding accessories aren't just trivial details—they are what make the work genuinely good and safe.
Try starting without rushing to buy the most expensive gear; get all the essentials first, then upgrade piece by piece based on real experience. In the end, good welding results don't come solely from a powerful machine, but from proper preparation, choosing the right equipment, and welding attentively and safely.
Preparing the complete set of equipment for the job and practicing your technique step-by-step will help you use MIG welder it worth the investment and make welding visibly more enjoyable.