


 EN
 ไทย


Customers Also Purchased
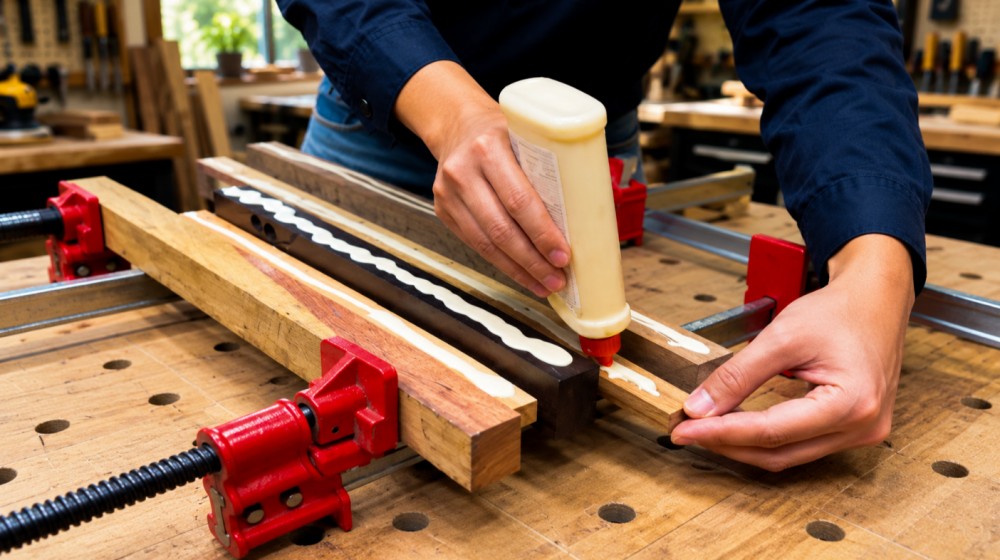
Imagine you're assembling a new wooden table over the weekend. After cutting the wood, sanding the surfaces, and neatly applying wood glue along the joints, you clamp the workpiece for about half an hour. Touching the squeeze-out on the side, you find the glue feels dry and the pieces don't move, so you remove the clamps to continue assembling other parts. But once you lift the table or start driving screws, the joints you thought were solid break apart.
Many people might wonder if the wood glue was of poor quality or if too little was applied, even though the glue appeared dry. The truth is that drying and joint strength development are not always the same thing. In woodworking, understanding when glue begins to set, when clamps can be removed, and when the workpiece can be put into service is just as important as choosing the right brand of glue. Rushing the process can compromise joints even when using high-grade glue.
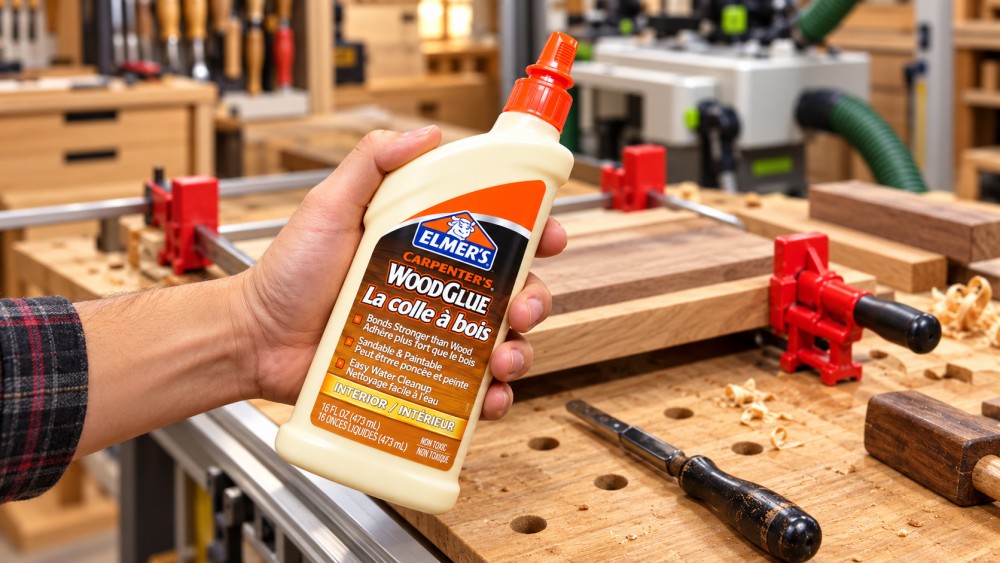
What Is the Difference Between Dried Wood Glue and Cured Wood Glue?
When reading the information on wood glue packaging, you may encounter terms such as Set Time, Clamp Time, Dry Time, and Full Cure, each of which has a distinct meaning.
- Set Time is the period when the glue begins to grip the workpiece. It is the phase where the glue develops enough initial bond to keep the pieces reasonably stable, but it does not mean the joint is ready to handle full operational loads. Some glue formulas set relatively quickly, making them ideal for assembly work requiring continuous progress. However, fast set time alone does not determine the final strength of the adhesive.
- Clamp Time is the required clamping duration for the workpiece. It is the period during which clamps or clamping tools should be used to maintain the alignment and pressure of the joint. This duration depends on the glue formula, wood species, temperature, humidity, and the stress applied to the workpiece. Wood joints joined flat without bending stress may require a different clamping time compared to bent wood applications, where there is a force trying to spring the workpiece back to its original shape.
- Full Cure is the stage where the glue cures to reach its specified properties. Full curing is the period during which the glue develops its bonding performance according to product specifications. Even if the exposed glue on the outside feels dry, the joint area between the two pieces of wood may still require additional time. Therefore, touching the squeezed-out glue with your finger or trying to gently wiggle the wood pieces is not a reliable way to confirm that the glue has fully cured.
How many hours do you need to wait before wood glue can be put into service?
There is no single duration that applies to all types of wood glue, as each product formula has different requirements. For example, product details for ELMER'S E7000 Carpenter Wood Glue shown on the iTOOLMART website state that the glue begins to set in about 20–30 minutes and takes about 24 hours to reach full performance drying under proper conditions.
Meanwhile, ELMER'S Carpenter Wood Glue Max model E7290 specifies a clamping time of about 12 hours and reaches full performance drying in about 24 hours. As you can see, even glues from the same brand have different clamping times, so the timing of one glue model should not automatically be applied to another.
Another example from technical data: several models of the company's wood glue recommend clamping unstressed joints for about 30 minutes to 1 hour, while stressed joints may require clamping for up to 24 hours, and new joints should avoid load-bearing for at least 24 hours. All times are reference data from the specified products, not a standard for all brands of wood glue.
i Whywood glueIs It Still Not Strong Even After Leaving It for the Recommended Time? 1 The wood is too moist Measure wood moisture first Water-based glues rely on water evaporation. Titebond states that wood moisture over 10% slows down drying for some glue models, and over 16%, some formulas may not cure properly. You should use a moisture meter to check before assembly, rather than evaluating by touch with your hands. 2 Unsuitable temperature and environment Check your workspace Some glue formulas have a minimum operating temperature, and at high relative humidity, glue dries more slowly. Be cautious of very cold air-conditioned rooms or damp, unventilated spaces. A fan can help, but do not use excessive heat to accelerate drying. 3 Gaps in the joint Dry fit before applying glue PVA glue is not designed to fill large gaps. Always dry fit first. If there are gaps, adjust the wood pieces rather than applying more glue. 4 Applying too much glue Apply a thin, even coat Thicker does not mean stronger. The key is an even distribution. Applying too much glue causes squeeze-out, makes cleanup difficult, and makes it hard to clamp workpieces together cleanly. 5 Removing Clamps Too Soon Don't Just Look at the Squeeze-Out Glue Joints may shift imperceptibly, especially in bent-wood work and chairs with accumulated stress. Curing time must be evaluated based on the joint type, not just whether the glue on the outside feels hard. 6 Using the Piece Before the Glue Has Fully Cured Set a Workpiece Rest Time Being able to remove clamps does not mean it is ready for drilling, sanding, lifting, or bearing loads. Vibrations and impacts can compromise the joint. A clear rest period should always be allowed for the workpiece.
Another commonly overlooked cause is the glue itself. If glue in the bottle has been stored for a long time, becomes abnormally thick, or has turned clumpy, check first: Does wood glue expire? How to store it to prevent clumping or deterioration
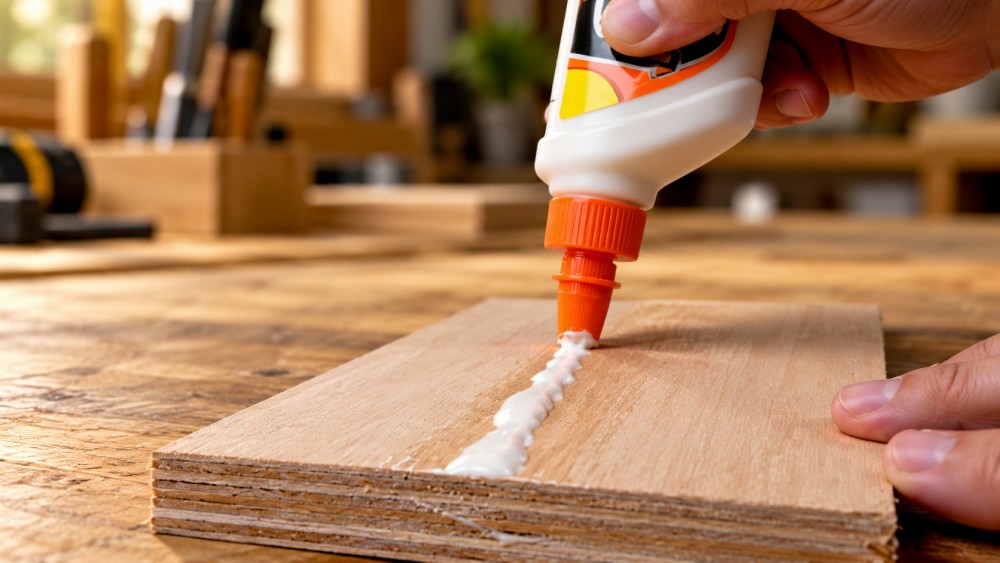
How to Use Wood Glue for Strong Joints and Reduced Risk of Failure
- Prepare wood surfaces before gluing: Wood surfaces should be free of dust, sawdust, oil, and contaminants that could interfere with bonding. If dealing with naturally oily wood or finished wood, verify that the chosen glue suits the surface. Many wood glue formulas are designed for bare wood rather than painted or sealed surfaces.
- Dry-fit workpieces before gluing: Try fitting the wood parts and clamping them without glue first to ensure everything aligns correctly. For multi-part assemblies, plan the assembly sequence in advance because some glues have limited open working time. Preparing clamps and tools beforehand minimizes the chance of glue setting while adjusting the wood.
- Spread glue evenly across the joint: Apply an appropriate amount of glue according to product recommendations, then use a brush or suitable tool to spread it evenly over the contact area. Avoid leaving unglued spots, especially along long joints where stress must be distributed across the entire length of the wood.
- Clamp with proper pressure: Position clamps so the workpiece receives uniform pressure without twisting or shifting out of alignment. Clamping as tightly as possible is not always the right approach, as it can deform the wood or squeeze too much glue out of the joint. Apply pressure according to the glue manufacturer's instructions and wood characteristics, ensuring the joint closes completely tight.
- Wait for the full time specified by the manufacturer: Clearly define separate clamping times and full curing times. Do not rely solely on the feel of squeezed-out glue to make the call. For heavy-load or continuously stressed applications, allow extra time based on manufacturer specifications, and inspect joint strength before final delivery.
Which Wood Glue Formula Is Best for Your Application?
For indoor furniture assembly requiring easy-to-use glue, consider PVA wood glues specifically formulated for woodworking. For example, ELMER'S Carpenter Wood Glue model E7000, available at iTOOLMART, is ideal for interior woodworking and repairs, providing set times and full-cure data to help plan your work.
For applications exposed to moisture or outdoor use, consider ELMER'S Carpenter Wood Glue Max model E7290, which specifies waterproof properties and different clamping times. The key is not to choose glue based solely on drying speed, but on whether the project is indoor or outdoor, what stress it will bear, and environmental conditions. Selecting the right glue from the start reduces future joint repairs and helps woodworkers plan assembly timelines more effectively.
Summary
Achieving strong joints with wood glue depends not only on the adhesive strength of the glue itself, but also on surface preparation, tight joint fit, even glue distribution, and clamping for the specified duration. It is crucial to understand that open time/set time, clamping time, and full curing time are distinct phases. Rushing to remove clamps or moving workpieces prematurely can damage the joint even if the glue looks dry. For professional woodworkers,
Allowing adequate workpiece rest time reduces rework and improves production consistency. Homeowners and DIYers can apply the same principles to ensure furniture assemblies are strong and long-lasting. When you use wood glue, do you usually wait until it is completely dry before unclamping, or have you ever rushed the assembly and had the joint fail?
Select wood glue to suit the application