


 EN
 ไทย


Customers Also Purchased
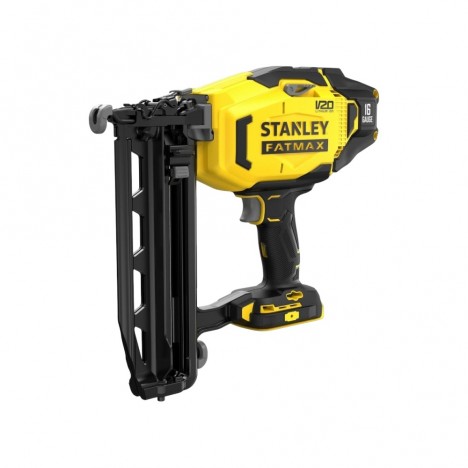

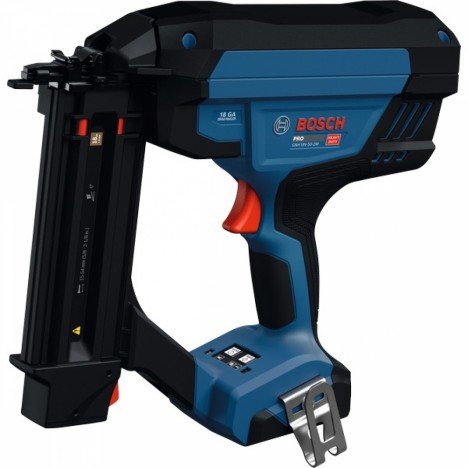
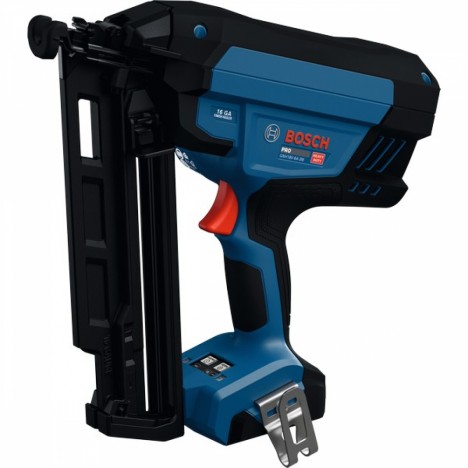

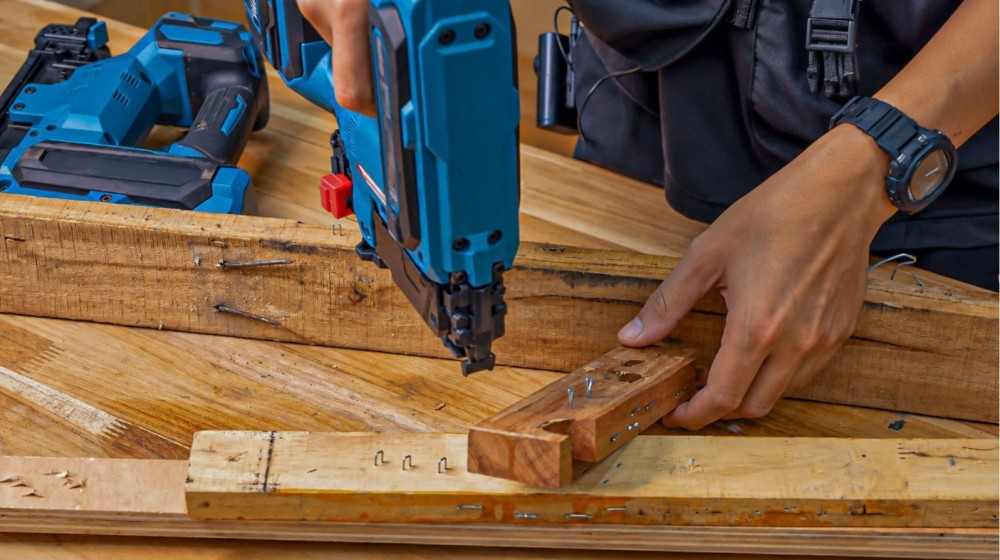
Imagine you're halfway through installing baseboards across a room, and suddenly the nailer stops firing. You look down at the nose and see staples/nails two or three bent and jammed inside. Or another common issue: it fires every single shot, but the heads consistently stick out above the wood surface, forcing you to go back and hammer them down. The first question that pops into your head is: Is the tool broken, or Why Isn't Your Air Nailer Driving Flush? Causes and Proper Settings
The answer is: not necessarily. On-site issues with pneumatic or electric staplers/nailers often start with the fasteners loaded in the magazine—from an incorrect size for the job, to a damaged strip, or a model incompatible with the tool. Let's break down the common symptoms one by one to see which can be fixed by changing fasteners, which require adjusting your technique, and which mean you should stop and send the tool for repair.
Before blaming the tool, disconnect the air hose and check the fasteners in the magazine
The first step in troubleshooting any symptom is to disconnect the air hose from the tool. A pneumatic stapler that is still connected to air can fire unexpectedly if the safety nose is bumped while your finger touches the trigger, potentially causing injury while trying to clear a jam.
Once the air hose is disconnected, open the magazine and slide out the entire strip of fasteners to inspect it. Things to look for: is the strip still straight? Are any pins loose or legs bent? Does the size on the box match what the tool supports? This simple check eliminates half the potential causes and takes just a few minutes.
Fasteners loaded backward, not pushed all the way in: dry firing and intermittent jams
Dry firing is when you pull the trigger and hear the tool cycle, but nothing comes out. Common causes can be simple mistakes, like loading the fasteners backward, sliding the strip past the end of the magazine so the pusher can't engage it, or forgetting to latch the pusher back into position after reloading.
Another habit that frequently causes jams is chaining multiple leftover short strips together in the magazine. The joints between the segments may not align flush, causing the first fastener of the new segment to feed into the nose at an angle.
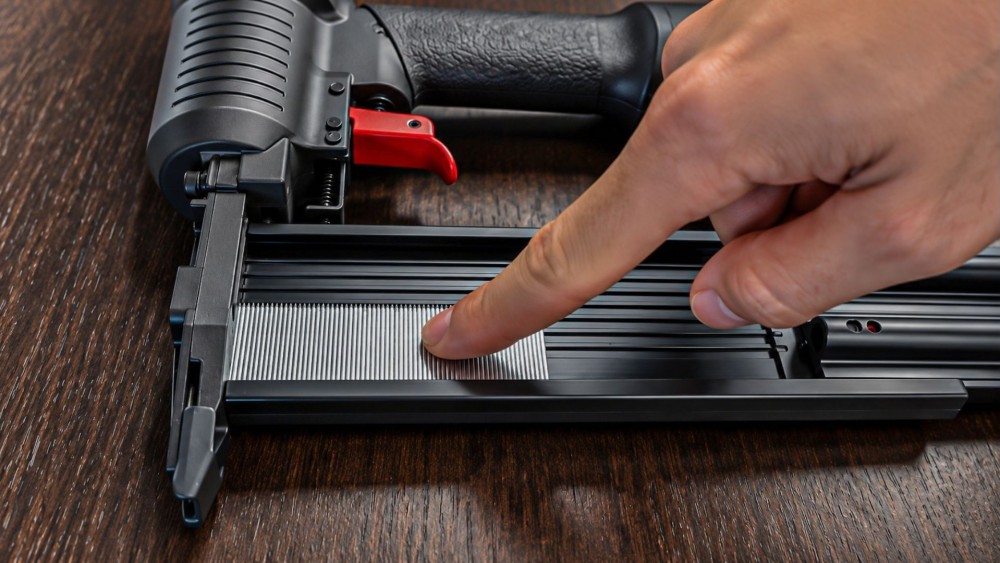
A better approach is to use full strips or finish a long strip before loading a new one when the magazine is nearly empty. Always disconnect the air hose before reloading. Once loaded, slide the pusher securely into place, then test-fire a single shot into a scrap piece of wood to confirm the fasteners are feeding into the nose properly.
Fasteners jamming in the nose: can be caused by broken, bent, or damp strips
Jamming is the most common issue encountered. Many times, it stems from the condition of the fasteners themselves rather than the tool's internal mechanism. If jams recur frequently at the exact same spot, start by checking these factors first:
Fastener strip broken or legs bent from being dropped
Air staples collated into strips are held together by a thin layer of adhesive. If the box has been dropped or had heavy objects placed on it, strips may break into sections, or some legs may bend out of alignment without being easily noticeable. When pushed into the firing head, the bent staple obstructs the channel, causing the driver blade to strike two staples simultaneously and resulting in a severe jam.
The solution is to discard damaged sections and load only straight, intact strips. Do not attempt to bend staple legs back into place, as the straightened point will be weakened and prone to bending again.
Adhesive strip deterioration caused by storage in humid or excessively hot conditions
When air staples are stored in a truck bed under direct sunlight or left on damp concrete floors at a jobsite for extended periods, the collating adhesive can degrade. Strips will fall apart into individual staples as they feed into the magazine, causing them to feed into the nosepiece crookedly and jam. If you open a box and notice strips broken into short fragments or showing signs of rust, set that box aside for non-critical work or stop using it entirely. Store new boxes in a dry place and close the box after each use.
Safely clearing jammed staples
- Always disconnect the air hose first, then open the nosepiece or firing latch according to that tool model's manual.
- Use needle-nose pliers to pull out jammed air staples.
- Never attempt to clear a jam by reconnecting the air supply and repeatedly pulling the trigger to force the staple out. Not only is this hazardous, but the driver blade can strike the obstructed staple, causing it to chip or snap.
Air staple heads sticking out: check length and wood density before increasing air pressure
A protruding head is a symptom pneumatic stapler users often try to fix by continuously turning up the air pressure, but this is a common misconception regarding pneumatic staplers Frequently, the root cause is using air staples that are too long for dense hardwood, or firing directly into a wood knot.
Check in this sequence: start by determining whether the staple is longer than the application requires. If you are attaching thin moulding but used a longer staple "just in case," the tool's power may be insufficient to drive it completely flush. Next, check the depth-adjustment dial—if the tool is equipped with one, adjust this dial before altering air pressure. Finally, adjust air pressure in small increments, ensuring it remains within the pressure range specified on the tool or in the manual.
Another similar scenario is when the air staple sinks properly at first, but begins sticking out after rapid, continuous firing. This is usually due to inadequate air supply, such as a small-tank air compressor unable to keep up with the firing cycle, or an excessively long air hose causing a pressure drop along the line. Try pausing to allow the compressor to fully recharge the tank, then fire again. If the staple head drives flush as normal, the issue lies in the air supply system, not the staples.
Over-pressurizing the tool beyond its rated capacity to force staple heads flush might get them to countersink, but the internal seals and piston are subjected to excessive stress, accelerating wear. Furthermore, when switching to softer wood on the same project, the staples will blow right through the workpiece.
Air staples sinking too deep or blowing through: the opposite problem with a different solution
If staple heads sink excessively to form deep indentations or blow straight through thin panels, the problem is usually staples that are too long for the combined thickness of the workpieces, or air pressure calibrated for hardwood that was not reduced when switching to plywood or thin sheets.
A simple rule of thumb: the staple should be long enough to pass through the top piece and anchor firmly into the base material, but not so long that it protrudes out the other side.
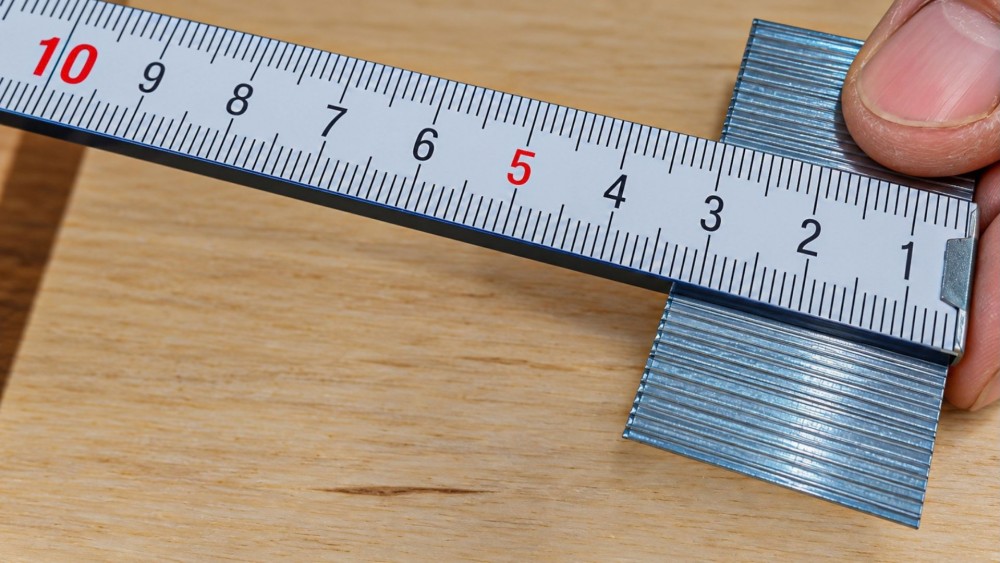
If you need to fasten multiple materials in a single day, keep boxes sorted by length beside you, and test fire into scrap wood of the same type whenever changing materials—this is far more cost-effective than having to tear apart an entire completed assembly.
Air staples firing crooked, legs splaying, or blowing out the side of the workpiece
This symptom seems the most dangerous because the staple legs might protrude from the side of the wood right where your hand is holding the workpiece.
A possible cause is using staples that are too thin for hardwoods; thinner legs tend to deflect along the wood grain rather than driving straight in. Another cause is firing too close to the edge of the wood or holding the tool at an angle instead of perpendicular to the work surface. For hardwood applications, select staples with thicker legs supported by your tool, keep a reasonable distance from the edge, and ensure the nosepiece is placed flush against the work surface before pulling the trigger.
A crucial point to emphasize here: never hold the workpiece in line with the firing path or too close to the firing point. Use clamps or fixtures instead of your hands whenever possible, especially for small and narrow workpieces.
Loaded with the correct size but wrong model of staples, resulting in intermittent firing.
Many people only check the length on the box before purchasing. However, staples also differ in leg thickness, crown width (for staples), and collation type. If the length matches but other specifications do not, the staples might feed into the magazine, but they will fit too loosely or too tightly in the nosepiece. This leads to intermittent firing and jams, making you think the tool is starting to malfunction.
The best approach is to note the staple codes supported by your tool—usually printed on the side of the magazine or in the manual—and compare them with the code on the box every time you buy. If you are unsure which code corresponds to which type of tool, you can read more in the article: How to Choose Staples by Pneumatic Nailer/Stapler Type
Another thing that should be stated plainly: you shouldn't choose pneumatic staples solely based on the cheapest price. Staples that break apart easily from the strip or have inconsistent dimensions will cause you to waste time clearing jams all day and can lead to premature wear on the driver blade. The slight price difference per box is well worth the time saved on the job.
Which symptoms are NOT caused by the staples? Stop using and send for repair.
If you have switched to a new box of staples that are the correct model and the problem persists, the issue is likely with the tool itself. If you notice any of the following symptoms, stop using it immediately and have it inspected by a technician; do not force it to run:
- Double-firing from a single trigger pull
- Firing even when the nosepiece hasn't touched the workpiece, indicating a malfunctioning safety mechanism
- A constant hissing sound of air leaking, even when the trigger is not pressed
- The driver blade stays down without retracting, or the tip of the driver blade is visibly chipped or bent
- The tool will not fire at all, despite having adequate air pressure and the correct staples.
Another thing you must strictly never do is remove or tie back the safety contact at the tip of the nose to fire staples faster. That safety mechanism is the only thing standing between getting the job done quickly and a severe accident.
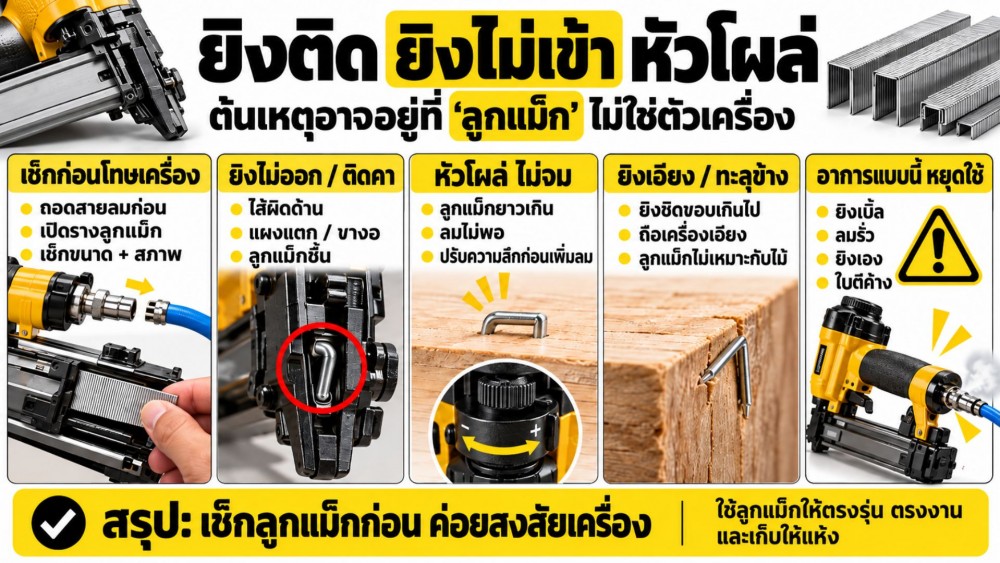
Conclusion: If your pneumatic stapler has issues, check the staples before blaming the tool.
Most issues with jamming, protruding heads, countersinking too deep, or angled firing can be resolved by choosing the correct model, length, and wood-appropriate staples, as well as storing the box in a dry place. Before troubleshooting, always disconnect the air hose, and adjust the depth knob before altering the air pressure. If switching to a new box of staples does not resolve the issue, or if you encounter unintentional firing or air leaks, stop using the tool and send it for repair immediately.
If you encounter these symptoms, try checking smaller consumables like staples/nails staples or nails first. It will help you realize that the root cause isn't always the tool itself.


