


 EN
 ไทย


Customers Also Purchased


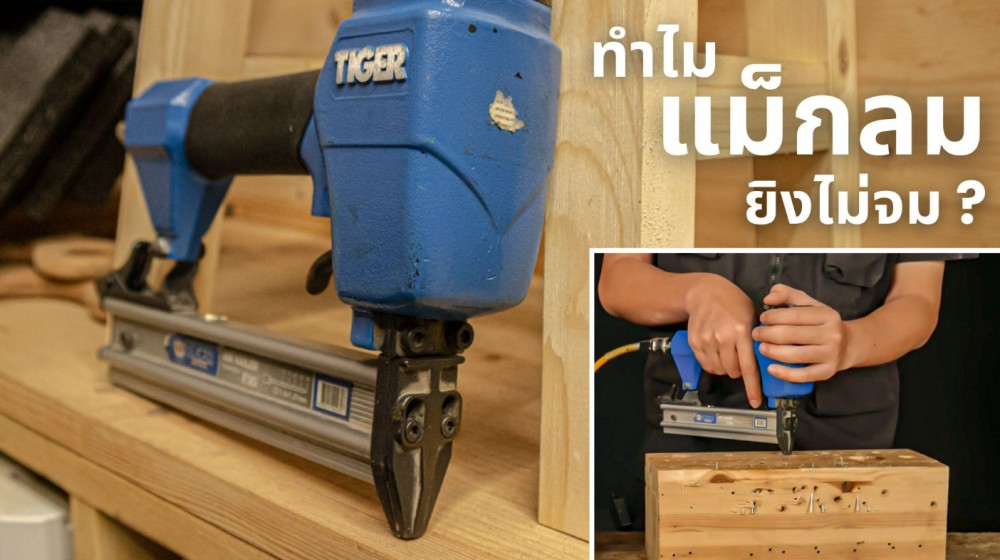
When we use it, Air stapler A problem more frustrating than misfiring is when the nail goes in but doesn't sit flush. Protruding nail heads or staple crowns leave surfaces uneven, joints loose, and waste time on rework. Especially for finished woodwork or installation jobs requiring a smooth, seamless finish, this issue is much bigger than many people think.
If you ask whether Is an air stapler/nailer really easy to use? What do you need to know to prevent misfires? The answer is: pneumatic nailers and staplers are fairly easy-to-use air tools once you understand them. However, when many people find that their pneumatic nailer isn't countersinking nails properly, they might immediately assume that the tool lacks power or is defective. In reality, the root cause isn't always the tool itself. It could stem from insufficient air pressure, incorrect depth adjustment, nails or staples unsuitable for the task, material that is harder than expected, or even the air hose, fittings, and air compressor.
Therefore, in this article, we won't just look at "Why isn't my pneumatic nailer firing flush?" but rather what kind of depth issue it is—whether it fails on every shot or only at certain spots—and where you should start troubleshooting to avoid wasting time on trial and error. For real work, setting up your pneumatic nailer to drive flush is essential for both working speed and finishing quality.
Why isn't the pneumatic nailer driving flush even though it still fires?
Speaking of Common Misconceptions About Air Nailers You Might Not Know This is another point that confuses a lot of people. Because the pneumatic nailer still fires, it creates the impression that the tool is operating normally. In reality, "firing" and "driving flush" are two entirely different things. The tool might still cycle, and the air system might deliver some force, but that force may not be enough for the actual working conditions at that moment—such as harder material, longer nails, changed firing angles, or slightly lower pressure at the tool than expected. Just these factors can turn a flush drive into a protruding nail head.
A pneumatic nailer's job isn't just pushing a nail out of the nosepiece; it must deliver enough energy to overcome the material's resistance. This is especially true for workpieces that look identical on the surface but vary in internal density—such as different species of natural wood, different layers of plywood, different batches of MDF, or nailing through multiple layers of material. In these cases, the feeling of "it just drove flush a moment ago, why isn't it driving flush now?" can happen very easily.
Main causes why a pneumatic nailer doesn't drive flush
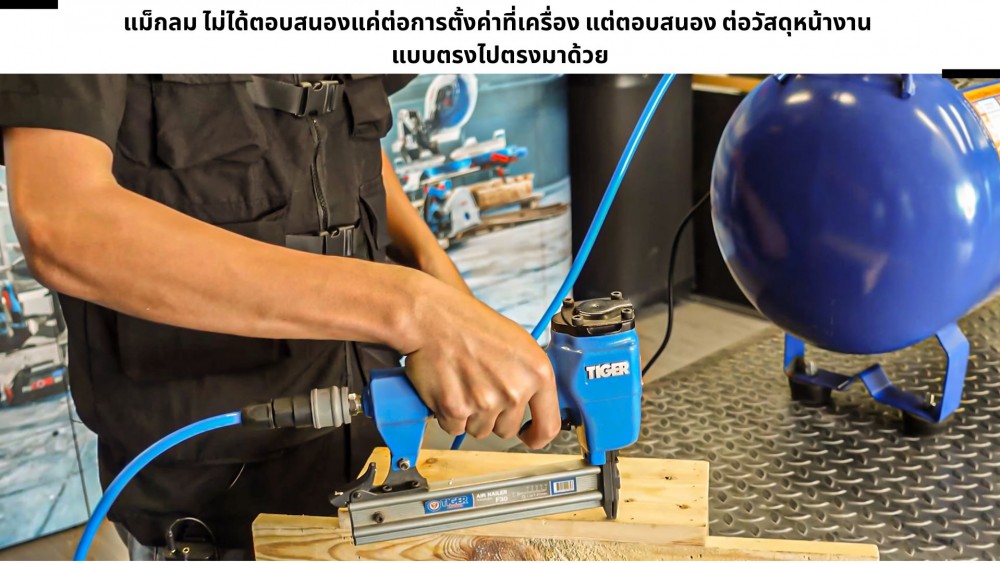
Looking at real-world applications, pneumatic nailer depth issues stem from several key causes. Some are immediately obvious, while others are hidden where you might not expect. Importantly, it's often not just a single cause, but a combination of several factors. Consequently, guessing—such as merely increasing air pressure or only swapping out nails—won't solve the problem completely.
- Air pressure lower than required When a pneumatic nailer fails to drive flush, don't just look at the pressure gauge on the compressor; check the actual dynamic pressure while the tool is operating. Air pressure can drop due to long air hoses, narrow hose diameters, restrictive fittings, or a compressor unable to keep up during continuous firing. Just a slight drop in pressure at the tool can cause nails to sit high.
A 5x8 mm air hose may be insufficient for larger tools (such as F50 or ST64). We recommend using an 8x12 mm hose to ensure adequate air flow.
- Incorrect depth-of-drive adjustment Many pneumatic nailer models feature a depth adjustment dial. If set improperly for the task, using harder materials or longer nails will cause the nail to penetrate without sitting flush, even if the air pressure is sufficient.
- Using nails or staples unsuitable for the material The fasteners also affect resistance during firing. If they are too long, need to penetrate multiple layers, or are driven into overly hard materials, the chances of the pneumatic nailer failing to drive flush increase significantly.
- Material harder than expected or inconsistent Different materials offer varying levels of resistance. Even within the same wood species, density can vary depending on the location on the workpiece.
- Nosepiece not pressed flush or firing at an angle Impact energy will not be fully transferred, preventing the nail head from sinking deep enough. This occurs especially in tight corners, on uneven surfaces, or at points requiring awkward firing angles.
- Pneumatic system issues, even when pressure looks normal Sometimes the gauge reads normally, but the actual air entering the pneumatic nailer is insufficient due to leaking couplers, kinked hoses, or an undersized air compressor. A common symptom is that nails drive flush at first, but fail to countersink during continuous use.
- Worn seals, valves, or internal parts If your pneumatic nailer used to drive nails flush properly but recently started leaving them proud despite using the same settings, the issue might stem from the seals, valves, or piston.
These types of issues usually don't appear suddenly as complete tool failure. Instead, they gradually make the pneumatic nailer feel weaker, lose its crisp firing power, require higher pressure, or fail to countersink on jobs it used to handle effortlessly.
Troubleshooting when a pneumatic nailer leaves nails proud: where should you start?
When a problem arises, many people's natural instinct is to start by cranking up the pressure. Sometimes that helps, but to truly fix the root cause, it's recommended to troubleshoot step-by-step when a pneumatic nailer fails to countersink. This saves much more time than random guessing, as some issues shouldn't be solved by simply increasing power—and constantly forcing higher pressure can accelerate tool wear or damage the workpiece surface.
Start by checking whether it happens on every shot or only intermittently
This is a very important first question. If the pneumatic nailer consistently leaves every shot proud, there is a high chance the issue lies in the primary settings—such as low air pressure, depth adjustment set too shallow, or improper nails for the material. But if it only fails at certain spots or during rapid continuous firing, the problem likely points to pressure drops, inconsistent materials, or improper tool holding technique.
Always check air pressure first
When a pneumatic nailer leaves nails proud, always start by checking the actual operating pressure. Look at the reading while the tool is actively firing; if the pressure drops significantly during continuous shooting, it means the air supply is insufficient or there is excessive line loss along the way.
Check the tool's depth adjustment setting
If your pneumatic nailer model features depth adjustment, try adjusting it step-by-step. Avoid jumping straight to the maximum setting, because sometimes a slight adjustment is all it takes to get the nail head perfectly flush, and it is much safer for the workpiece surface than excessively boosting air pressure.
Always test on scrap material first
Before firing into the actual workpiece—especially when changing materials, thicknesses, or nail lengths—always test-fire on a scrap piece of the same material first. A pneumatic nailer setting that works perfectly on one job might not be suitable for another, even if they appear very similar.
How to set up a pneumatic nailer for a perfect flush drive
Setting up a pneumatic nailer to drive flush should start with this mindset: never max out the settings first and dial back. Instead, start from a safe, moderate baseline and increase incrementally until it perfectly matches the actual material. This approach ensures a properly flush drive without damaging the workpiece surface or overworking the tool.
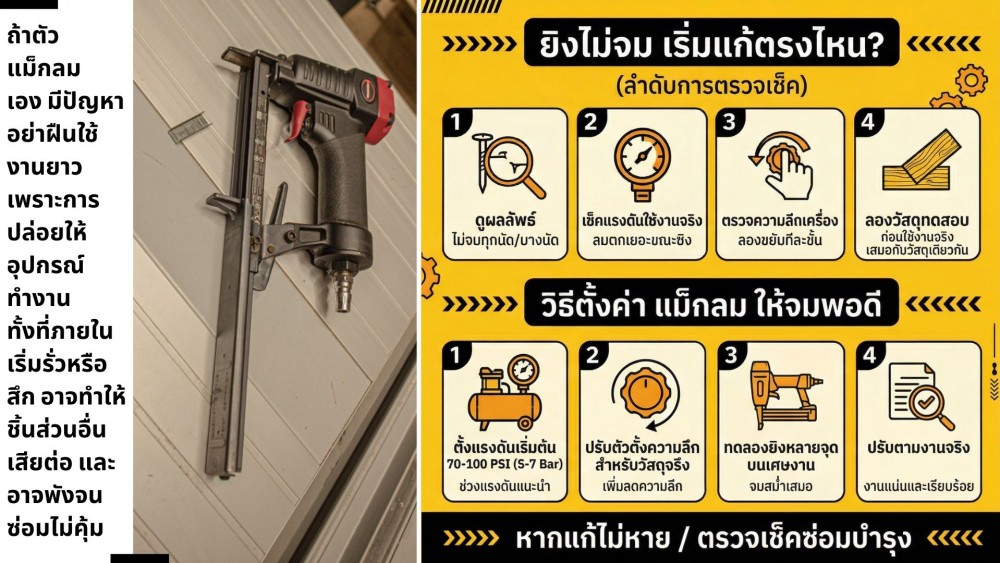
1. Set the air pressure within the tool's recommended range
Always start with the manufacturer's recommended values. Try setting the air pressure within 70–100 PSI (5–7 Bar) according to the tool's specifications.
2. Adjust depth setting according to the actual material
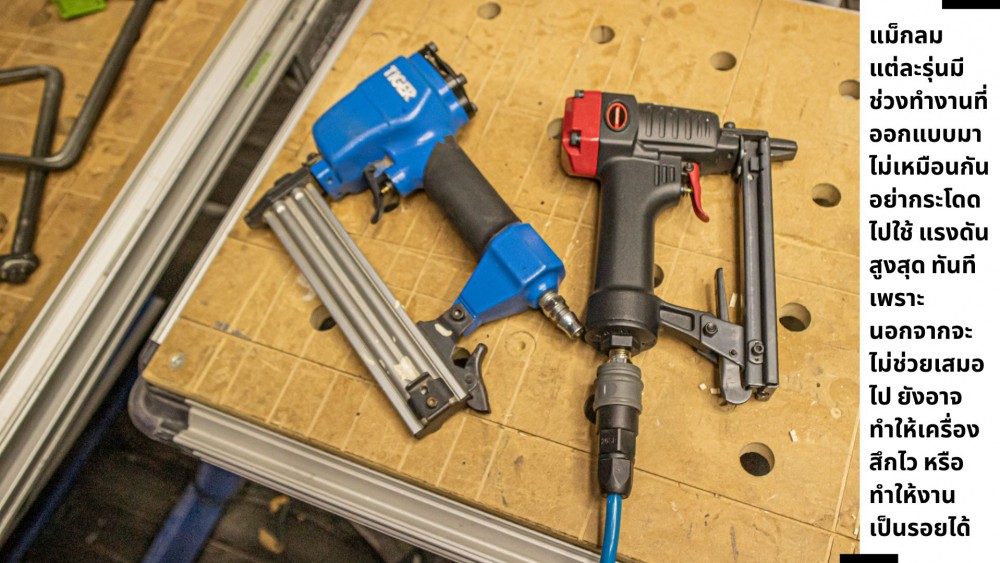
Once you have the baseline pressure, use the depth adjustment dial for fine-tuning. If it is still too shallow, increase it little by little; if it drives too deep, dial it back. Using the depth adjustment properly helps the pneumatic nailer/stapler work much more accurately than relying solely on air pressure.
3. Test-fire at multiple points, not just a single shot
Don't judge by just a single shot. Some materials yield different results depending on the location. You should test-fire at several spots on scrap material first to see whether the pneumatic nailer/stapler drives flush consistently. If some shots sink and others don't, the issue may not just be the settings, but related to the material or the pneumatic system.
4. Adjust based on the actual workpiece, not just intuition alone
Many people listen to the sound or feel the recoil and guess that it should be enough. However, truly accurate adjustment of a pneumatic nailer/stapler requires checking the results on the actual workpiece—whether the nail head is driven flush, if the joint is secure enough, and if the surface finish remains clean.
If pressure is increased but the pneumatic nailer still doesn't drive flush, what should you suspect next?
Another common scenario users encounter: you try increasing the air pressure, but the pneumatic nailer/stapler still won't drive flush, or it improves only slightly. This usually indicates that air pressure is not the only root cause.
What you should check next is incorrect depth setting, nails that are too long, material that is too hard for the tool's capacity, or internal components starting to wear out. Especially if the tool previously handled similar jobs well but now fails to drive flush with the same settings, internal tool problems are an even greater suspect to inspect.
Another thing to consider is What is the difference between single-leg (brad/finish nailer) and double-leg (stapler) pneumatic tools? Are you using the wrong type of pneumatic nailer/stapler for the job? For example, using a light-duty tool on an application that requires high impact power. In this case, even if you increase the pressure, the system may still fall short because of the tool's inherent limitations.
How do you know whether it's a setting issue or a tool problem?
The easiest way to tell is to see whether the symptoms change with your adjustments. If adjusting pressure, tweaking the depth, or changing materials allows the pneumatic nailer/stapler to drive flush properly again, the issue is likely just settings or job-site conditions. But if you adjust multiple factors and the symptoms barely change—or you suddenly need much higher pressure than usual just to drive flush—that is a sign the tool may be wearing out or experiencing internal problems.
Summary: Why does a pneumatic nailer/stapler fail to drive flush?
A pneumatic nailer/stapler failing to drive flush isn't caused by a weak tool alone. It can stem from insufficient air pressure, improper depth settings, mismatched nails/staples, uneven material hardness, poor holding technique, or issues with the air supply system and internal components.
The important thing is not to rush to simply increase the pressure. Instead, troubleshoot systematically: check air pressure, depth adjustment, material, fasteners, and shooting technique, and then inspect the pneumatic system and tool condition. This approach helps you find the root cause faster and dial in your pneumatic nailer/stapler more accurately.
The issue of a pneumatic nailer/stapler not driving flush is a small detail that reflects an understanding of the tool, material, and working technique. Those who use pneumatic nailers/staplers effectively don't just own a powerful tool—they know how to observe, tune properly, and troubleshoot systematically.
Once you understand this and set it up correctly, Air stapler your work will be faster, neater, and much more reliable.