


 EN
 ไทย


Customers Also Purchased




It is completely normal to expect that when using a Sander Just attaching the sandpaper, turning on the switch, and guiding the tool across the workpiece surface should result in a smooth finish, ready for painting, coating, or the next step. In practice, however, we can encounter several problems.
- Sometimes sanding leaves a wavy surface
- Full of circular swirl marks on the surface
- The center is smooth, but the edges have scratches.
- The longer you sand, the worse the workpiece surface looks.
Even though the sander is still spinning or vibrating normally.
These problems do not always mean that the sander is broken. Sanding quality is determined by multiple factors working together: from the type of sander, sandpaper grit, rotational speed, applied pressure, movement technique, and backing pad condition, to the dust that accumulates between the sandpaper and the workpiece.
Beginners using sanders might focus too much on wattage or machine speed. In reality, a smooth finish is not achieved by having the most powerful machine, but by choosing the right tool and configuring all settings to suit the material and the sanding process.
Using the wrong type of sander makes achieving a smooth finish difficult right from the start
The term "sander" encompasses several types of machines, each with different sandpaper movement patterns, resulting in different material removal rates and surface finish qualities. In overview, which type of sander is the easiest to use and a must-have?
Belt sanders are not suitable for all fine finishing tasks
A belt sander removes material quickly with sandpaper running in a continuous belt, making it ideal for leveling wood, stripping old finishes, or handling surfaces where heavy material removal is required.
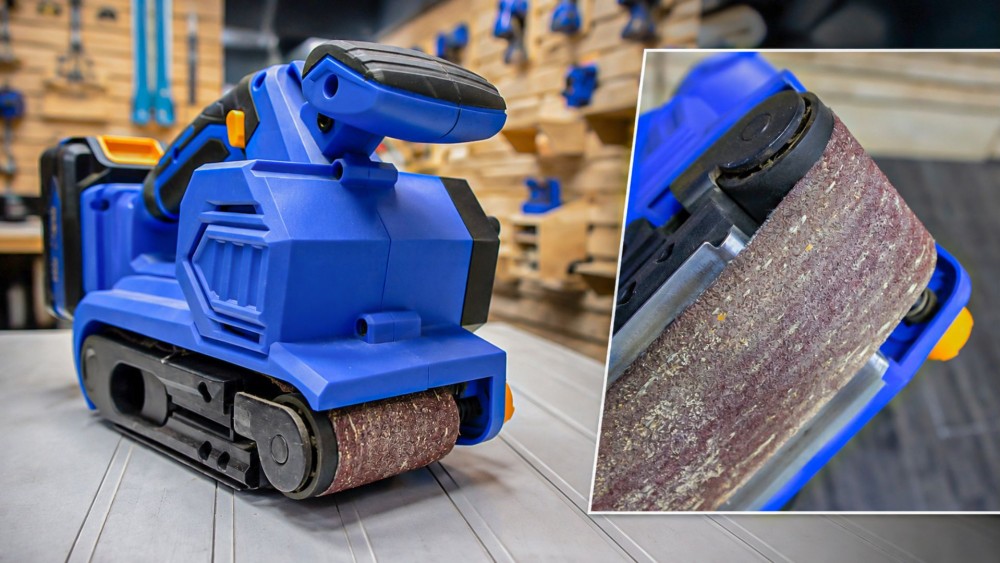
The rapid material removal capability of a belt sander makes surface control more difficult than with other types of sanders. If you hold the tool in one spot for too long, tilt it, or apply uneven pressure between the front and back, the wood surface can easily develop gouges or ripples, or even Why do belt sanders cause "wood burn"?
Therefore, if you need a very fine finish, using a belt sander from start to finish might not be the best approach. After leveling the surface with a belt sander, for most jobs it is recommended to switch to a sander better suited for fine surface finishing.
Orbital sheet sanders are more suitable for surface finishing
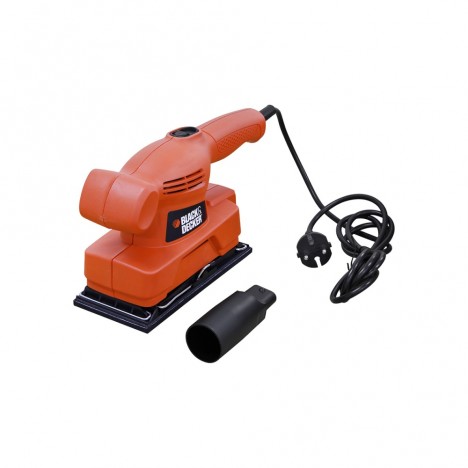
A finishing sander utilizes short, rapid movements of the sanding pad, providing mild material removal, easy control, and great suitability for surface preparation prior to painting or coating.
Another advantage is that the sanding pad is usually rectangular or triangular, allowing it to reach close into corners and edges easily. However, using very coarse sandpaper or applying excessive pressure can still leave marks on the surface.
Random orbital sanders help reduce swirl marks, but that doesn't mean there will be no marks at all
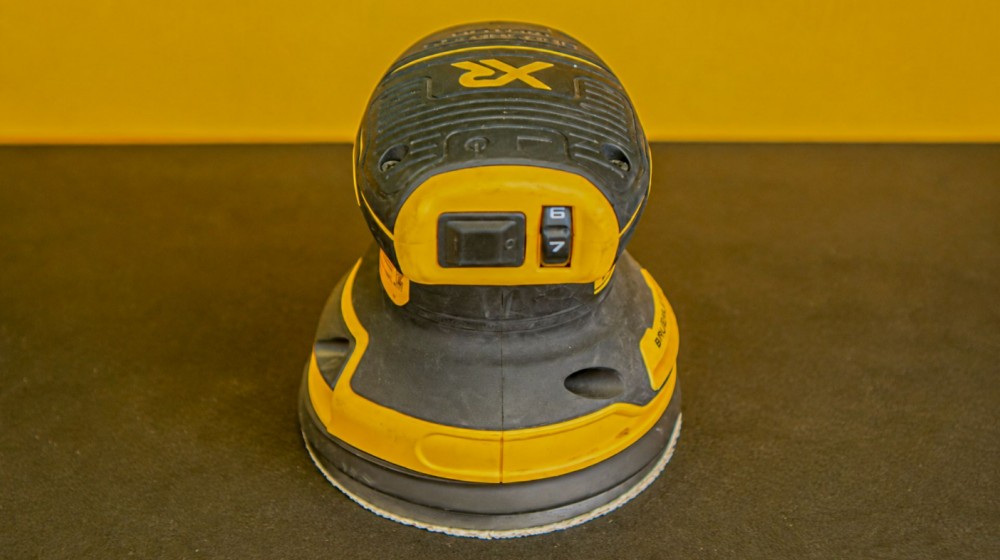
A random orbit sander (random orbital sander) is one of the most popular tools for woodworking and finishing tasks. The sanding pad does not simply rotate in a circle; it combines eccentric or orbital motion with rotation, causing sandpaper scratch patterns to disperse and become much less visible than with unidirectional sanders.
Many people believe that using a random orbital sander leaves no circular marks at all.
- Clogged sandpaper
- Dust trapped under the sanding pad
- Applying too much pressure
- Lifting the sander off the workpiece while it is still running at high speed
These factors can also cause circular scratches or swirl marks.
Pressing down too hard: more pressure does not mean a smoother finish
One of the most common habits when using a sander is that when material removal feels slow, we immediately apply more pressure, thinking that pressing the sandpaper harder against the surface will speed up the sanding process.
However, most electric sanders are designed to use the tool's own weight as the primary downward force. Particularly with random orbital sanders, excessive downward pressure can disrupt the intended pad rotation, drop the RPM, and restrict the free orbital movement of the sandpaper. When the sanding pad cannot move properly, the scratches become concentrated in one spot, resulting in visible swirl marks, circular rings, or heat buildup on the surface.
A better approach is to hold the sander steadily, prevent it from bouncing, and let the tool's weight and abrasive grit do the work. If you feel that heavy pressure is required to remove material, check the grit size and condition of the sandpaper first.
Moving too fast or too slow can create a wavy surface
Moving the sander across the workpiece should follow a steady, consistent rhythm, with each pass overlapping slightly to ensure even sanding across all areas.
If moved too quickly, some spots may not be sanded sufficiently; changing the light angle will reveal uneven textures compared to surrounding areas. Conversely, if moved too slowly or paused in one spot, the tool will dig deeper into that area, lowering the surface level and creating hollows or depressions.
This issue is particularly noticeable with softwood, as the material sands down quickly. Pausing the sander for just a few seconds longer in one spot can easily alter the surface level.
Tilting the sander to speed up work: pad edges gouging the surface
When dealing with localized spots or areas requiring fast material removal, you might tilt one side of the sander slightly so that the edge of the sandpaper presses harder into the surface.
While this method does remove material faster, the risk is that the entire force becomes concentrated on a very narrow area. Instead of a 125 or 150 mm base, the actual contact area may shrink to just a few millimeters along the edge. The result is gouges, edge marks, or curved grooves in the surface that are much harder to fix than the original flaw. Generally, you should keep the sander's base flat against the workpiece; if there are deep localized defects, choose a coarser grit sandpaper or address them separately.
Dust can become a source of scratches
A sander's dust collection system doesn't just keep the workspace clean; it also directly affects the surface finish quality.
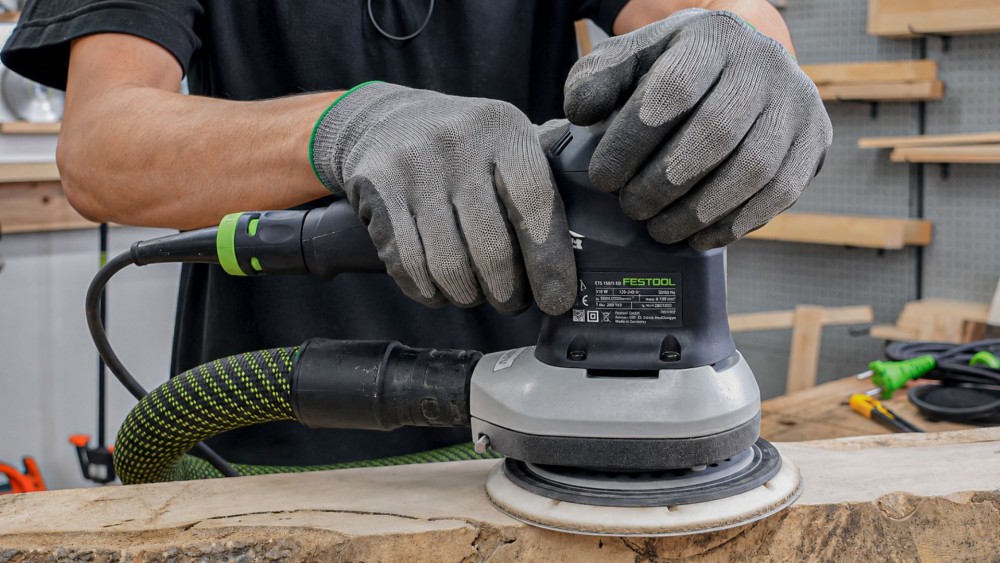
During sanding, a large amount of dust and fine particles is generated. If this dust is not extracted from the contact area, some of it remains trapped between the sandpaper and the workpiece, potentially clumping together or causing abrasive grains to drag across the surface.
Many sander models therefore have holes on the base for extracting dust through the sandpaper. But what if Misaligning the holes causes any negative effects on a random orbital sander? The answer is If the sandpaper is attached and the hole positions do not align with the base, the dust extraction system will not work at full efficiency. Even if connected to a dust bag or a vacuum cleaner.
Before starting to sand, you should check that the holes in the sandpaper align with the holes on the backing pad. For high-dust tasks, connecting an external vacuum can better help keep the sandpaper surface and workpiece clean.
Setting a Speed Inappropriate for the Material
Many models and types of sanders have adjustable speeds. High speeds help remove material quickly in many situations, but with certain materials such as some paints, plastics, coated materials, or heat-sensitive surfaces, excessively high speeds generate heat buildup, causing the material to soften, melt, or quickly clog the sandpaper surface.
- Edge detailing or hard-to-control areas can use a lower speed for easier tool control.
- Large surface sanding jobs can increase the speed appropriately.
- The maximum RPM figure of the machine should be seen as a "capability range," not a value that must be used at all times.
Turning on the Tool Before Placing It Down, or Lifting It Off While Still Spinning Fast
The way you start and stop the tool can also create marks. Especially with random orbital sanders, if you turn on the machine in mid-air until the pad spins at high speed and then immediately bring it into contact with the workpiece surface, the sandpaper may strike and spin freely on the surface at first, causing localized gouges.
Meanwhile, if you are sanding and pull the tool away from the workpiece while the pad is still spinning fast, the edge of the sandpaper might scrape the surface at the end, leaving marks.
Sanding Across the Grain Can Make Marks More Visible After Finishing
In wood sanding, grain direction affects the final result, especially during the fine finishing stage. Although random orbital sanders help reduce the impact of sanding direction, checking for marks along the grain direction during the final stage remains essential.
Marks that look faint on raw wood can stand out sharply after applying wood stain, oil, or clear coat, because the coating accumulates in the sanding scratches, making the marks darker than the surrounding area.
After using a sander and before applying the finish, you should shine light at an angle across the surface instead of just looking from above. Raking light makes it much easier to spot sanding scratches, swirl marks, and minor defects.

Summary: To Get Good Results with a Sander, Proper Technique is Still Required
Ultimately, a smooth sanding finish doesn't just depend on whether the sander is powerful or expensive. A good tool makes control easier, reduces vibration, and maintains consistent pad motion, but the final result still depends on a combination of choosing the right tool type, sandpaper, speed, applied pressure, and pass technique.
- If it involves heavy stock removal or stripping large surfaces, a belt sander may work faster.
- For finishing work, an orbital or random orbit sander may provide easier scratch control.
- No matter what type of tool you use, progressing through grit sizes appropriately, as well as keeping the abrasive surface and dust extraction system clean, are crucial factors that shouldn't be overlooked.
Therefore, when encountering the problem of Sander uneven sanding, the first step isn't to increase speed, apply more pressure, or buy a more powerful tool, but to ask: "Are our tool, sandpaper, and sanding technique currently suitable for this surface?"