


 EN
 ไทย


Customers Also Purchased


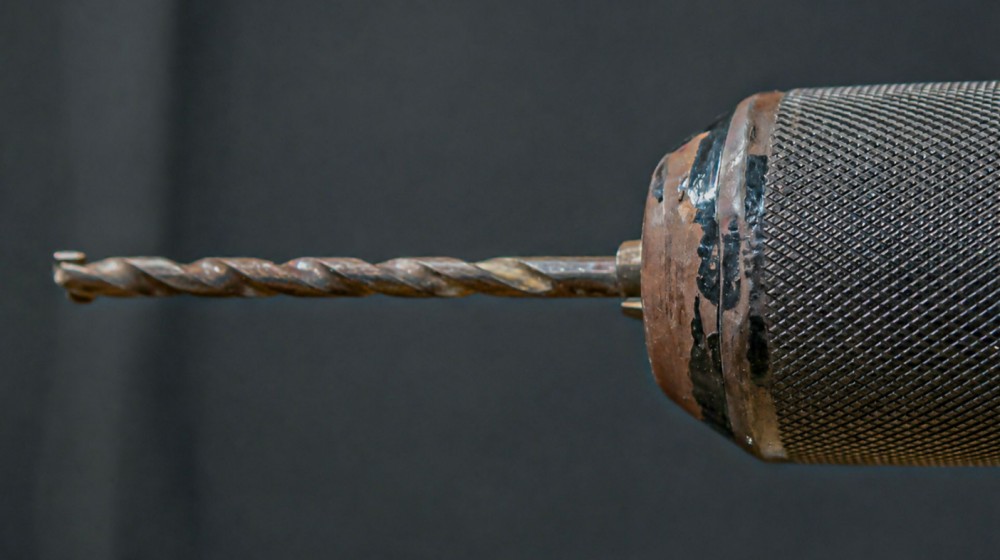
Many people may view Drill Bit as small consumable items that don't require much maintenance. After use, they simply detach the drill bit from the tool and toss it into a toolbox or compartment, assuming that because it's made of hardened steel, it won't easily get damaged. In reality, drill bits can rust, chip their cutting edges, become unaligned, or dull prematurely simply from improper storage—even before they are ever used again.
Drill bits used on metal, wood, concrete, or other materials end up with moisture and fine dust clinging to their surface. If stored immediately without cleaning, the moisture, oil stains, material debris, and collisions between individual bits can gradually degrade drilling performance. The next time you use them, the bit may cut slower, drill off-center, vibrate, or require more feed pressure.
Storing drill bits properly helps preserve their sharpness and shank straightness, reduces rust formation, and keeps them ready for use. Let's look at how to care for and store drill bits after use so they don't rust or dull prematurely.
Why do drill bits rust even when just sitting in storage?
Many people assume rust only forms when drill bits come into direct contact with water. In reality, moisture in the air can also cause metal surfaces to rust, especially for drill bits stored in enclosed spaces where humidity builds up, such as
- Toolboxes placed directly on concrete floors
- Poorly ventilated storage rooms
- Service vehicles parked outdoors
- Work areas near water sources
Many types of drill bits have coatings to help reduce friction, increase hardness, or protect against corrosion. However, through regular use, the coating on the cutting edges and flutes gradually wears away, exposing the underlying metal to air and moisture. If metal shavings, masonry dust, or water stains remain on the surface, the risk of rust formation increases even further.
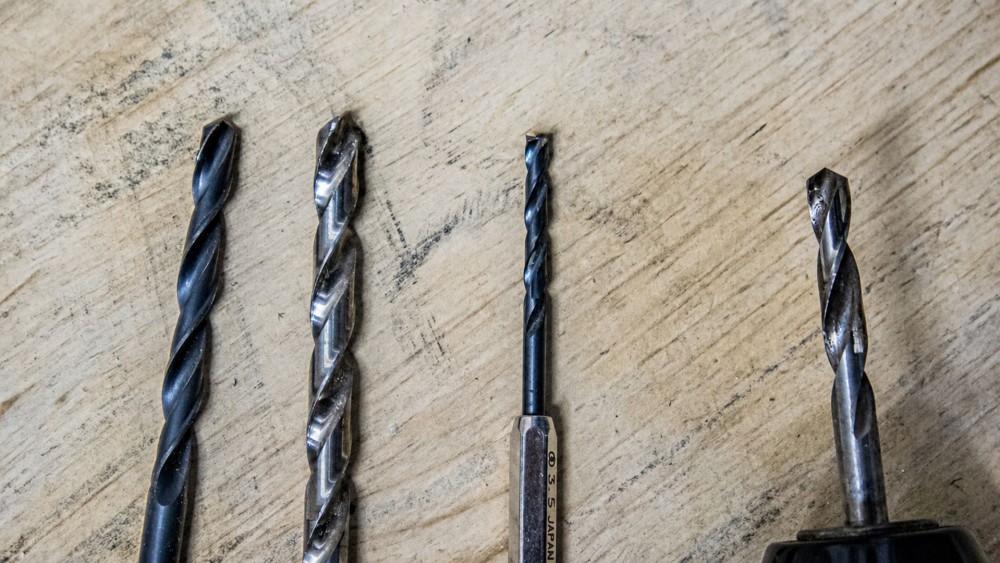
Hand sweat is another frequently overlooked cause, as perspiration contains both water and salt. Handling drill bits with bare hands and storing them immediately without wiping them down can cause small rust spots to form on the metal surface—especially on the shank where we grip most often. While these spots may not immediately impair drilling performance, leaving them untreated allows rust to spread closer to the flutes or cutting edges.
A Little Rust Affects Drilling More Than You Think
A light spot of rust on the shank might not ruin a drill bit immediately, but once rust forms in the flutes or along the cutting edges, the impact becomes much more noticeable. The rough surface increases friction, making it harder for debris to clear out of the hole and causing the bit to build up more heat than usual.
As heat builds up, the cutting edge wears out faster, making the bit cut slower, requiring more downward pressure, or causing the drill to vibrate during operation. In some cases, a rusty shank can become stuck inside the chuck, especially after prolonged storage in damp conditions. Preventing rust from the start is therefore far easier and more cost-effective than dealing with it later.
What should you do after use before storing drill bits?
Preventing drill bits from rusting starts the moment you finish using them.
- The first step is to let the drill bit cool down, especially bits used for drilling steel, stainless steel, or other hard materials. After drilling,
- bits can reach extremely high temperatures. Storing a hot bit inside a closed box immediately causes residual heat to create condensation and trapped moisture within the case.
- Never touch a drill bit with bare hands immediately after stopping the tool, as it can cause burns or lead to accidental drops that damage the cutting tip.
- Place the bit in a safe location and allow it to cool naturally. Avoid quenching it with water to speed up cooling, as sudden temperature shifts can compromise the metal structure or the surface coating of certain bits.
- Once the bit has cooled, use a soft-bristled brush, a dry cloth, or a small brass brush to clear debris from the flutes.
- For wood drill bits, check for sap residue or packed sawdust in the flutes, as sticky residue traps moisture and causes new chips to accumulate easily.
- For masonry drill bits, brush away as much cement dust as possible, since fine concrete dust readily absorbs moisture from the air.
Wipe dry before applying rust-preventive oil
Once the bit is completely dry, apply a thin coat of rust-preventive oil or metal tool maintenance oil. Apply a few drops of oil onto a cloth first and wipe the surface of the bit; do not pour or spray oil directly until it is dripping wet, as excess oil attracts dust, soils the case, and can stain workpieces during subsequent use.
For drill bits that are used regularly, a light coating of oil is sufficient. However, if you plan to store them for several months, choose a rust-preventive coating suitable for metal tools and periodically check their condition. Before using the drill bits again, wipe off any excess oil, especially when drilling wood or materials where oil stains are undesirable.
What type of box should you store drill bits in?
A proper drill bit case should keep each bit separated, reduce impacts, protect against dust, and allow for easy access. A hard plastic case with slots corresponding to bit sizes is an ideal choice for general users, as it allows you to see the sizes clearly and secures the bits so they do not roll or bump into each other during transport.
For technicians who frequently work on-site, a metal box or a professional-grade plastic case with a tight-fitting lid, sturdy hinges, and secure latches that won't easily open on their own is a great choice. The interior should have a protective lining or retaining slots to prevent the cutting edges from impacting the case directly.
Do not force a bit into a slot that doesn't fit its size, as this may push the tip against the lid or cause the bit to get stuck so tightly that excessive force is needed to pull it out.
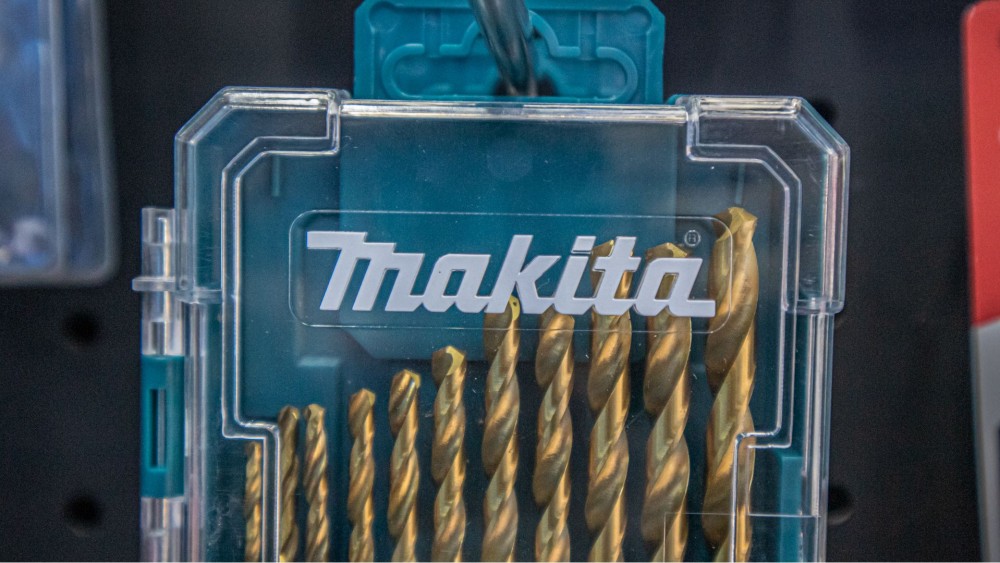
Drill bits purchased as a set often come in the original manufacturer's case designed to accommodate the size and shape of each bit. If the case is still in good condition, without cracks and with intact latches, using the original case is the easiest and safest method.
Separate different types of drill bits
If you have multiple types of bits, besides understanding How different are wood drill bits and metal drill bits? Can they be used interchangeably? You should separate cases for metal drill bits, wood drill bits, masonry drill bits, tile drill bits, and hole saws. Each type has different cutting edges and profiles; storing them together may cause the sharp edges to collide or catch against each other, leading to damage.
Where you place the drill bit case is also important
Even with a high-quality storage case, storing it in an unsuitable area can still lead to rust. Store the case on a raised shelf off the ground, and avoid placing it directly against concrete floors or walls, as they can accumulate moisture—especially during the rainy season or in storage rooms lacking proper ventilation.
Do not place the drill bit case near sinks, water pipes, parts-washing stations, or areas exposed to water mist and chemicals. In addition to humidity, vapors from certain chemicals can react with metal surfaces or degrade plastics and rubber inside the case more quickly than normal.
Additionally, if you must store drill bits in a vehicle, choose a tightly sealed case, insert silica gel desiccant packs, and inspect their condition periodically.
Desiccant packs help, but they must be replaced as needed
Desiccant packs can help reduce moisture inside the case, especially for drill bit boxes that are rarely opened. However, don't just put them in and forget about them; once the desiccant becomes saturated, its efficiency drops and it may no longer control moisture inside the case properly.
Choose desiccant packs with an indicator or set a schedule to check them about once a month. If the pack is damp, swollen, or changes color according to product specifications, replace it or dry it as instructed. Never use damaged packs or those with leaking beads, as desiccant beads can get stuck in the flutes and cause extra mess.
Do different types of drill bits require different care?
The basic principles of drill bit maintenance remain the same across all types: Clean, dry thoroughly, protect from moisture, and separate them to prevent cutting edges from colliding. Some details may vary depending on the shape and material of the bit.
- For metal drill bits, pay close attention to cutting oil residue and fine metal shavings, as debris can stick tightly in the flutes and become moisture traps.
- For wood drill bits, watch out for tree resin, as well as the center brad point and spurs, which are small and chip easily; do not store them together with large bits or heavy tools.
- For masonry drill bits and rotary hammer bits, brush dust out of the flutes and off the shank thoroughly, especially on SDS shanks with locking grooves. Concrete dust packed inside the grooves can make chuck insertion difficult and increase wear on the bit-locking mechanism.
- Tile, glass, or brittle material drill bits have specially shaped cutting tips. They should be stored in sleeves or separate compartments because a chipped tip can cause the bit to slip and wander, making the workpiece more prone to cracking.
A drill bit is starting to rust—can it be fixed?
5 telltale signs that let you know it's time to replace your drill bits! If it is just light surface rust on the shank or non-cutting areas, you can use a cloth dipped in rust-preventive oil or a brass brush to scrub gently, wipe it clean, and reapply a thin coat of oil. However, avoid using coarse sandpaper, grinding stones, or tools that remove too much metal, as they may alter the shank diameter or leave the surface uneven.
If rust forms on the cutting edge, do not scrub or grind it without knowledge of angles, as altering the cutting edge angle even slightly can throw off the bit's balance, cause drifting, and generate high heat. Deep dive into drill bit point angle theory: What should you understand?
If the rust is deep, the tip is chipped, the shank is bent, or the bit vibrates abnormally, replacing it with a new drill bit may be safer and more cost-effective, especially for small bits or those with specialized cutting edge profiles.

Conclusion: Storing drill bits properly truly extends their lifespan
Preventing drill bits from rusting and dulling prematurely starts with after-use care every time: wait for the bit to cool, brush away debris, wipe it dry, and apply a thin coat of rust-preventive oil. Store each bit in separate compartments by type and size, do not pile them with heavy tools, and do not leave bits mounted in the drill chuck for extended periods.
The storage area should be dry and well-ventilated, kept away from bare concrete floors, concrete walls, water sources, and chemicals. If you must store drill bits in a vehicle or a high-humidity area, use an airtight box, add desiccant packs, and inspect their condition regularly to address rust spots before they spread.
Drill Bit Properly maintained drill bits retain their sharpness better, drill straighter, reduce heat and vibration, and prevent the drill from working harder than necessary.