


 EN
 ไทย


Customers Also Purchased

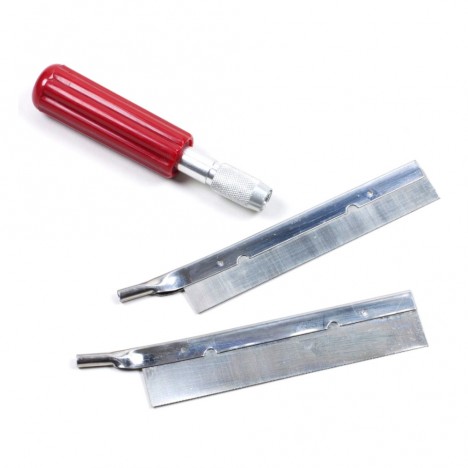


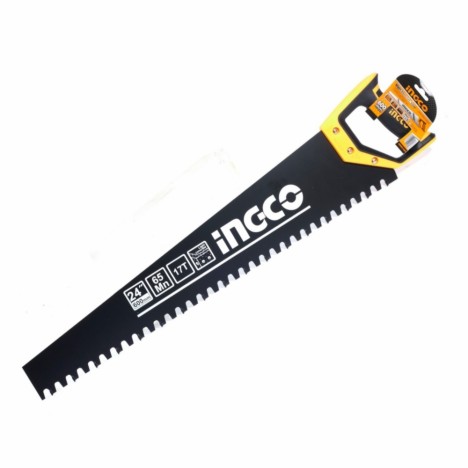

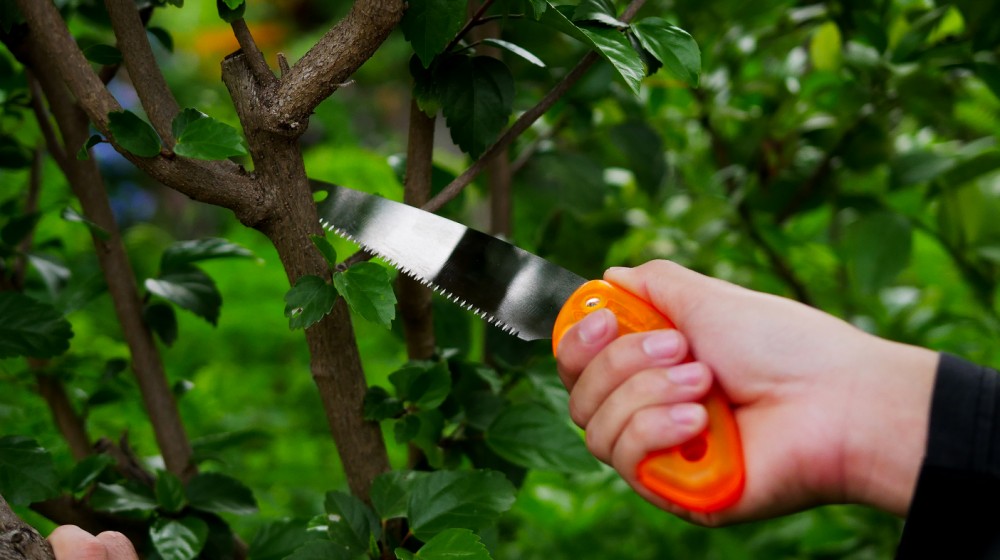
Many homes already have a saw hand saws in their toolbox, whether it's a hand saw, folding saw, or pruning saw. When it's time to actually get to work, a popular question follows: "Can one saw be used to cut both green wood and dry wood? Wood is wood, so as long as it cuts through, that should be enough!" But on the actual job... it's not that simple! That's because "green wood" and "dry wood" behave completely differently when being cut—in moisture content, fiber toughness, sap, and tooth gullet clogging.
- Using a dry wood saw to cut green wood results in binding, a stuck blade, and a kerf packed with wet sawdust, forcing you to stop and tap it out repeatedly.
- Using a green wood saw to cut dry wood results in a rough cut, splintered and chipped grain, and difficulty maintaining a clean, precise cut line.
In this article, we'll take a clear look at which saw teeth are designed for which tasks, how to use them without wasting energy, and whether—if you already have one saw—it's time to buy a dedicated one or if you can still manage with what you have. Let's find out!
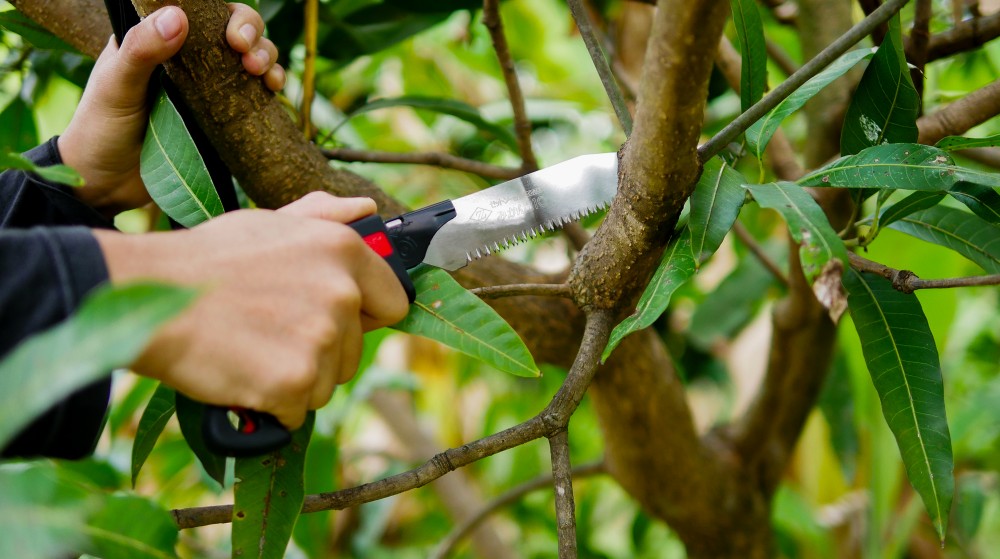
How Green Wood and Dry Wood Differ from a Hand Saw's Perspective
Before concluding whether you can use the same hand saw for both, you must first understand that these two types of wood differ not just in cutting time, but in completely opposite internal structures.
- Green wood (flexible and blade-pinching): The wood cells still retain moisture and are packed with sap, giving the grain a sticky toughness. When sawing, the kerf tends to "close in" and pinch the blade, plus wet sawdust easily clogs the gullets, causing the saw to bind.
- Dry wood (hard, brittle, and tear-prone): Processed, kiln-dried timber is dry, hard, and brittle. Sawdust is loose and easily clears from the gullets, but beware: using a saw with teeth that are too coarse or aggressive will easily cause the edges to tear, chip, and splinter.
A binding hand saw doesn't mean it's broken! This answers the question: "Why did it cut through lumber smoothly yesterday, but binds so badly trimming green branches today?" The problem isn't the saw; it's the material's behavior resisting in completely different ways. Saw teeth designed for one job aren't always the right tool for another.
Can You Use the Same Hand Saw?
The short answer is: it can work in a pinch, but the result won't be 100% ideal. For small, odd jobs like trimming tiny branches out front or general DIY, a single multipurpose hand saw can get you by if you don't care much about how clean the cut looks. But if you're taking on serious work—like cutting lumber for furniture where neat joints are critical, or regularly pruning garden branches—using the right type of hand saw will save you immense effort and time.
To put it into perspective, a hand saw is just like a single kitchen knife. Using it to chop vegetables, fillet fish, or hack through bones can somewhat work... but if you have to do it every day, you'll immediately realize that using the right knife for the job is way easier! Hand saws are no different, because blade thickness, tooth angle, and the chip clearance system are all specifically designed to directly determine your work quality and your level of fatigue.
The Woodworking Arena: Why is 'green wood' sticky to saw, while 'dry wood' tends to splinter and tear out?
The green wood nightmare: difficult sawing, sticky resistance, and clogged teeth! Many mistakenly assume that wood still retaining moisture should be soft and easy to slice through. The reality is that sap and moisture make the wood structure extremely tough and flexible. Sawdust doesn't crumble into powder; instead, it clumps into wet debris, leading to these classic problems:
- Clogged teeth: Wet wood debris and sap completely clog the gullets, causing the saw to slip and fail to bite into the wood.
- Kerf pinching: The wood's flexibility combined with the downward weight of bending branches often pinches the blade tightly in the middle of the cut.
- Friction and kickback: Moisture creates high friction, and if you start cutting at a poor angle, the blade will easily bind, buckle, or jump.
- The core secret: A good green wood saw isn't judged by how fine the cut is, but its teeth must have wide gullets focused on chip clearance to fling wet wood debris away as fast as possible!
The dry wood nightmare: Smooth, effortless sawing... but ruined edges! For dry wood, lumber, plywood, or MDF, the issue of sap clogging disappears because the wood is hard, brittle, and the sawdust clears easily. However, the formidable enemy you have to watch out for instead is torn wood fibers and splintered, chipped edges.
- Overly coarse teeth rip up edges: If you use a coarse-toothed saw on thin wood panels, it will violently tear the wood grain, splintering and fraying the edges (like running a wide-tooth comb through tangled hair). This leaves an ugly cut and wastes time on sanding and clean-up.
- Overly fine teeth waste your energy: Conversely, if you use an ultra-fine tooth saw to cut thick timber, it will cut excruciatingly slowly and exhaust you unnecessarily.
- The core secret: For dry wood saws, "sharpness" alone isn't enough; you must select the tooth fineness to match the thickness of the wood sheet to balance clean cuts without wasting effort.
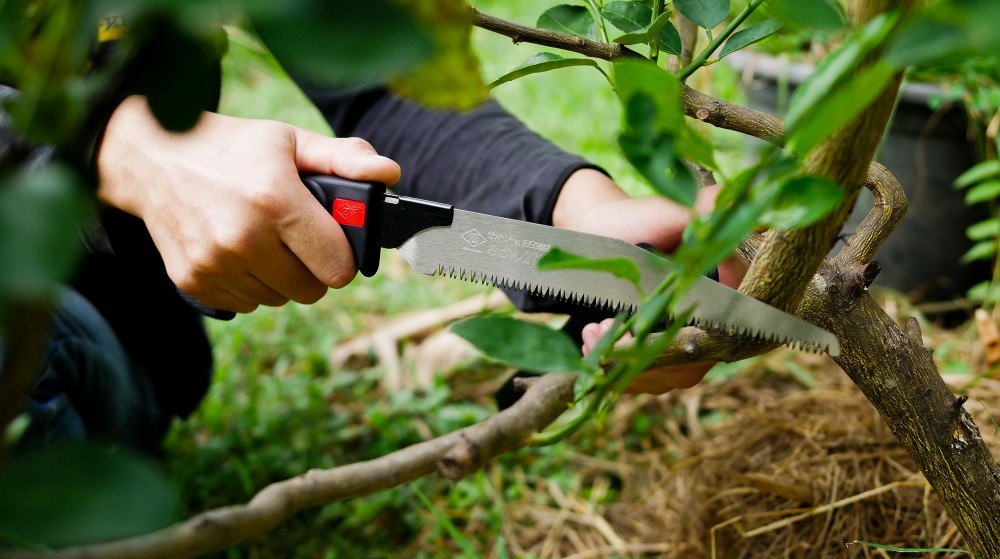
Saw teeth are the heart of a hand saw: green wood requires one type of tooth, while dry wood demands another.
To understand hand saws more deeply, look at the saw teeth first. Saw teeth are the part in direct contact with the wood. Coarse teeth, fine teeth, tooth angle, chip clearance gullets, and tooth set (alternating left and right) all dictate how fast it cuts, how clean the finish is, how well it clears debris, and how easily you can control the cut line.
Hand saws for green wood, especially pruning saws, typically feature relatively coarse teeth with wide gullets designed for superior debris clearance. When cutting green wood, the wood chips are damp and sticky; if the gullets are too narrow, debris will pack tightly in no time, making the saw drag and rapidly draining your strength. Saws for dry wood or milled lumber, on the other hand, usually require a balance between speed and smoothness. For general framing, a medium tooth count works well, but for fine joinery demanding pristine edges, choose a finer tooth configuration.
Why is TPI important for a hand saw?
Many people have probably wondered in their minds, "What is TPI? Does a higher tooth count really mean the hand saw cuts better?" To put it simply: TPI stands for Teeth Per Inch. The higher the TPI, the finer the teeth; the lower the TPI, the coarser the teeth. As a general rule, coarse teeth cut faster and clear debris better, but yield a rougher finish. Fine teeth produce smoother cuts, but cut more slowly and can clog easily if used on the wrong material.
For green wood, coarse teeth or teeth with wide clearance gullets are generally more suitable because they effectively discharge wet wood chips from the kerf. For dry wood, especially milled lumber or projects requiring a neat finish, medium to fine teeth offer better cut control. However, for large dry timbers where edge smoothness isn't crucial, moderately coarse teeth remain advantageous for faster cutting speeds.
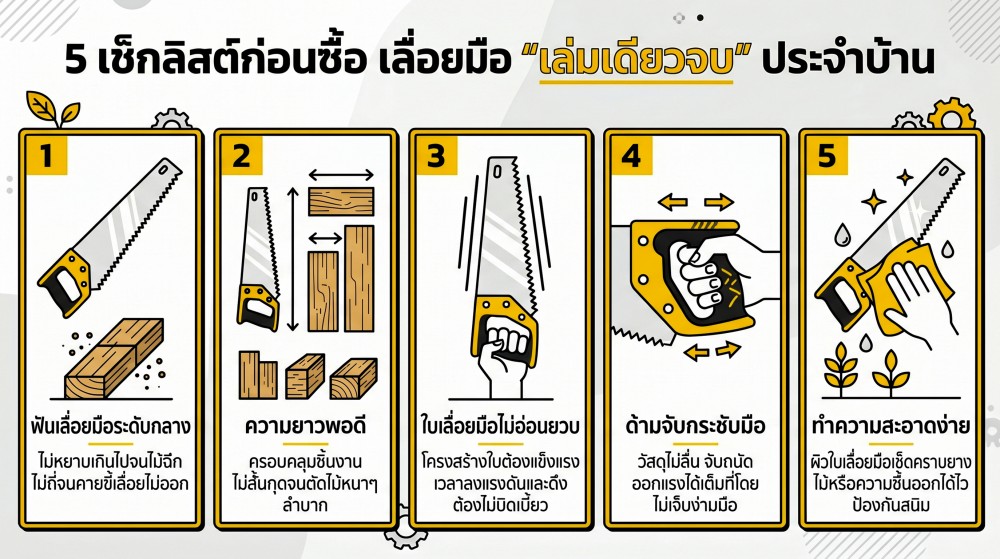
On-site tips: How to saw so that 'green wood doesn't pinch' and 'dry wood doesn't fray'?
Sawing with brute force doesn't always mean cutting through wood faster. Let's look at hand saw techniques to save energy and get quality results.
Techniques for handling green wood (smooth cuts, no pinching)
- Let the saw do the work; never force heavy pressure. Pull and push with long, steady strokes. Forcing downward pressure will only pack wet wood chips into the gullets, causing the saw to bind.
- Undercut before cutting from the top. Observe the branch's direction carefully. If gravity is pulling it down, make a small "undercut" notch on the underside of the branch first, then cut down from the top. This prevents the kerf from pinching the saw blade and stops the bark from tearing raggedly.
- If it gets pinched, don't pry! If the saw gets stuck in the kerf, never rock, pry, or twist the blade, as it will bend and lose alignment immediately.
- Wash off sap immediately. Once cut, wipe away sap residue and damp wood chips right away. Don't let it dry and cake on, as it turns into gummy glue that makes the saw completely stick on its next use.
Techniques for handling dry wood (straight lines, clean splinter-free edges)
- Start the cut gently. Beginners often cut crookedly because they rush to apply pressure right from the first stroke. The right way is to pull lightly to "create a guide groove" so the blade catches its track. Once settled, increase your stroke length and pressure.
- Clamp the workpiece as securely as possible. If the wood isn't firmly supported, it will flutter while sawing. This vibration causes the saw teeth to impact the wood, resulting in chipped, splintered edges.
- DIY secret trick (masking tape saves the day): If cutting plywood or wood with a fine finish, apply "masking tape (paper tape)" over the cut line before sawing. The tape holds wood fibers together, noticeably reducing the chance of edge tear-out!
Conclusion
To summarize clearly: a single hand saw can cut both "green wood" and "dry wood"... but it will be a "compromise on both ends".
- Green wood is tough and sap-heavy, requiring coarse teeth focused on "chip clearance".
- Dry wood is hard and brittle, requiring fine teeth to keep edges "from splintering".
For odd jobs around the house, a single "multi-purpose saw" is a great value. But if you tackle regular garden work or serious woodworking, investing in dedicated saws makes work easier, less tiring, delivers clean cuts, and extends blade life far beyond the cost.
Select hand saws here