


 EN
 ไทย


Customers Also Purchased




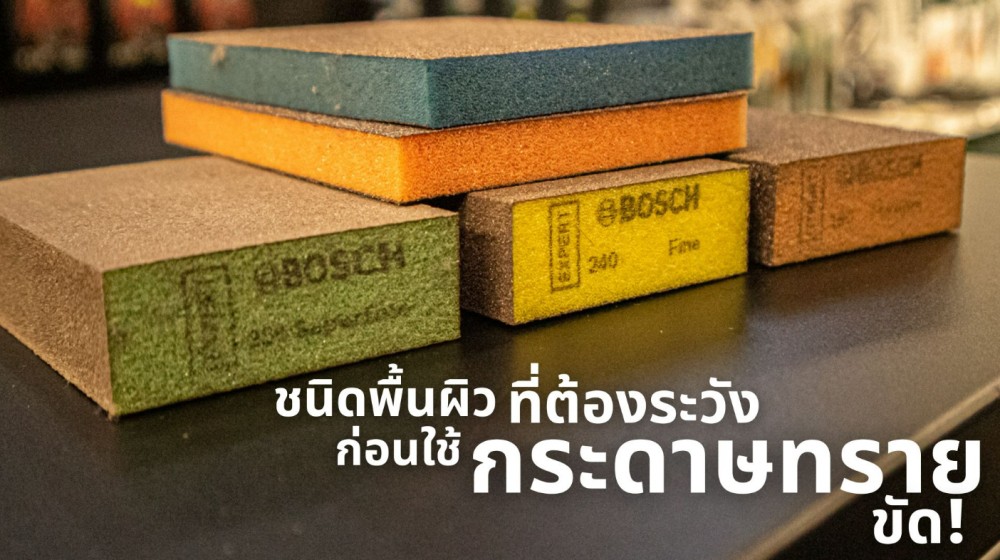
Picture this: you're working along smoothly, spot a stain, a scratch, or an oily spot, and instinctively reach out to grab Sandpaper automatically thinking, "Just a quick sand and it'll be smooth and nice." But after just a few passes, instead of getting better, the workpiece looks shockingly worse—because you weren't just sanding away the stain, you were stripping away an essential surface layer.
When you're in a rush, you see a problem and just want it resolved as fast as possible. Sandpaper is the easiest to grab and the most familiar tool. However, sanding isn't the right answer for every surface. So before you start sanding, take a moment to ask yourself: "Am I fixing a stain, or am I accidentally ruining the piece?"
In this article, we'll look at which surfaces you should be cautious about sanding—where a little sanding can turn into a full rework of the entire piece, when it "looks like you should sand" but you should actually stop first, and if you really must do it, what precautions to take so you don't ruin critical surface layers, along with safer alternatives that deliver a smoother finish so you don't waste time fixing mistakes or ruin materials needlessly.
Why do some surfaces react poorly to sandpaper?
Besides 5 common sandpaper misconceptions you should stop believing It's important to understand that sandpaper actually "cuts" the surface micro-fine; it doesn't just wipe it clean. It genuinely removes material in a way that is hard to reverse. That's what makes it both "useful" and "dangerous" at the same time—especially on surfaces that aren't solid, homogeneous material because they have a thin coating.
When you sand with sandpaper, you are doing these things even without meaning to:
- Cutting through coatings / topcoats That provide gloss, water resistance, and stain resistance, leaving behind a dull, matte finish
- Cutting through paint layers or paint films Causing uneven thinning of the color, resulting in patches, uneven sheen, or sanding through to the primer layer
- Cutting through plating, anodized, or sprayed surface layers That prevent rust or tarnishing. Once this layer is compromised, the surface degrades rapidly and subtly.
- Damaging textures Such as anti-slip finishes, grain patterns, or brushed finishes, causing the pattern to ruin or the functional properties to disappear
- Creating micro-scratches On clear or glossy surfaces that combine to create permanent haze or cloudiness
What surfaces should you avoid sanding with sandpaper?
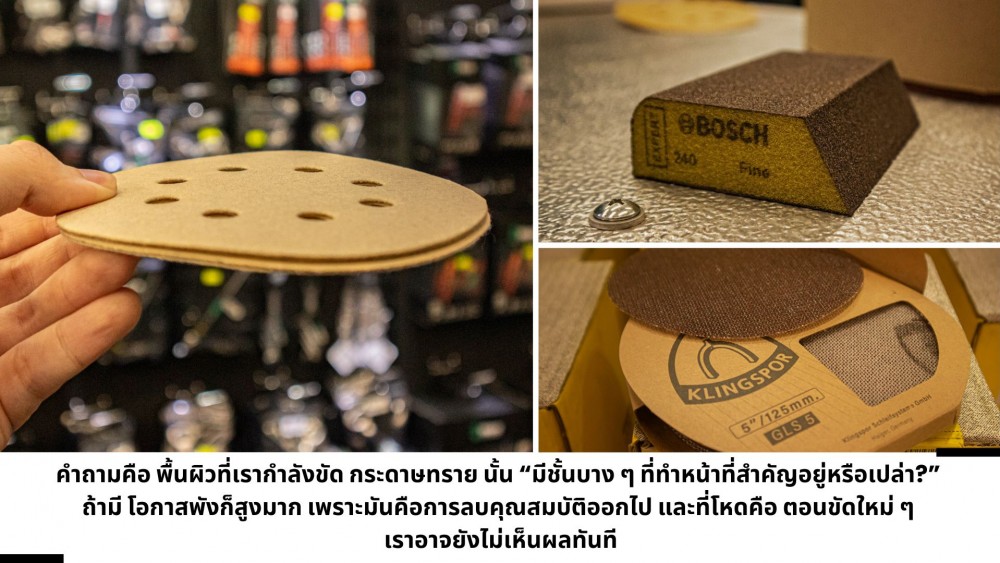
Sandpaper isn't just for sanding wood! 6 uses you might never have known Many workpieces aren't just bare material all the way through—they feature thin coatings, platings, films, or textured surfaces. When sandpaper touches them, even if you only intended to remove a small stain, the result can end up stripping away the entire protective system.
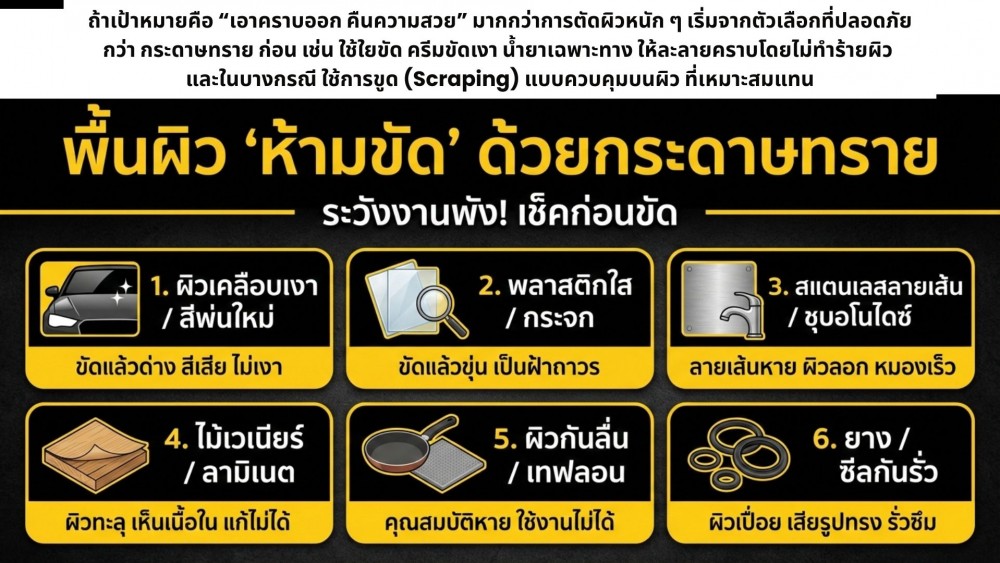
Therefore, if a surface is coated, plated, sprayed, transparent, brushed, anti-slip, non-stick, or pre-finished, consider it a high-risk surface first before deciding whether using sandpaper is a good idea.
1. Gloss / Hard-coated surfaces (Clear coat / Topcoat)
If you've ever sanded glossy furniture only for it to turn into a dull, matte patch, that's because the clear coat or topcoat is extremely thin. Its vital job is to repel water, resist stains and scratches, and provide an even gloss.
When using sandpaper, you aren't just sanding away stains—you are sanding away the “protective coating.” The exposed underlying surface will then absorb unevenly, resulting in patchy, circular stains. Fixing this often forces you to sand the entire panel to make it even, or recoat the entire piece altogether. The best approach is to use task-specific cleaning solutions (wiping), extra-fine Scotch-Brite pads, or polishing compounds instead of “eroding” the surface with sandpaper.
2. Uncured spray paint / coatings (Fresh paint / Soft coating)
Many people are impatient: right after painting, they notice dust or uneven paint texture and immediately grab sandpaper to smooth it out. However, paint that hasn't fully cured remains gummy. Sanding it instead of making it smooth will cause wrinkling, clumping, or long dragged scratch marks. Recoating over this won't look smooth either, because the structural integrity of the base surface has already been compromised.
Some types of paint dry to the touch quickly but are not yet hard enough to be sanded, especially epoxy, PU paints, or certain anti-corrosion coating systems. You should wait for them to cure according to specifications.
The best solution is wet sanding using 1000-grit or higher waterproof sandpaper with clean water to reduce heat and friction, preventing paint from melting, clogging the sandpaper, and peeling off the paint film.
3. Clear plastic / Acrylic / Polycarbonate (Acrylic / PC)
Clear plastic scratches very easily. This might tempt you into thinking sandpaper can eliminate scratches, but in reality, you will end up creating permanent “cloudiness.”
Acrylic and polycarbonate have factory-finished surfaces that are clear and smooth. Using sandpaper—even fine grits—can create micro-scratches that, no matter how much more you sand, only result in “the same haze, just finer.” Unless you follow up with specialized polishing steps, it will never regain its original clarity. Better alternatives include headlight/lens restoration kits, plastic polishing compounds, microfiber cloths, or specialized abrasive film, which control scratch marks much better.
4. Hairline / Brushed stainless steel
It's true that stainless steel “doesn't rust easily,” but that doesn't mean you can “sand it with anything.” This is especially true for brushed stainless steel, which has a directional grain pattern applied intentionally for aesthetics. If you sand it in circular motions or across the grain lines, the overlapping scratches will create very noticeable crosshatches, particularly under lighting.
We recommend using synthetic non-woven abrasive pads (commonly referred to by tradespeople as industrial Scotch-Brite). Their high flexibility won't aggressively eat away or distort the stainless steel surface like regular sandpaper. For consistent results, pair them with a dedicated burnishing machine / hairline finish sander to produce continuous, uniform lines just like a factory finish.
5. Anodized aluminum / Plated surfaces
Anodized or plated surfaces are thin layers designed to give the workpiece scratch resistance, corrosion resistance, and a uniform aesthetic finish. Sanding them is essentially “stripping off their protective armor.”
Right after sanding, it might look fine, but soon after, it will begin to show spots, stains, and rapid oxidation—especially on aluminum, which tarnishes quickly when exposed to air. Clean with dedicated cleaners, use non-abrasive metal polishing creams that won't strip the surface layer, or, if the surface is severely damaged, consider re-anodizing or re-plating instead.
6. Wood with veneer or thin laminate surfaces (Veneer / Laminate)
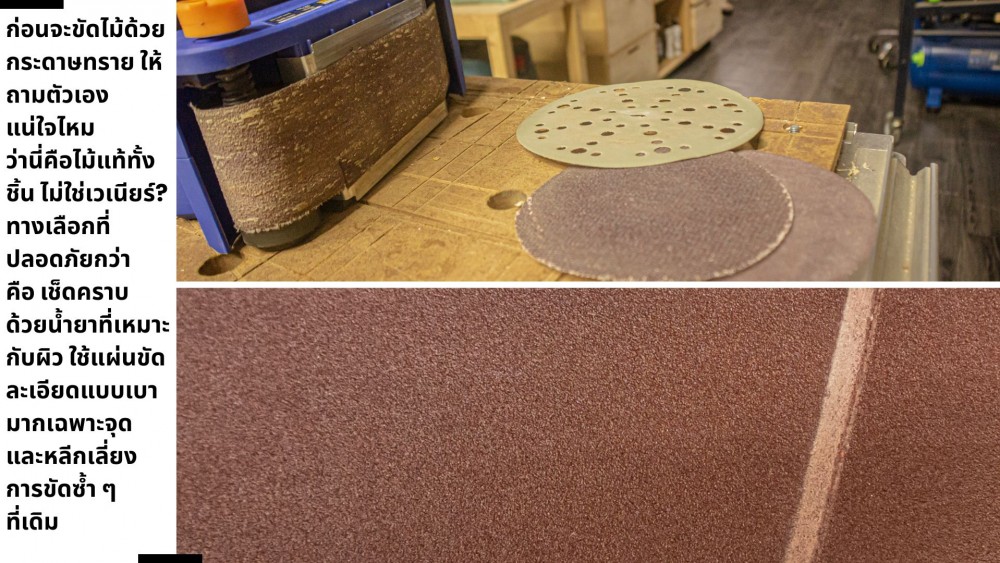
Veneer is an extremely thin sheet of wood applied to give the appearance of solid wood, while laminate is a protective top surface engineered for scratch resistance and easy cleaning. Initial sanding might seem to level the surface, but sand just a fraction too deep and you can easily burn through the thin layer. What emerges underneath is the core material or substrate with an entirely different color—practically impossible to fix unless you re-face the entire piece.
7. Anti-slip / Textured coatings
Anti-slip surfaces and textured coatings are intentionally designed to be “non-smooth,” whether for safety or specific functional purposes. Using sandpaper to clean or smooth them out can strip away the non-slip texture entirely.
Some people sand bathroom floors, stairs, or factory floors assuming they are removing stubborn stains, only to end up with a surface that is more slippery than before and blotchy due to uneven texture. When dealing with this, use stiff brushes and stain-removing cleaners alongside a pressure washer, or non-woven abrasive pads that won't overly wear down the texture.
8. Non-stick coating / PTFE (Teflon coating)
Teflon pans, non-stick cookware, or certain parts with non-stick coatings—once you sand them with sandpaper, it's game over. The surface can be ruined immediately, and the more you sand, the more the coating will peel off in sheets.
If you encounter this type of surface, ask yourself: are you scrubbing away a "stain" or scrubbing away the "functional properties" of the workpiece? Alternatives to sandpaper include soaking in warm water with a suitable detergent and using a non-abrasive sponge, or cleaning according to the manufacturer's manual.
9. Rubber / Foam / Gasket
Sandpaper will fray the rubber's surface, making it rough like splinters and causing tiny micro-tears that may not be immediately visible to the naked eye. What is even scarier is the case of seals and O-rings, because their job is to "seal tightly" through smoothness and elasticity. Once sanded with sandpaper, they lose their shape and contact surface, compromising their seal.
Under pressure, heat, or vibration, it will start to seep, leak, or fail intermittently, turning the project into an annoying issue that is hard to diagnose. Instead of using sandpaper, wash with mild soapy water and wipe with a soft brush or microfiber cloth.
10. Glass / Coated glass
Glass is hard, that's true, but "scratched" glass cannot be fixed with sandpaper. Because glass is naturally very hard and smooth, dragging abrasive grits across it will only create countless swirl marks in clear patterns, which become even more visible under angled light or when wiped dry causing hazing. Plus, scratches on glass cannot be "hidden" like on wood or paint; it reflects light intensely.
It is recommended to use Cerium Oxide polishing powder or Polishing Wire brush specifically designed for this purpose instead.
What to check first if sanding is necessary?
Here, let me give you a quick "pause before sanding" checklist. In some jobs, there aren't many alternatives—you have to sand to remove scratches, prepare the surface before painting, or ensure proper adhesion for new glue, paint, or coating. But the point is: being able to sand does not mean you can sand anything, any way you want. So before picking up sandpaper, go through the following checklist thoroughly:
- Does the surface have a coating, plating, or film? If you are unsure, find an inconspicuous spot, sand very lightly with fine-grit sandpaper, and observe whether the surface becomes hazy. If it turns hazy quickly, that means you have already sanded into the coating layer.
- Is the material thin or does it have a decorative surface? Veneer, laminate, thin spray paint, or various decorative finishes can easily be ruined without you realizing it. They have no "thickness" to spare; once sanded through, it's finished.
- Is your goal to remove scratches or to clean? Often we sand when all we really need to do is clean off stains. Using sandpaper does remove stains, but it leaves damaged surfaces in return. If the goal is cleanliness, always start with a cleaning solution and a cloth first.
Conclusion
I am not saying sandpaper is prohibited for everything. What I want to share is "do not let habit decide instead of suitability," because some surfaces have coatings that serve very important functions, and sanding simply rubs that layer away.
Before reaching for sandpaper, I want you to remember this phrase: Are you sanding away stains, or are you sanding away the surface's essential properties? If the answer is still unclear, try starting with a safer alternative first, then decide whether to use sandpaper so your workpiece doesn't get ruined without you even realizing it.
Although it can be used for many jobs, choosing Sandpaper appropriately for the surface is also important. If you choose correctly, the work will look great and be many times more economical than before.