EN
 ไทย


Customers Also Purchased
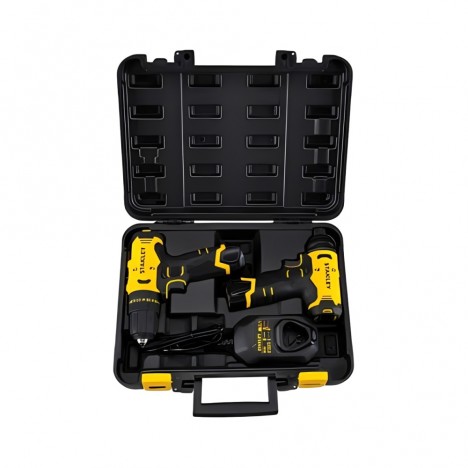
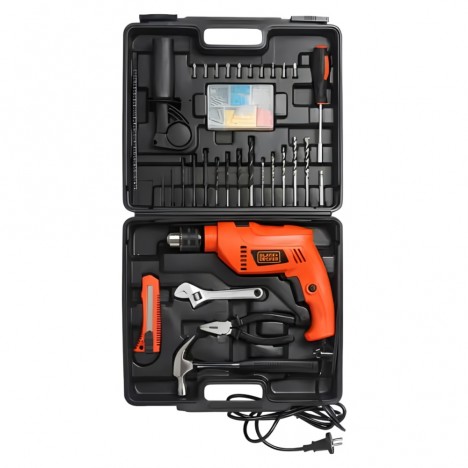


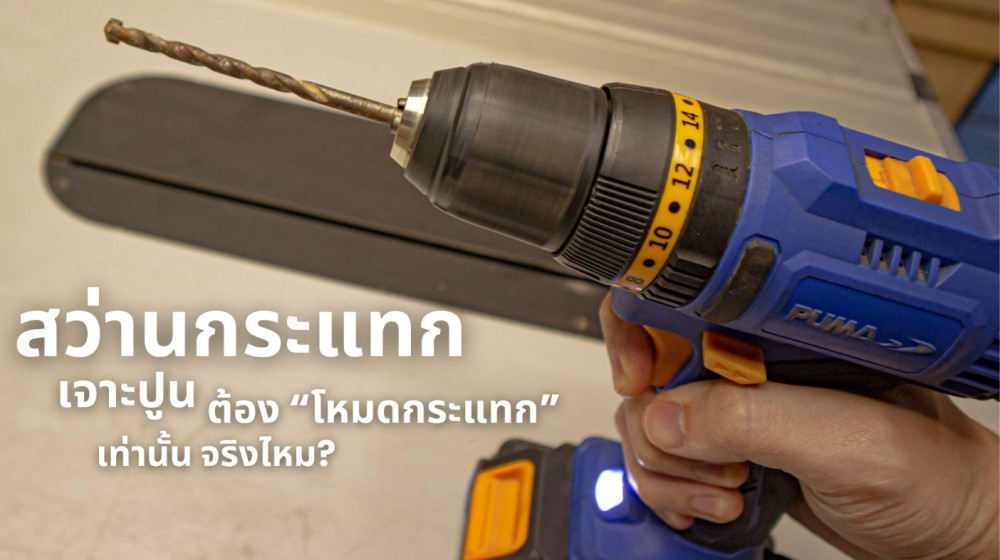
You stand in front of a concrete wall, holding the tool in one hand, hammer drill while using the other hand to estimate the anchor plug position, checking your eye level for alignment. The sound of the motor starting up is accompanied by vibrations reaching your wrist. At this point, it is completely normal to have some hesitation in mind.
When using an impact/hammer drill, should you turn on hammer mode right from the start, or start in rotary-only mode to center the bit before switching to hammer mode when hitting hard concrete? Or in reality, for some jobs—like thin plastered walls, old walls, or tiled surfaces—should hammer mode not be used at all? In such cases, is a hammer drill even necessary?
To be honest, this is an age-old question for many people. Some say, "Drilling masonry requires hammer mode; otherwise, it won't penetrate." Others counter, "Hammering all the time will blow out the hole, loosen wall plugs, and cause things to fall off." When asking someone else, you might get a neutral answer like, "It depends on the material, the bit, and the wall plug." It sounds like an oversimplified answer, but there is genuine reasoning behind it. If you think about it step by step, you can accurately predict even before the bit touches the wall which mode the hammer drill should use to be fast, neat, and ensure the plugs hold firmly.
Therefore, in this article, we will break it down layer by layer. The term "masonry" actually encompasses many different types. We will explore which types of masonry require hammer mode when using a hammer drill, and which types make it unnecessary or even undesirable to use hammer mode at all. We will also cover common mistakes that make people think their tool lacks power, when in reality it comes down to technique, mode selection, or even the drill bit itself.
Before talking about hammer drills, understand that not all "masonry" is the same
The reason the question "Does using a hammer drill on masonry always require hammer mode?" never goes away is because the word "masonry" does not just mean soft plastered house walls. Sometimes you encounter solid cast concrete, lintels/tie columns that are harder than the wall, noticeably soft lightweight aerated concrete (AAC), ventilation blocks, old brittle plaster walls that crumble into dust, or walls covered with tiles. When the materials differ, the actual performance of a "hammer drill" can instantly turn from a hero into a troublemaker.
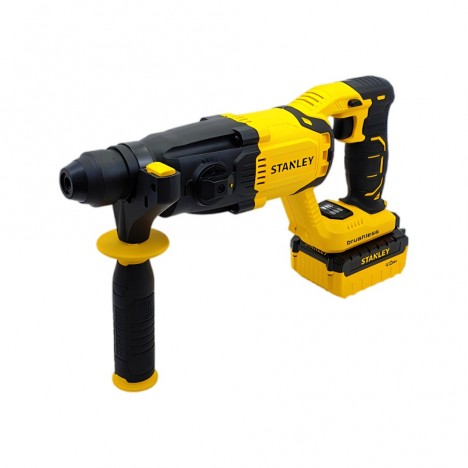
What exactly is a hammer drill? Clearing doubts and answering all questions openly Many people are still confused by the term "hammer drill," as tools on the market fall into at least 2–3 main categories: mechanical percussion hammer drills that operate with ratchet gears, versus rotary hammers that use a pneumatic piston mechanism. These are worlds apart when dealing with hard concrete. If you use the wrong type of machine, even if you engage hammer mode "every time," it will still feel like it won't penetrate.
Standard hammer drills measure impact speed in BPM (Blows Per Minute) Whereas rotary hammers measure impact energy in Joules (J)
Using a hammer drill on masonry: is hammer mode really the only way?
To give you a straightforward answer: That is not true. Drilling "masonry" does not mean you must switch to hammer mode "every time." For materials like lightweight aerated concrete (AAC) or thin plaster, strong impact action can blow out the hole, cause chipping, and make it harder for wall plugs to grip firmly.
However, that doesn't mean hammer mode is "forbidden"! The hammer mode of a drill is still essential for dense concrete or solid masonry walls, especially when drilling deep or drilling multiple holes consecutively. Forcing rotary-only mode in these cases often leads to classic issues: burned bits, dulled cutting edges, dust packing tight in the hole, an overheating tool, and frustratingly slow progress.
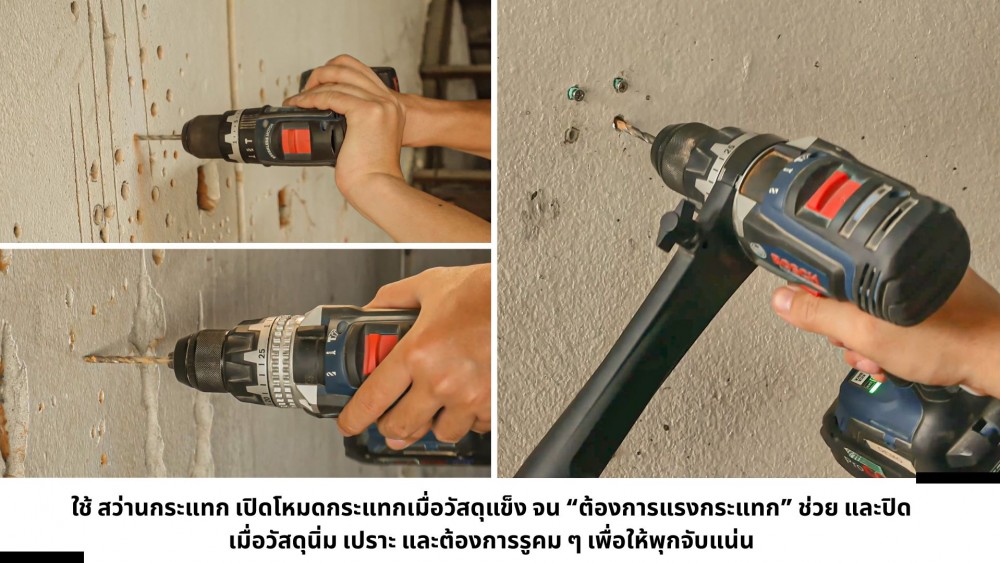
What does hammer mode actually do to "masonry"? (It's not just about drilling faster)
How does a hammer drill mechanism work? Do different sizes drill masonry the same way? In reality, the primary function of a hammer drill's impact mode is to help crush and fracture the structure of brittle materials, such as mortar, concrete, and brick, turning them into powder and small fragments so the cutting edge of the bit can penetrate more easily.
Simply put, in rotary-only mode, you are trying to "scrape" the masonry with the bit's cutting edge. But with hammer mode engaged, you are "hammering and crushing" while rotating at the same time. That makes it far more efficient in hard, dense materials.
The problem arises when used on softer materials like lightweight aerated concrete: hammer mode acts more like "smashing" than "clean drilling," resulting in misshapen holes, deformed wall plugs, or extensive cracking around the hole. This is precisely why some people say engaging hammer mode always leads to loose fittings—when in fact, the material simply didn't require that level of force.
What type of masonry should you use an impact drill with hammer mode turned on?
Let me categorize the materials that tradespeople frequently encounter, so you don't have to guess blindly which mode to use. Once you can identify the material from the start, deciding whether to "turn hammer mode on or not" becomes much easier.
Solid poured concrete / Columns / Beams
If you encounter dense concrete like columns, beams, floors, or precast concrete walls, hammer mode is virtually the default setting for an impact drill. If you force it with rotary-only mode, you'll waste time unnecessarily and risk overheating the drill bit, causing it to dull very quickly.
However, there is one important point to emphasize: if it is extremely dense, heavy-duty concrete with multiple large holes to drill, I will tell you frankly that a "rotary hammer" is clearly more suitable than an impact drill. The impact mechanism is completely different—more powerful, more consistent, and much less tiring.
Plastered walls over red brick / cinder blocks (Most household jobs)
Most home drilling jobs like mounting shelves, hanging rods, or installing junction boxes fall into this category. The external plaster might be hard, but inside could be brick or block, which usually drills well with a "moderate" hammer mode, especially for larger holes or deeper drilling.
However, many people make this mistake: engaging hammer mode right from the moment it touches the wall and pushing down hard on the impact drill, causing the plaster around the hole's edge to chip into a ring and ruining the neat finish. In reality, the technique is very simple: "start with rotation first, then engage hammer mode" to let the bit create a pilot groove first.
Autoclaved aerated concrete (AAC) / Lightweight brick
This is where the term "masonry drilling" confuses people the most. Although lightweight brick is also considered masonry, it is actually very soft and porous. Using an impact drill with full hammer mode will easily widen the hole and prevent standard wall plugs from gripping properly.
For lightweight brick work, many people recommend starting with rotary-only mode to get a hole that is "clean and straight," and then deciding whether hammer mode is necessary—which, most of the time, it isn't. Especially if you are using specialized lightweight brick wall plugs, getting a nicely shaped hole is more important than drilling fast.
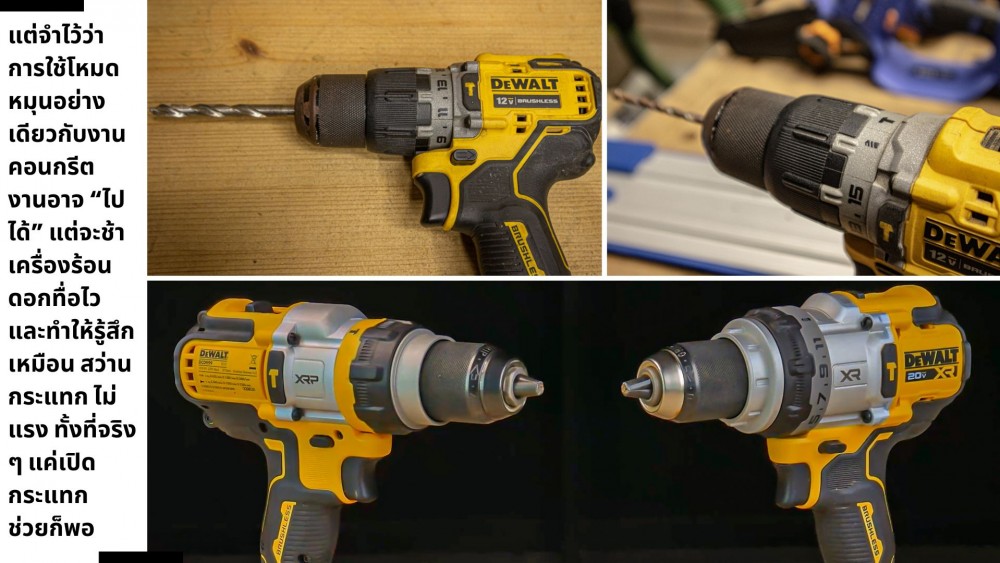
Simple technique: Deciding before drilling with an impact drill
Some people want a quick formula, right? But have you ever wondered why some people pick up an impact drill and punch through in no time, while others try over and over and get nowhere? That's why I've summarized real jobsite methods used by professionals. You can apply them immediately—no guessing, and no wasting time and drill bits on trial and error.
1. Inspect the surface material first
If the surface is hard, smooth, dense plaster, chances are high that behind it is red brick or concrete block; prepare to turn on hammer mode. But if the surface looks granular and light, or sounds very hollow when tapped, it might be lightweight brick or ventilation block. In this case, be careful not to overuse the impact drill.
2. Start with a brief "rotary-only" drill first
This is a trick that ensures very neat work. Start in rotary-only mode for 1–2 seconds to let the drill bit create a pilot groove, then switch to hammer mode once the bit is centered. This method significantly reduces the chance of edge chipping and makes the hole much cleaner.
3. If the bit penetrates slowly with a harsh, screeching scraping sound
This means you are encountering a dense material that specifically requires the force of an impact drill. Turn on impact mode (or increase the frequency/force according to the tool), but maintain steady pressure. You don't need to push with all your might, as excessive pressure wears out the drill bit and overheats the tool.
How to use an impact drill on tiles/surface coatings before reaching concrete?
Modern homes feature tiled walls in many areas, such as bathrooms, kitchens, or even full-wall tiling. The "tile surface" is hard and brittle. If you use an impact drill and turn on impact mode right as the bit touches the surface, the chance of cracking or chipping is very high. A small chip might be tolerable, but on glossy tiles, it can form a long crack that ruins the piece, ending with you having to replace the entire tile.
Therefore, start using the impact drill in rotary-only mode at low speed. Hold the tool steady and perpendicular, and use a tile/glass bit to drill a "pilot hole" through the glaze layer first. If you are worried about the bit slipping, apply masking tape marked with an 'X', or start drilling at a slight angle until the bit bites into the surface before straightening it upright.
Once you have passed through the tile layer, remove the bit, switch to a masonry bit, and only then turn on impact mode when you are truly past the tile layer. Emphasize patience during the "tile surface" stage, as it is the most vulnerable to damage. If you manage this step well, the finished hole will be clean and sharp, without needing to patch it up with silicone later.
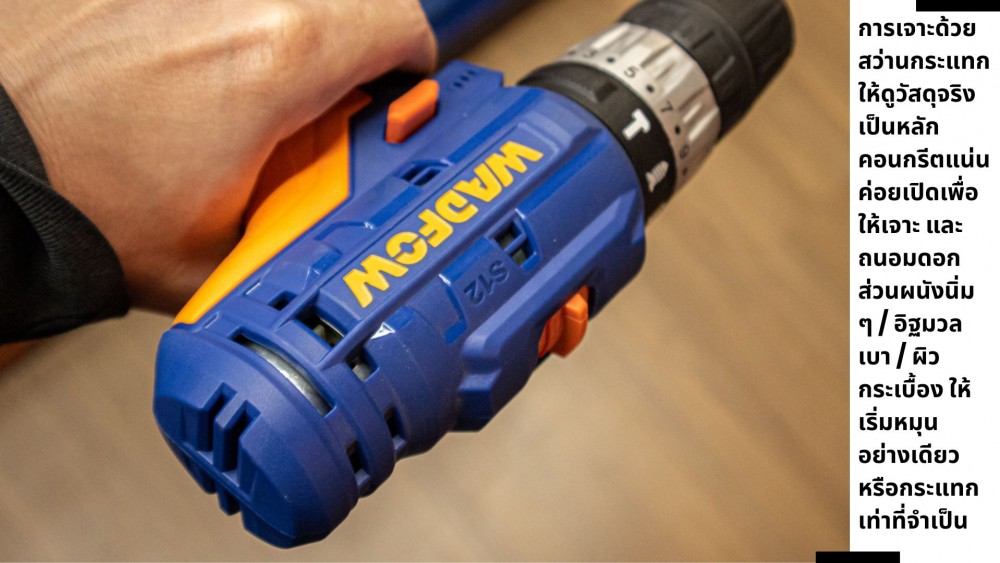
Summary: Using an impact drill effectively is about technique, not just brute force
Finally, if you ask me: “Does drilling concrete with an impact drill really require turning on impact mode every time?” I would answer: "Not necessarily." However, you must know what material you are drilling and what kind of hole you need.
If it is dense concrete or hard masonry, impact mode makes life much easier—it's faster, easier on the bit, and finishes the job quickly. But if it is lightweight concrete, thin plaster, or a tile surface, turning on impact mode without thinking will ruin the job much faster.
Impact mode isn't meant to be left on all the time; it is a tool feature to be chosen to fit the job. And once you start thinking this way, using an impact drill will be more enjoyable, your installations will be sturdier, and oversized, blown-out holes will become noticeably rarer.
- Turn on impact mode When: encountering concrete, drilling deep, drilling multiple holes continuously, rotary-only mode penetrates slowly, and the bit starts overheating.
- Start with rotary first, then switch to impact When: you want a clean hole edge without chipping, the surface is smooth plaster, or the wall has paint/thin render.
- Should not use impact (or use very minimally) When: drilling lightweight concrete/soft porous materials, drilling through tiles or wall cladding before reaching concrete, or when the job requires clean-edged holes for specialized wall plugs.
If you choose the right mode, hammer drill it won't just be a "brute force" tool, but truly a machine that works on a smarter level.