


 EN
 ไทย


Customers Also Purchased

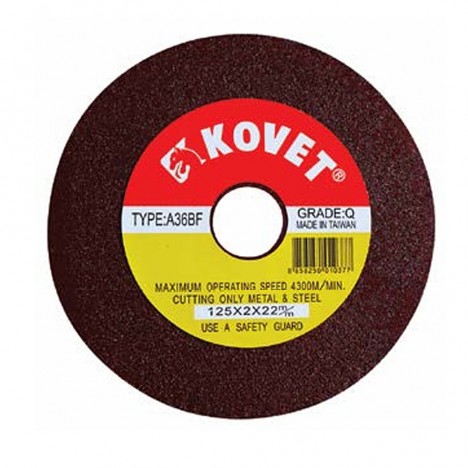
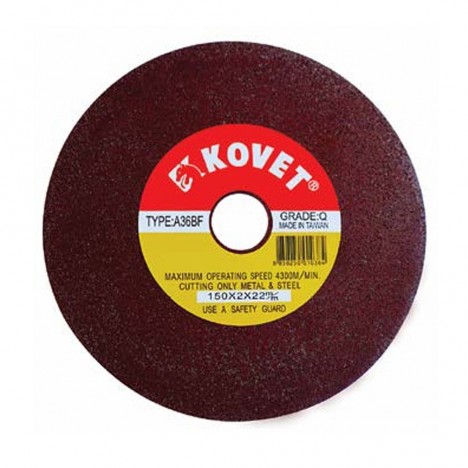
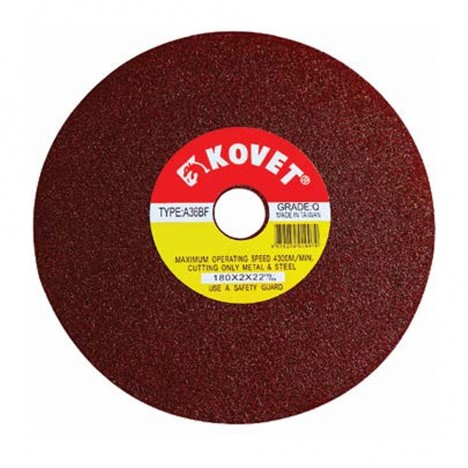
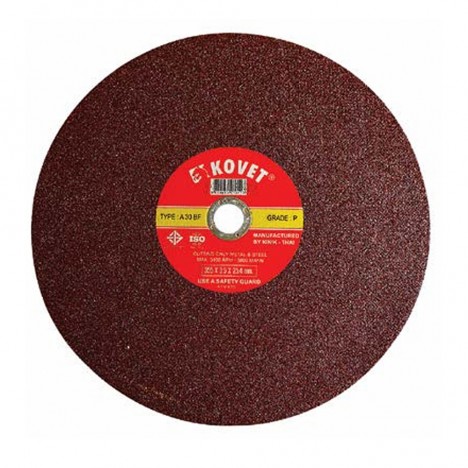
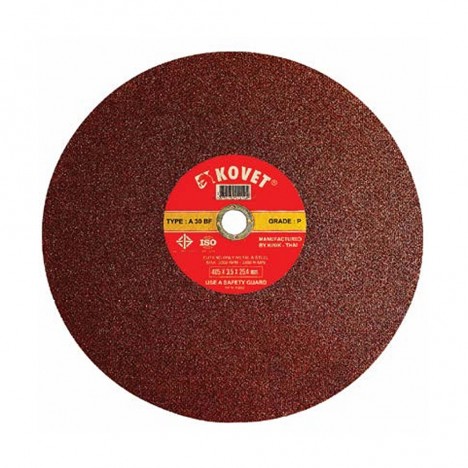
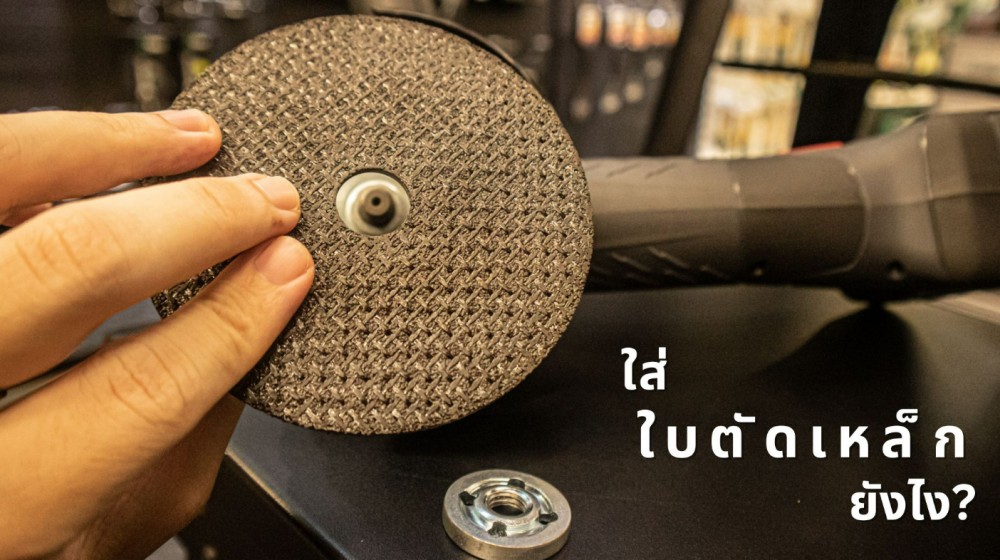
When talking about Steel Cutting Disc First off, steel and various metals are materials we encounter almost every day—in house framing, furniture, or appliance parts. And frequently, metalwork requires cutting, grinding, or modifying to fit specific uses, such as repairs, additions, or crafting new projects.
In the past, cutting steel relied on large tools or factory machinery. Today, compact handheld angle grinders have become the go-to tool for many tradespeople. Angle grinders are easy to use, portable, and you don't need to be a professional technician to use one to create projects you love.
Although it looks simple—just attaching a steel cutting disc and getting to work—in my opinion, the process of mounting a cutting disc holds quite a few hidden details. These details directly affect safety, cutting performance, and the tool's lifespan. And if you mount the cutting disc properly, it will greatly reduce problems like disc breakage, disc vibration, or premature tool wear.
Why must you install a steel cutting disc correctly?
Before picking up an angle grinder and mounting a disc, you should first understand that installing the disc correctly isn't just about looks or personal preference—it's a critical step that directly affects both safety and cut quality.
- Safety comes first Steel cutting discs rotate at high speeds (10,000+ RPM). If not installed securely, they can shatter and send flying debris.
- Cuts straighter and faster A blade installed in the correct position and properly tightened will allow the grinder to operate at full power.
- Extends tool and blade life Reduces vibration and prevents premature wear on flanges and threads.
Cut-off wheels vs. grinding wheels: are they mounted on an angle grinder the same way?
They should be the same, right? But don't jump to conclusions just yet thinking that knowing how to mount a grinding wheel means you can immediately install a cut-off wheel without a second thought. Even though they are used on the same tool, there may be subtle nuances—such as different locking methods, blade thicknesses that affect flange mounting, or safe maximum RPM ratings. Overlooking these details can lead to issues or potential hazards, so it's best to fully understand everything first.
Another point I believe needs to be emphasized and clearly understood is that an angle grinder is not primarily designed as a "cutting" tool—unlike carbide saws, other specialized steel cutters, or chop saws mounted on a base or workbench.
- Can be mounted on the same grinder Both steel cut-off wheels and grinding wheels can be used on an appropriately sized grinder (such as 4 inches or 5 inches) because they share standard arbor hole and disc dimensions.
- Different in application Cut-off wheels are designed for "cutting" through workpieces transversely, while grinding wheels are used for "grinding/polishing" to reduce surfaces, remove rust, or deburr edges.
- Wheel thickness Cut-off wheels are thinner, providing quick cuts and putting less strain on the tool, whereas grinding wheels are thicker to withstand lateral pressure during grinding.
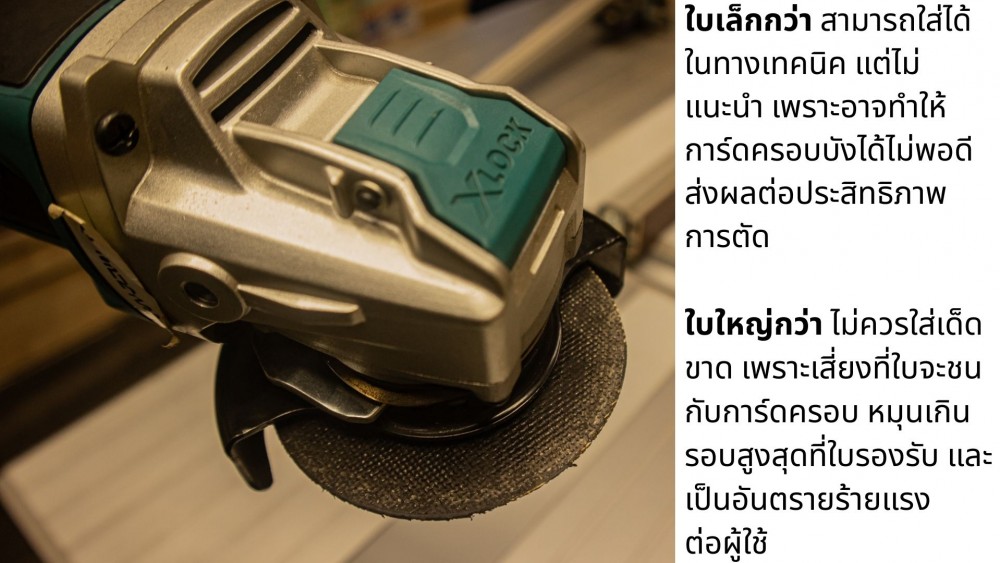
In principle, an angle grinder should use a disc size that matches the manufacturer's specifications. For example, a 4-inch grinder must use 4-inch discs—never use other sizes, so that the rotation speed and wheel guard protection function safely.
Cut-off wheel locking and changing systems
Before we get into the steps or best practices for installing a cut-off wheel, let's take a look at the grinder's blade locking and changing systems first, so you can understand them and choose the right blade. The disc-changing system is arguably the core of the tool. Different grinder designs aim for convenience and operational safety, and they can mainly be divided into two major groups based on how the flange is tightened and loosened:
Tool-free type (Quick Change) For example, Makita DGA506 or Bosch GWX 9-115 S X-LOCK Uses a hand-tightened flange nut to lock and release the disc immediately, or systems like X-LOCK where you can simply click to release the disc without needing to carry a wrench. This saves time and provides convenience for tasks requiring frequent disc changes.
However, remember that no matter which system your tool or cutting disc uses, the key is to tighten it just right—not so loose that the disc wobbles, and not so tight that it is difficult to remove.
Can an X-LOCK tool only use X-LOCK discs?
X-LOCK angle grinders are specifically designed to be used with X-LOCK discs, allowing you to lock and release the disc quickly and safely without using a wrench. This system saves disc-changing time and reduces errors from over-tightening or under-tightening.
Tools with the X-LOCK system cannot use standard discs. Because the flange and locking mechanism are designed specifically for X-LOCK. Its advantage is that you can change discs in just a few seconds without carrying extra tools. However, you must only purchase X-LOCK compatible discs, which may be slightly more expensive than standard discs.
Equipment and Preparation Before Installing a Metal Cutting Disc
Before installing a metal cutting disc on an angle grinder, getting your equipment ready is an essential step. It helps you work continuously and quickly, significantly reducing the chances of accidents and issues during use. Proper preparation is an important step that is often overlooked until easily avoidable problems occur.
- Check the condition of the angle grinder Ensure the switch is turned off and the tool is unplugged (or remove the battery if it is cordless)
- Steel Cutting Disc Select the correct size for the tool, e.g., a 4-inch (100 mm) angle grinder requires the same size disc
- Flange wrench For models that are not X-LOCK or Quick Change systems, this wrench is required to tighten and loosen the disc properly.
- Gloves and safety glasses Protect against cuts on hands and metal debris in your eyes. Remember, for high-speed power tools like angle grinders, safety always comes first.
Steps for Installing a Metal Cutting Disc on an Angle Grinder
Before actually installing the cutting disc, I think we should understand the overall operation of both the tool and the metal cutting disc. It's not just about placing the disc and tightening it down, but also paying attention to component cleanliness, proper flange tightness, and testing before actual use. Doing this will give you more confidence in your tool's readiness for safe, smooth, and fully efficient operation. The key steps for installing a metal cutting disc, from my experience, are as follows:
1. Check the flange and spindle
Clean away dust or metal shavings accumulated around the flange and disc-mounting groove so the cutting disc seats firmly without wobbling during use. Check that the flange is not warped or damaged, as that could cause loose mounting and create a hazard.
2. Mount the metal cutting disc
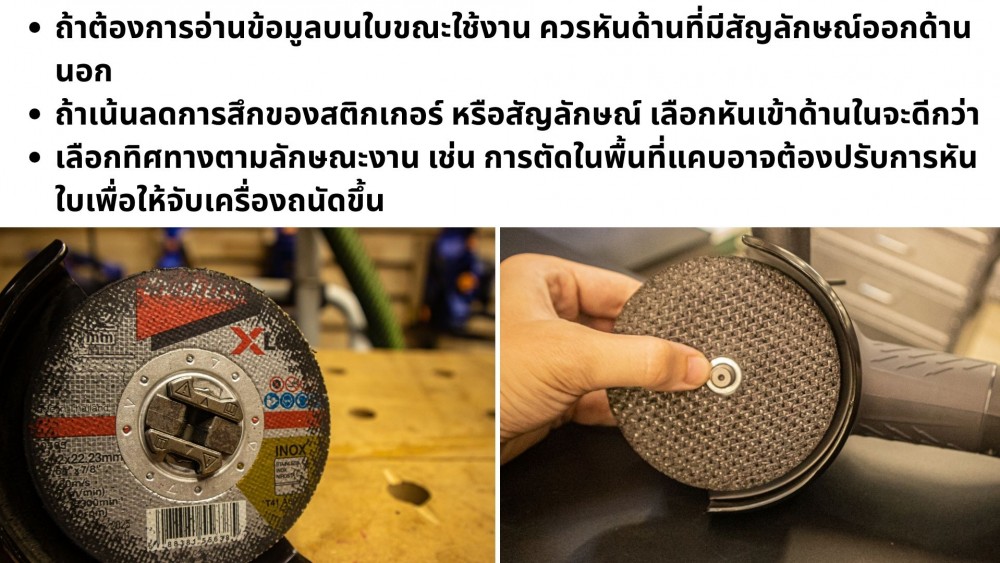
Look at the symbol or label on the disc; generally, it faces outward so the specifications are clearly visible. In practice, however, it can face either way depending on user preference and cutting posture. As long as the disc sits flat against the flange and is locked securely, it will operate at full efficiency without compromising safety.
3. Center the blade on the spindle
Centering the metal cutting disc properly helps prevent vibration, reduces shock transmitted back to the tool, and minimizes the risk of the disc cracking or chipping while spinning at high speeds. Especially with metal cutting discs, some models do not have locating grooves like grinding wheels; you may need to align and hold them particularly securely before tightening the lock.
4. Tighten the flange just right
If using an angle grinder that requires a wrench, turn clockwise until it is adequately tight. However, for keyless (Quick Change) grinders designed for tool-free blade changes, simply tighten the flange by hand all the way, then lock according to the tool's mechanism, or use the X-LOCK system, which releases the disc instantly with a click. Whichever system you use, don't over-tighten, as it may make removal difficult and lead to other issues.
5. Test run before actual use
The final step to complete the installation of the cutting disc is to plug it in or insert the battery. Then, try running the tool empty for 10–15 seconds to check for any abnormal vibrations or sounds. Doing this gives you confidence in the disc's balance, tightness, and safety, while also helping to prevent unexpected accidents during operation.
Summary
Metal cutting discs may be used with angle grinders just like grinding wheels, but that does not mean they can be swapped freely without limitations. Choosing a metal cutting disc must primarily depend on the nature of the job, as each disc is designed to withstand different cutting forces, material thicknesses, and rotation speeds.
Using the wrong type of cutting disc or using it improperly—such as with materials thicker than specified or at an unsuitable speed—can overload the machine, cause excessive heat buildup, or even shatter the disc during use. This ruins the workpiece and poses a direct danger to the user. Understanding the properties and limitations of cutting discs is therefore essential.
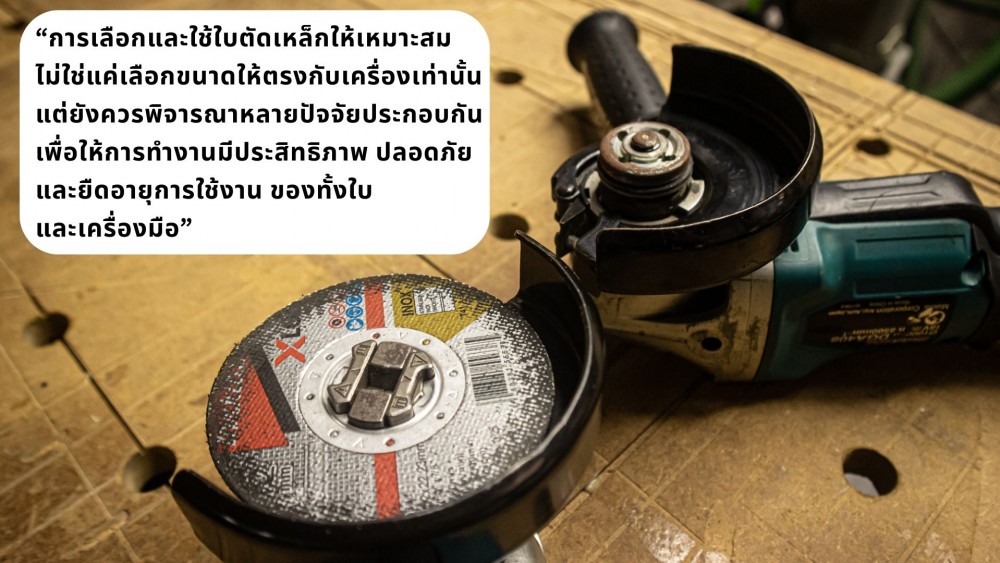
Proper installation of metal cutting discs ensures safe operation, fast and clean cuts, and extends the lifespan of all equipment for a worthwhile long-term investment.
Before starting any metal cutting job, even if it's not your first time, pause to inspect Steel Cutting Disc and ensure the grinder is ready before getting to work.