


 EN
 ไทย


Customers Also Purchased

You're assembling a wooden shelf yourself. Everything looks great—the wood dimensions, the joints, and the applied glue. But as soon as you grab a clamp to tighten the workpiece, you hear a faint "snap" sound. You think to yourself, "Uh oh, trouble!" Looking down, you see the wood edge starting to split! Some spots even have splintered cracks, even though the wood looked perfectly sturdy just moments ago. This problem leaves many wondering whether they bought poor-quality wood or used the clamp incorrectly.
In reality, edge cracking during clamping is not caused by excessive pressure alone; it is also related to the wood's characteristics, grain direction, clamping position, and force distribution. Some wood boards may handle pressure well across a wide surface, but are easily damaged when all the force is concentrated on a small edge, especially in work requiring thin wood or joints near the board ends.
In this article, we'll take a look at why Clamp can cause wood edges to crack, how to identify the cause, and what adjustments to make to your clamping technique to prevent repeat damage without necessarily having to buy new clamps every time.
Why Do Wood Edges Crack When Using Clamps?
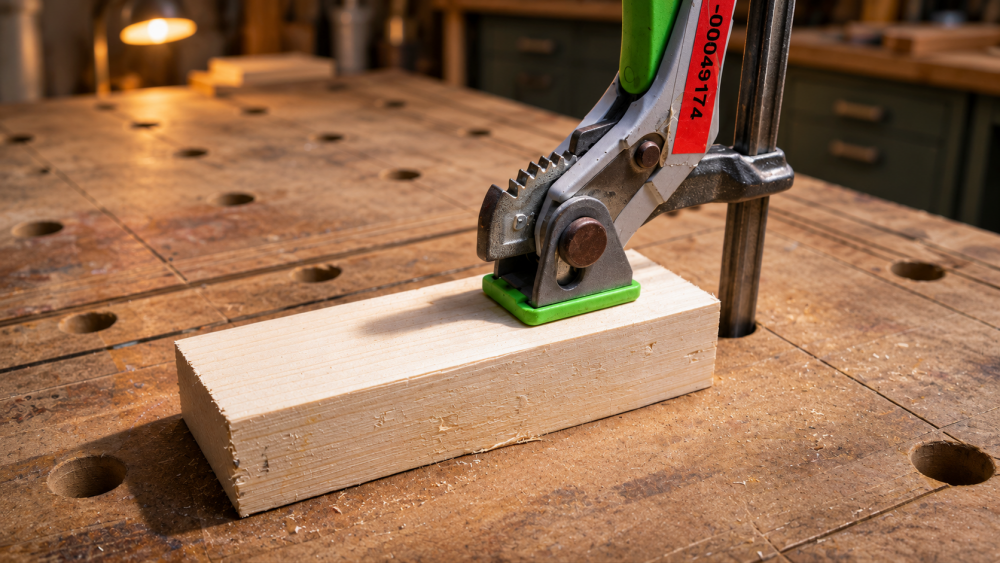
Many people assume that clamps are meant to apply maximum squeezing force to hold workpieces as tightly as possible. However, the correct principle is to apply only as much force as necessary to maintain position and keep the joint faces flush without deforming or damaging the material. Imagine pressing your finger onto a sponge: if you apply the same force with your palm instead of your fingertip, the indentation is completely different. Wood behaves similarly: when the force from the clamp jaws concentrates in a small area, localized pressure can become high enough to crush wood fibers or cause splits.
However, wood doesn't respond to force like a sponge in every direction, because wood has distinct fiber structures and grain directions. Therefore, you must consider both the clamping pressure and the direction in which the force acts simultaneously.
How Do Softwood, Hardwood, and Plywood Differ?
- Softwoods, such as certain types of pine, easily develop pressure marks when clamp jaws make direct contact. If the wood edge is thin or already has flaws, splitting may also occur. However, this doesn't mean all softwoods crack more easily than other wood types.
- Hardwoods, although many types resist indentations better, can still split along the grain line, especially when knots, pre-existing cracks, or clamping forces not aligned with the joint are present.
- Plywood is different because it consists of multiple glued veneers. If the edge of plywood is damaged, you may see delamination or chipping of layers rather than splitting along the grain like solid wood. As for MDF, edges may compress or crumble into powder when subjected to excessive localized pressure.
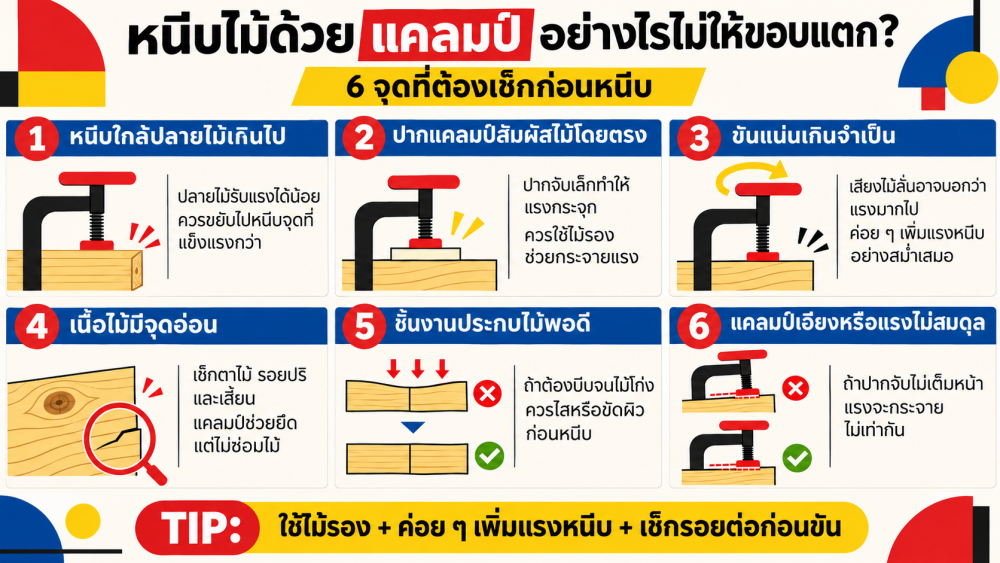
6 Causes of Wood Edges Cracking When Using Clamps
Clamping too close to the edge of the wood
End grain and thin edge areas often have limited load-bearing capacity. If the clamp jaws press near existing cracks or where wood grain runs off toward the edge, the clamping pressure can cause splits to propagate. This issue is commonly found when assembling wooden frames, shelves, and furniture components with narrow margins. The solution is to move the clamping position to a stronger area or use larger clamping blocks (cauls) to help distribute the force.
Clamp jaws directly contacting the wood surface
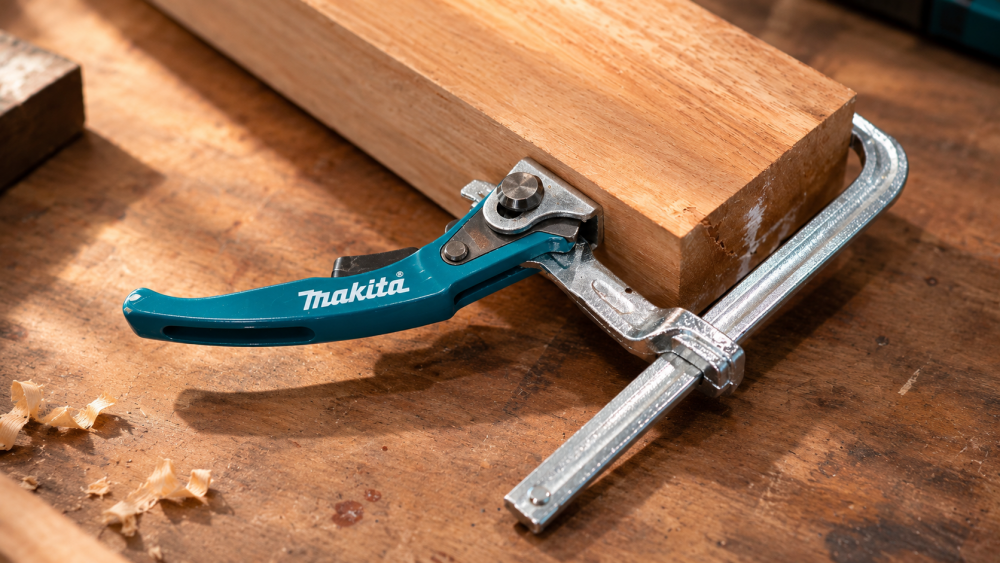
Some clamps feature metal jaws or relatively small pressure pads. When clamped onto the edge of wood without protective pads, force can concentrate in a single spot, especially on softwoods or thin edges. Even if the clamp jaws come equipped with plastic pads, damage can still occur under high pressure or if the pads have insufficient contact area. Using clean, smooth scrap wood blocks between the jaws and the workpiece is an effective way to minimize this problem; always choose backing blocks that are not cracked and are free of sharp debris.
Overtightening the clamp unnecessarily
A faint creaking sound while tightening may be a warning sign that the workpiece is under abnormal stress—do not assume it simply indicates a joint pulling tight. According to data from Titebond Original Wood Glue, recommended clamping pressure ranges for general wood gluing are approximately 100–150 psi for softwoods, 125–175 psi for medium-density woods, and 175–250 psi for hardwoods.
These figures serve as guidelines for pressure at the glue line, not the manual force you must apply or the output every clamp model must deliver, and they should not be applied without considering the joint design and the specific wood species. For typical DIY projects, making sure the joint fits properly from the start is more important than trying to calculate handle torque, followed by applying clamping pressure gradually and evenly.
Weak points in the grain orientation or wood structure
If the wood already has micro-cracks, clamping can cause them to spread, especially when the applied force pulls the grain apart. Knots, end checks, and areas with runout or wild grain are all spots that should be inspected before clamping. Furthermore, wood that is overly dry or subjected to drastic moisture changes may carry residual internal stresses, potentially harboring barely visible pre-existing cracks.
Do not assume that clamping tightly will make a crack disappear; clamps can only hold positions temporarily and cannot restore structural strength to damaged wood on their own.
Misfitting joints forced together with excessive pressure
Try dry-fitting the two workpieces without glue first. If there are noticeable gaps requiring heavy clamping force to bend the wood shut, there is likely an issue with the mating surfaces or cut angles. Forcing the wood together with clamps concentrates stress at the edges or along the joint, which can cause the wood to split. A better solution is to true up the mating surfaces first—whether by planing, sanding, or correcting the cut angles as needed.
Tilted clamp or unbalanced clamping force
If one jaw of the clamp sits flush against the wood while the other contacts only on a corner, the clamping pressure will be unevenly distributed. Especially with thin stock or corner joints, even a slight tilt can subject one edge to excessive force. Before tightening, ensure that the jaws are seated securely and the clamping force aligns with the intended direction. If this cannot be achieved, reposition the clamp or add support blocks.
What type of clamp helps reduce the risk of edge damage?
Woodworking does not always require the most powerful clamp, but rather tools that allow you to control pressure to suit the size and shape of the workpiece. Examples of brands available at iToolmart include:
- BESSEY offers various types of clamps for woodworking and furniture assembly, including models with jaw pads that help eliminate direct metal-to-wood contact.
- IRWIN offers the QUICK-GRIP family of one-handed clamps across multiple models, ideal for tasks requiring easy workpiece positioning and progressive pressure application.
- KREG offers clamping tools for joinery and cabinetry that help maintain joint alignment in precision applications.
However, choosing a clamp with protective pads does not fully guarantee that edges will never split; if the workpiece has pre-existing cracks or the clamp is positioned incorrectly, damage can still happen.
Conclusion
Wood edges splitting while using clamps does not always mean poor wood quality, nor does it mean the clamps being used are defective. Causes can stem from concentrated pressure points, improper clamping positions, existing cracks, grain direction, or forcing ill-fitting joints together. Inspecting the wood beforehand, dry fitting without glue, using clamping pads, and increasing clamping pressure gradually will reduce the risk of edge damage far more effectively than simply tightening as hard as possible.
Select Clamps to suit the application