


 EN
 ไทย


Customers Also Purchased


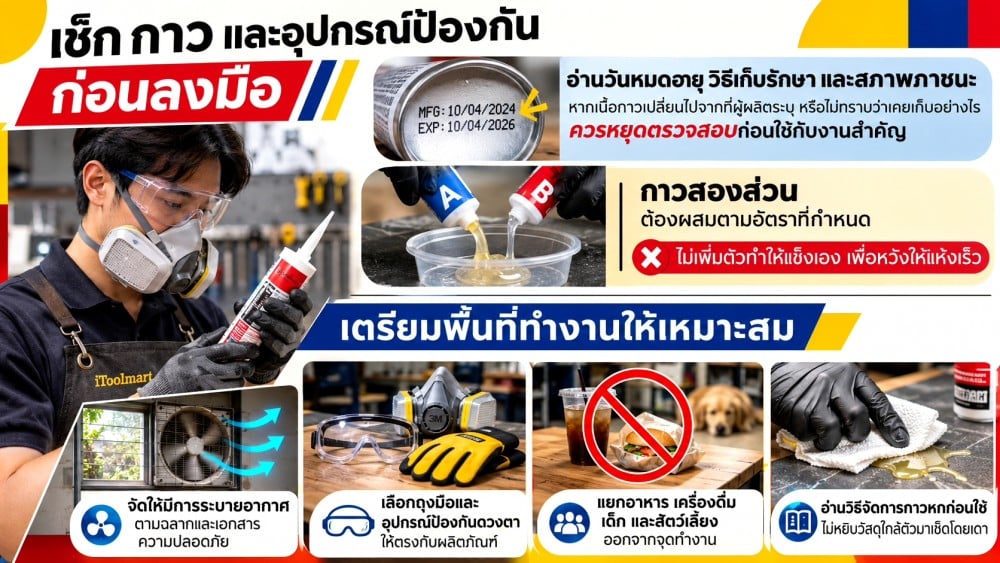
Glue is something everyone should have at home, whether for DIY projects or repairing various items. Repairing things with glue seems simple, but many people often make mistakes. Most problems don't stem from poor-quality glue, but from what should be done before squeezing out even a single drop. Workpieces that come loose again within a few days
There are many things to check before repairing: from the type of material being bonded—whether metal, plastic, rubber, wood, or glass—since different types of glue adhere differently to each material; the surface condition—whether it is clean, dry, and free of oil, dust, and rust; whether the joints fit together snugly enough; what kind of stress the workpiece will undergo after repair, such as tensile force, shear force, heat, or moisture; to curing time and clamping preparation to hold the workpiece steady while waiting for the glue to set.
In this article, we will go through the pre-repair checklist using Adhesive/Glue step by step, starting from assessing whether the workpiece should actually use glue, choosing the right type of glue for the material, to surface preparation and checking before letting it dry, ensuring each repair lasts long and doesn't need to be redone.
Check what material you are repairing
Don't choose based solely on the color or appearance of the workpiece. What looks like wood might be a laminate sheet, while plastics that look similar may react differently to glue. Try checking the marks under the workpiece, product labels, or manufacturer information first.
Look at both the core material and the surface the glue touches
Painted steel has a contact surface of paint; glossy wood has a coating layer on the outside. Even if the glue specifies it bonds steel or wood, you still need to check if it can be used on that coated surface. If you don't know the material type, take photos of the front, back, and the crack to ask for advice instead of layering multiple types of glue. Loctite's information explains that glue selection for plastics depends on the application, and specific tasks like PVC pipes require products designed for that purpose, so you shouldn't assume every plastic piece can use the same tube of glue.
Check the crack before deciding how much glue to apply
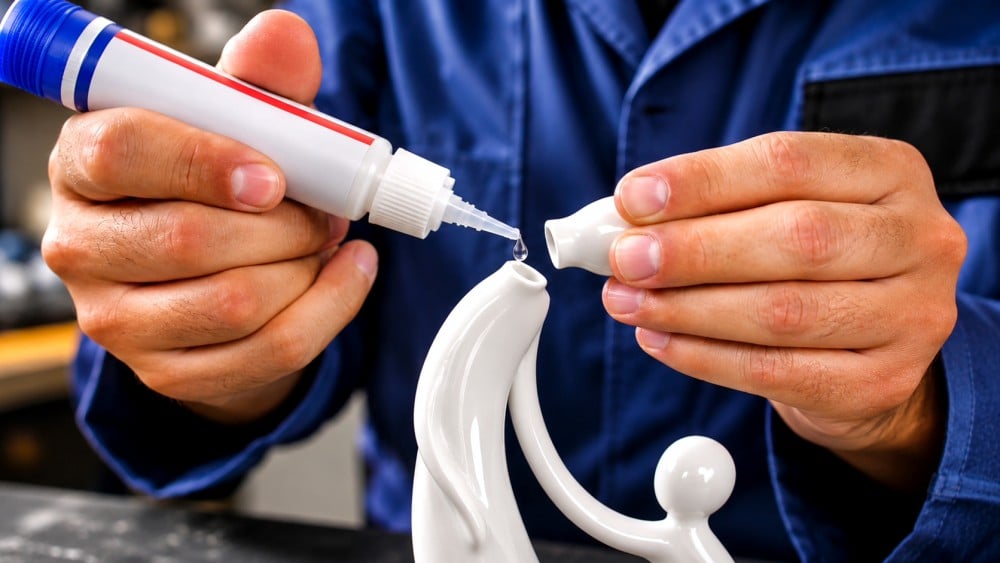
Try dry-fitting the parts together without glue first. If they fit snugly without much force, planning the repair will be easier than with warped edges or missing material. Check these three points thoroughly:
- Can the crack fit flush, or are there remaining gaps?
- Is the material around the crack still strong, or has it become brittle and prone to further cracking?
- Are there missing fragments that require gap-filling materials?
Glue suitable for thin joints is not suitable for filling gaps of all sizes, and adding more glue won't restore strength to brittle, degraded parts. You should check the product's gap-filling specifications before choosing to use it.
Check what type of stress the repaired joint must bear
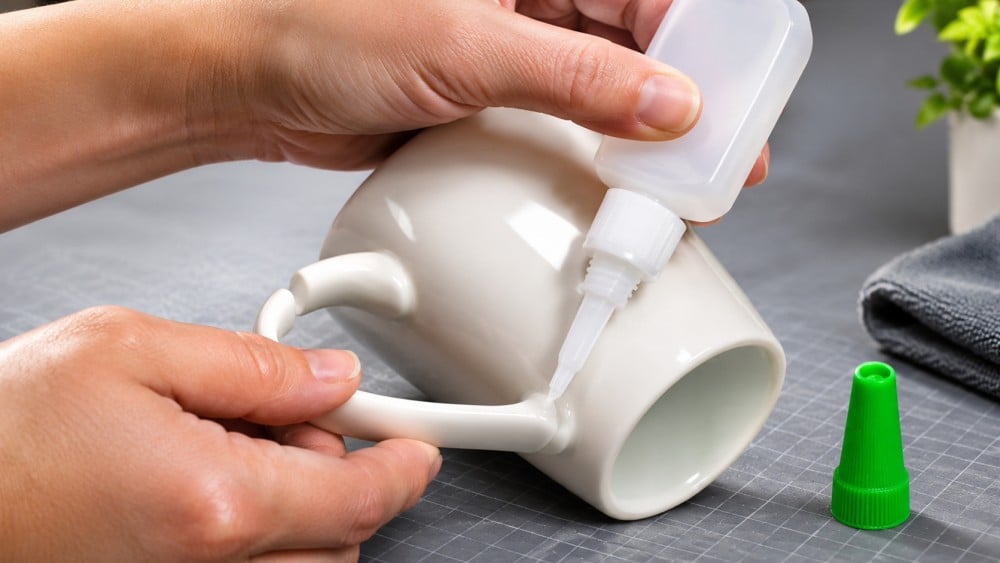
Think about the actual usage after repair: a cover may only serve to keep out dust, but a handle must endure repeated pulling forces, while a chair leg bears both weight and rocking forces. If you only consider it resting still on a table, you might overlook the load the joint will encounter. What happens if the repair fails? This question helps with decision-making far more than simply asking "how strong is the glue?" If a failure could cause someone to fall, heavy objects to drop, or hot liquids to spill, have a technician evaluate part replacement or appropriate fastening methods, rather than relying on a single hand pull as proof of safety.
Check if the surface is ready for the glue to bond
A surface that looks clean may still have skin oils, fine dust, or residual gloss coatings. Clean it according to the adhesive and material recommendations, then let it become ready before joining. Do not unnecessarily touch the prepared area again with bare hands.
3M states that surface contact is the foundation of bonding performance, where dryness, cleanliness, and proper contact pressure are key factors. This principle explains why good quality glue can still yield poor results on contaminated surfaces. You should not automatically use paint thinner, acetone, or alcohol on all types of materials; always check compatibility and test on a hidden spot first, especially with clear plastics and painted finishes. As for sanding, choose a method suited to the job and avoid sanding so aggressively that the joint profile is deformed.
Check the environment where the workpiece will be returned to service
An item repaired on a desk in an air-conditioned room may later be used in a car, near a kitchen sink, or outdoors. Before selecting an adhesive, you should clearly determine whether it will be exposed to sunlight, humidity, water, or frequent temperature fluctuations.
Terms like outdoor use, water-resistant, and submersible should not be interpreted as identical. Additionally, distinguish between the application temperature and the temperature the joint can withstand after curing. If the label is unclear, request the technical data sheet for that specific model. Food-contact containers, items placed in microwaves, or equipment involving electricity require specific certifications; being strongly bonded and drying clear does not confirm suitability for these applications.
Check all timing requirements before starting the repair
The term "fast-drying" might lead you to assume that the repair is done and ready for use immediately. However, you should distinguish between repositioning time, clamping time, and full cure time before it's ready for use, adhering strictly to the actual product data.
For example, DAP Weldwood Wood Glue specifies assembly within approximately 5–7 minutes, with a clamping time ranging from 30 minutes to 2 hours depending on job conditions. These numbers apply specifically to that product and are not standard times for all adhesives. Before opening the tube or bottle, prepare tape, clamps, or holding aids, and choose a resting spot for the workpiece where it will not be disturbed while curing.
Choose a brand that meets your needs once you know what needs repairing
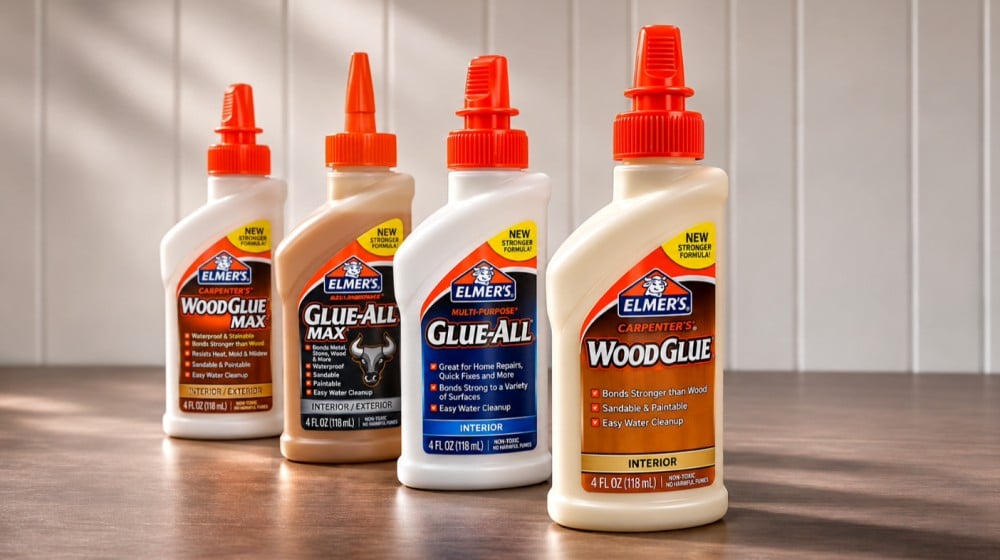
If it involves joining wood inside the home, starting with wood glue products like Elmer’s Carpenter Wood Glue—available among the items at iToolmart—makes it easier to find information in the right category. Model E7000 is an example where you can review product specifications and additional recommendations before making a selection.
Conclusion
Before repairing items with glue, thoroughly check the materials, cracks, load requirements, surface readiness, surrounding environment, and required resting times. Then, select a compatible product and clamping method. Systematic preparation helps identify both what can be repaired and when to change your approach before wasting time on repeat repairs. Which item in your home did you previously glue only for it to fail, and where will you start checking first next time?
Select Adhesive/Glue to suit the application