


 EN
 ไทย


Customers Also Purchased
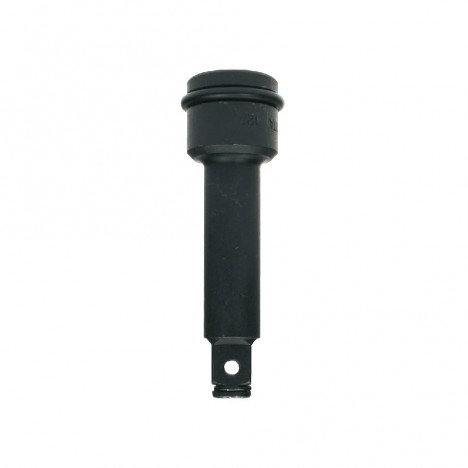
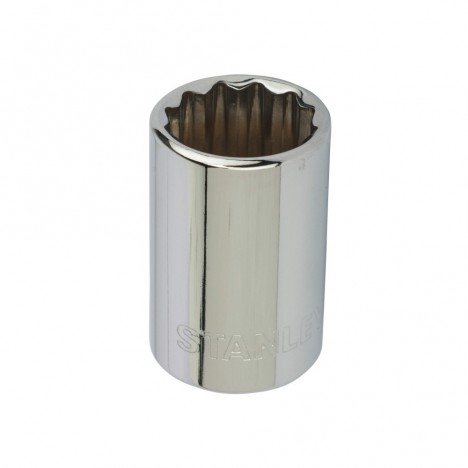
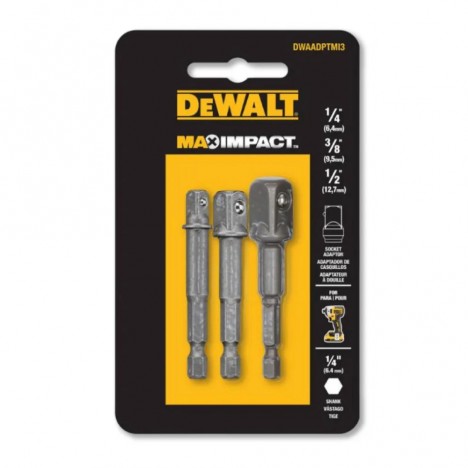
You're in the middle of repairing your car, finally loosen the last bolt, but when you try to pull the socket off the bolt head, it won't budge! You try wiggling it, but it stays just as tight! Some try yanking the ratchet handle harder hoping it will pop off, but the result might be a deformed bolt head, a chipped socket, or the tool slipping and smashing your hand, causing an injury! What was supposed to be a small repair finished in minutes turns into a problem that wastes both time and money!
A socket stuck on a bolt head isn't always caused by poor tool quality. Sometimes it's due to a bolt head swollen from rust, an incorrect socket size, or metal shavings trapped between the contact surfaces. The harder you pull without investigating the cause, the higher the risk of causing further damage to the jammed parts.
In this article, we'll take a look at why Socket Bits gets stuck on a bolt head, how to diagnose the issue, and safe troubleshooting steps without always having to start with heavy force or heavy tools.
Why Does a Socket Get Stuck on a Bolt Head When It Fitted Normally at First?
Before troubleshooting, it helps to understand that a socket transfers torque through the contact surfaces between the socket walls and the bolt head. When everything is properly sized and in good condition, the socket should slip on and off without requiring excessive force. However, when the bolt head or the inner walls of the socket become deformed, that once-perfect fit can turn into a wedged jam, making it difficult to remove even when you are no longer turning the bolt.
Bolt Head Starting to Swell from Rust or Metal Cladding
Some automotive wheel lug nuts have a two-piece design consisting of a steel core and an outer metal cap. When moisture gets trapped between these layers, the resulting rust can cause the cap to swell, altering its outer dimensions and making it difficult to remove with standard tools. If you notice that a socket used to fit over the bolt head easily but has recently become unusually tight—especially on car lug nuts—inspect the condition of the bolt head before applying more force.
Using a Socket with a Close, but Incorrect, Size for the Bolt Head
Using the wrong socket size doesn't always mean it won't fit over the bolt. Some sizes differ so slightly that users mistakenly think they are interchangeable, particularly between metric and imperial sockets. When a socket has excessive play or does not make full contact with the bolt head, applying torque can concentrate pressure on the corners. This causes the bolt head to gradually deform and wedge tightly against the inner walls of the socket. The key is not just to see if the socket slips onto the bolt head, but to ensure it is the exact size, seats deeply, and has no abnormal play before use.
Bolt Head Deformed from Excessive Torque
Nut heads that have been tightened and loosened repeatedly may suffer from worn or chipped corners, especially if wrong-sized tools were used, turned at an angle, or excessive force caused slipping. Once the nut head begins to deform, the socket can bind against the bulged portions during rotation. Forcing the turn will only increase damage to both the nut head and the socket. The socket's drive profile also affects the nut head's corners; if you are still unsure which type to use 6-Point vs. 12-Point Sockets Comparison: Which One Is Better? to guide your selection, symptoms to watch for include uneven socket movement while turning, unusual noises, or the inability to pull the socket straight off as usual after releasing torque.
Metal Shavings, Rust, or Debris Trapped Inside
Machine repair, structural work, and automotive jobs often have dust, metal shavings, grease stains, and rust accumulated around bolt heads. If a socket is fitted without cleaning first, this debris can be compressed into the gaps. When torque is applied, some of the debris can act as a wedge, making the socket bind much more tightly than when it was first slipped on. This problem occurs even when using the correct socket size, as the issue lies not with tool sizing but with the condition of the contact surfaces.
Socket Angled During Tightening or Removal
Fastening bolts in tight spaces—such as engine bays, behind machine cabinets, or under steel structures—can cause users to misalign the tool handle with the bolt head's axis. When a socket is angled, torque is distributed unevenly, placing excessive stress on certain sides and causing the bolt head to deform or bind. If you feel the handle tilting beyond control, stop and reposition the tool; do not attempt to pull the socket off by prying from the side.
Before Troubleshooting, Identify Where the Socket is Stuck
The term "stuck socket" can refer to several different scenarios, each requiring a different solution.
- Socket stuck on the bolt head: An issue between the socket opening and the bolt head, possibly caused by binding, rust, or deformation.
- Socket stuck on the ratchet or drive head: An issue at the square drive hole and retention mechanism; check the quick-release button, detent ball, or pin retention system.
- Bolt head came off along with the socket: The fastener assembly was removed from the workpiece, but the bolt head remains stuck inside the socket.
Before starting to fix it, observe which parts can move and which remain tightly stuck. Pinpointing the stuck location will help avoid applying unnecessary force.
How to Safely Free a Socket Stuck on a Bolt Head
Step 1: Stop applying force, then secure a safe work area
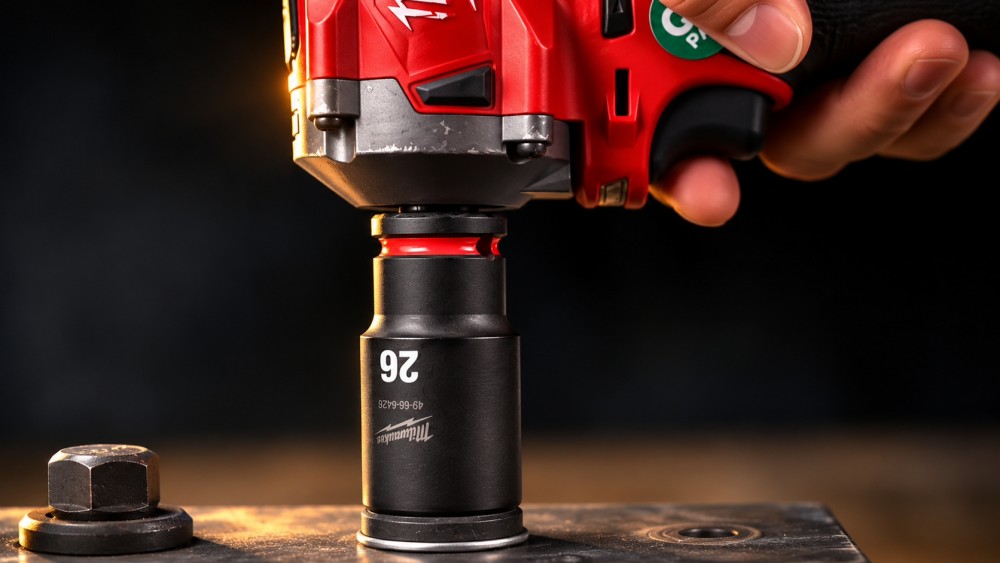
Whenever a socket becomes firmly stuck, stop turning and stop jerking immediately. If using an electric or cordless impact wrench, unplug it or remove the battery. If using an air impact wrench, disconnect the air hose and bleed the pressure according to the manual. For automotive work, turn off the engine, wait for parts to cool, and if crawling underneath, always support the vehicle with jack stands—never rely on a jack alone. Then put on safety glasses and gloves, as the socket could pop off suddenly and cause your hand to hit surrounding parts.
Step 2: Inspect the bolt head and socket alignment
Shine a light to see if the socket is tilted and whether there are metal shavings, rust, or deformed parts lodged around the socket opening. If it is still connected to a ratchet, try releasing the handle according to the manufacturer's locking system to give yourself more room to work. However, if the mechanism is still locked, do not force it off, or the drive head and locking assembly may be damaged further.
Step 3: Clean around the socket opening
Use a soft-bristle or nylon brush to remove dust and rust. If there are metal shavings, use a pickup tool or tweezers to extract them—never stick your fingers inside, and do not use sharp picks to pry in tight gaps, as this will damage the workpiece surface. Once brushed clean, check if any gap has opened up, but do not rush to pull it yet.
Step 4: Apply penetrating oil if actual rust is present
If there is rust at the joint, spray a small amount of penetrating oil suitable for metal surfaces, then wait according to the label's specified time. Penetrating oil only helps with rust or jammed debris; if the bolt head is swollen or deformed, the oil will not help. If it is a lug nut, be careful not to let the fluid get onto the brake rotor or brake pads.
Step 5: Try wiggling gently straight along the axis
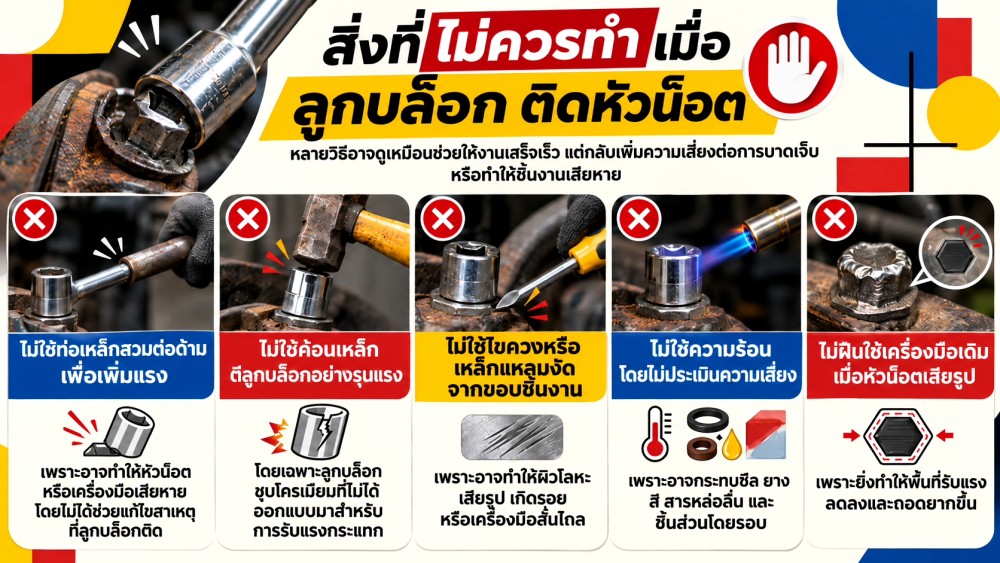
Hold the socket firmly and try wiggling it gently along the axis of the bolt head. If there is clearance, you can gently rock it slightly, but do not twist forcefully to the point of prying the bolt head or cracking the socket. If it remains tightly stuck, stop—do not keep increasing the force, as the bolt head will become even more severely stripped.
Step 6: If the bolt comes out together with the socket
Separate them on a workbench. Sometimes the bolt comes out of the workpiece while still stuck inside the socket. Take the whole assembly to a sturdy workbench. If you can firmly support the socket and the square drive hole at the back passes through to the bolt, use a punch to tap the bolt out in a controlled manner. Never hold the socket floating in your hand while striking it with a hammer, and never strike through a ratchet handle. If you lack suitable support equipment, it is safer to have a professional technician help.
Step 7: Check the condition before further use
Inspect the socket opening for cracks, chipped corners, or deformation. A cracked or deformed socket must not be used again, even if it can still fit over a bolt. As for the bolt head, it must still be able to engage the tool across its full face. If it is swollen from a metal capping layer or visibly deformed, replace it according to the manufacturer's specifications.
Use the right socket for the tool type
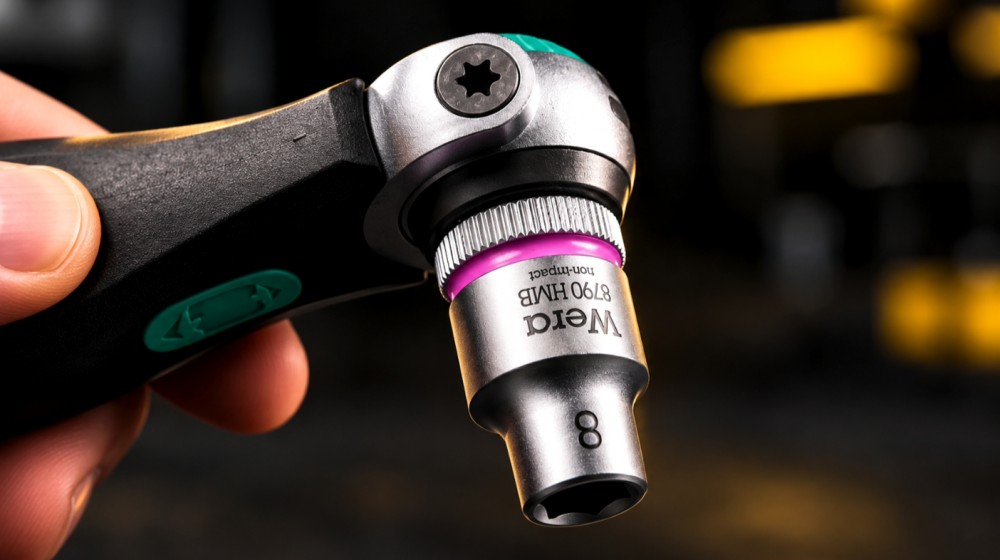
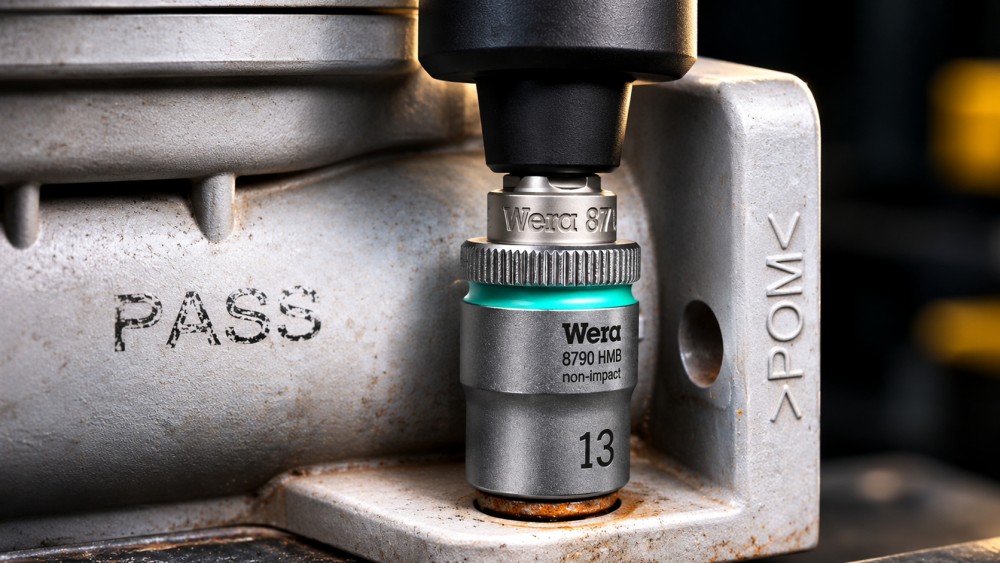
If using a standard ratchet handle, you might consider sockets designed for hand tools, such as the Wera Zyklop series, which feature knurled grip surfaces and size-identification systems for convenient tool locating. However, if using an air impact wrench or cordless impact wrench, you should choose impact sockets specifically rated by the manufacturer for this type of application, such as the Bosch PRO Impact series, rather than using standard non-certified sockets to absorb impact forces. Things you should check every time are the socket drive size, drive hole size, depth, and the operating limitations of each model.
Summary
A socket getting stuck on a bolt head can happen for various reasons, including bolt heads swollen from rust, using the wrong socket size, deformed contact surfaces, or accumulated dirt during use. Properly resolving the problem should therefore begin with inspecting where it is stuck, followed by cleaning and attempting to wiggle it in a controlled manner. What is important is not getting the socket off as quickly as possible, but removing it without damaging the bolt head, the tool, and the surrounding workpiece—because if the bolt head suffers worse damage, what was once a simple repair job could turn into one requiring specialized tools.
Choosing Socket Bits The right size, checking condition before use, and stopping when an abnormality is found
will greatly help reduce potential problems in DIY tasks and everyday mechanical work.