


 EN
 ไทย


Customers Also Purchased


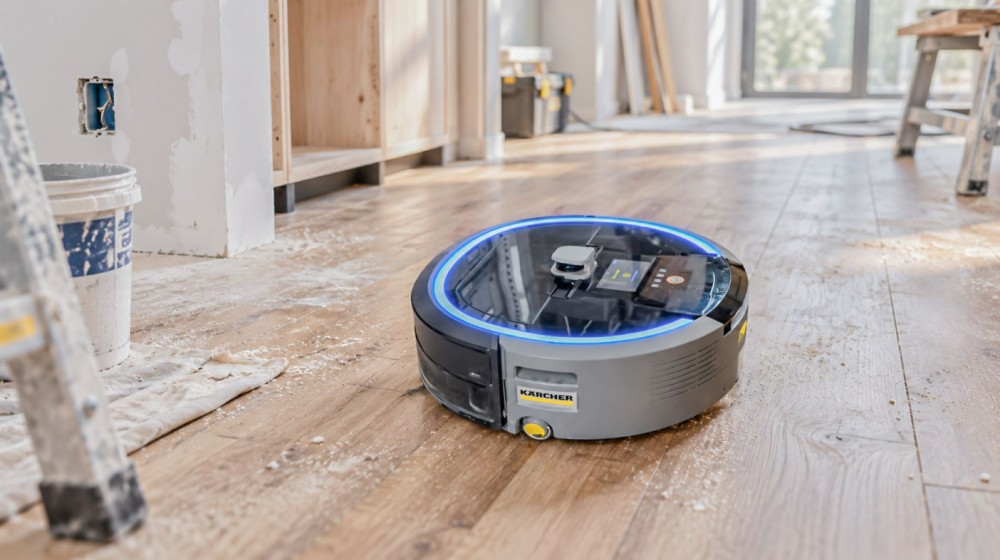
Has anyone ever had a Robotic Vacuums that worked normally all along, and then started beeping alerts, losing suction power, or spinning in circles during the same week your home just had wall drilling, wall sanding, or tile laying done? Know that this is no coincidence. The floor after construction work looks like it just has more dust than usual, so pressing the button to let the machine clean it up is something anyone might do. But that dust is an entirely different type from what robot vacuums are designed to handle.
The question is: A robot vacuum is also a vacuum cleaner; dust is just dust, so why can't it vacuum it? The short answer is: It can suck it in, but the machine cannot handle the consequences. Construction dust is much finer, heavier, and comes in vastly larger volumes than household dust. The dust can clog the filter, coat sensors, and seep into the motor—all three of which are the most expensive parts of the machine.
Therefore, let's break down what each type of construction debris does to a robot vacuum, what is tolerable, what is strictly prohibited, what the correct post-renovation cleaning sequence looks like, and what to do if you've already let it run by mistake.
Why can't robot vacuums handle construction dust, even though they are also vacuum cleaners?
From the article "Is a Robot Vacuum Worth It? Pros and Cons You Need to Know Before Buying" we can summarize that Great value for most homes However, everything in a robot vacuum is miniaturized so it can fit under beds and run on battery power for a long time. The suction motor is small, the dustbin is about the size of a water glass, the filter is a palm-sized folded sheet, and the navigation sensors are all just a few inches off the ground. This size is well-suited for hair, snack crumbs, and fabric lint that accumulate gradually every day.
Shop vacuums are designed in the exact opposite way on every point: large motor, a collection tank holding dozens of liters, multi-layer filter bags or cartridges with large filtration areas, and no sensors for dust to coat. Forcing a robot vacuum to do this work is like using a sedan to haul bags of cement every day—the suspension will definitely break prematurely.
Robot vacuums are designed to collect light dust that accumulates gradually each day, not heavy or large volumes of fine dust created all at once. Therefore, if any debris contradicts this principle, clean it up with other tools first.
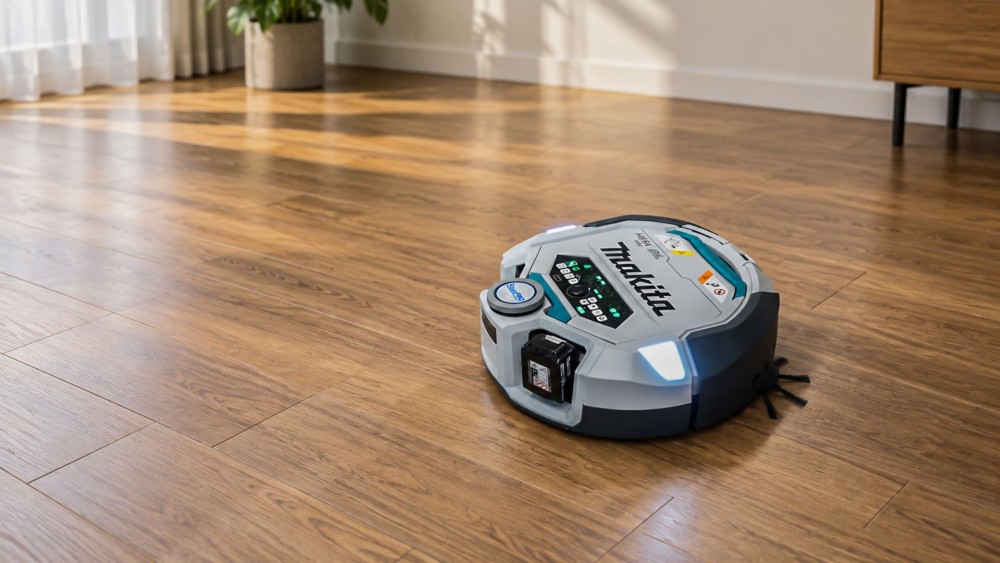
Cement dust, gypsum dust, and spackle powder: Things that damage robot vacuums quickly
Dust from wall drilling, sanding, tile cutting, and putty sanding is extremely fine—powder-like, much finer than household dust—and consists of sharp mineral particles.
What happens inside a robot vacuum?
Fine powder clogs the pores of the robot vacuum's filter, blocking airflow within minutes and causing an immediate drop in suction power. Because the motor relies on passing airflow for cooling, it overheats. Any powder that slips past the filter or bypasses imperfect rubber seals can reach the motor's impeller and bearings, acting like an abrasive compound. The machine may get louder and louder, then stop working altogether.
Never let the machine run on floors where cement dust or spackle powder is visibly present as a white haze, no matter how thin. Even dust from drilling a single hole to hang a picture should first be vacuumed with a bagged vacuum or wiped up with a damp cloth.
Sawdust, wood shavings, screws, and tile shards cause robot vacuums to jam and scratch floors
This type of debris is not fine, but it presents problems in volume and hardness.
Sawdust and wood splinters
A small amount of sawdust from drilling one hole in a wooden floor can probably be handled by a robot vacuum without issue. However, piles of sawdust from cutting wood or assembling furniture will fill the dustbin in minutes. The robot vacuum will then continue running without picking up anything, and long wood splinters will tangle in the main brush and wheels.
Screws, nails, wire, and tile shards
These pieces are hard and small enough to enter the suction port, where they get jammed in the main brush. The machine may drag the material across the floor, leaving long scratches on parquet or polished tiles. In addition, very sharp pieces can puncture the filter and cut the rubber edges of the suction port.
Always sweep up visible debris with a broom and dustpan first. Use a magnet to collect small metal pieces, then inspect the floor again with a flashlight shone at an angle—small pieces that the naked eye misses will cast visible shadows.
Water, wet cement, paint, and glue: Never let a robot vacuum run over these
A robot vacuum's suction inlet does not separate liquids from airflow. Any aspirated liquid passes through the dustbin straight into the motor and circuit boards. Mop-capable robot vacuums are no different in this regard: their mopping system uses clean water from a separate tank dispensed onto the pad bit by bit; they are not designed to suck up standing water from the floor.
Sticky substances like tile adhesive, grout, paint, and contact adhesive cause a different problem: the wheels and brushes smear them across the house along the machine's path. Once dried onto the brushes and wheels, they are extremely difficult to remove.
Therefore, the floor must be completely dry before letting the machine run. After laying tiles, grouting, or painting the floor, allow the proper curing time, and keep the door to that room closed or set a no-go zone in the app while waiting.
Fine dust coating sensors causes the robot vacuum to navigate erratically even after floor dust is gone
Another source of damage doesn't come from vacuuming, but from dust airborne during construction work settling on the unit docked at its charging base. Robot vacuums navigate using multiple sensor arrays: cliff sensors on the underside, distance sensors on the bumper, and in some models, a top-mounted laser or camera. When dust covers these lenses, the machine misreads distances.
Symptoms you might encounter include the unit stopping and reporting a ledge even in the middle of a room, bumping into furniture harder than usual, failing to find the charging base, or generating distorted home maps.
Before starting renovation work, turn off the unit, unplug the charging dock, and store everything in a box or move it to a room with a closed door. After the work is done, wipe down every sensor face with a dry, soft cloth at each position.
Never use tape to cover the cliff sensors just to stop the robot vacuum from alerting. These sensors prevent the machine from falling down ledges and suffering fatal damage.
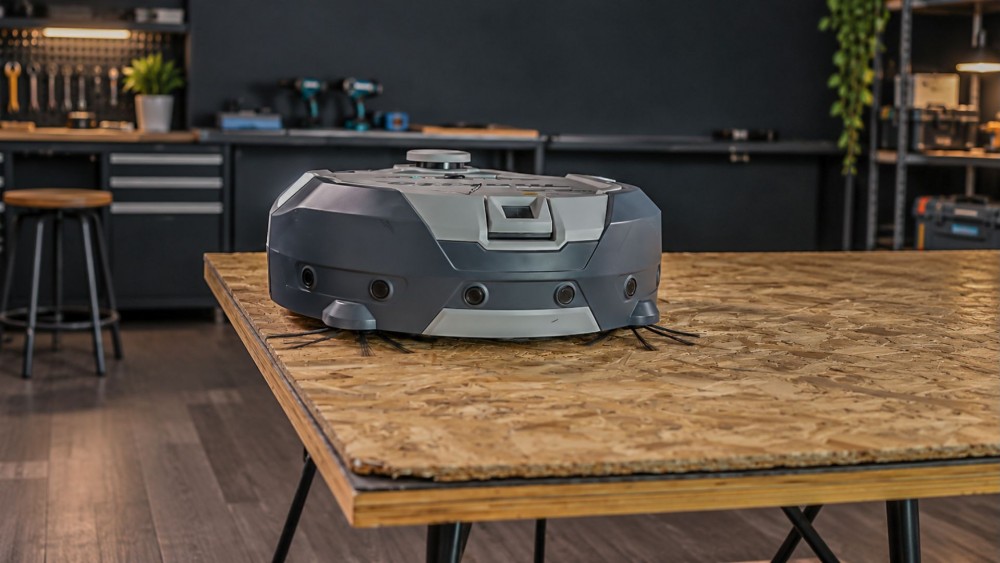
Post-renovation cleaning sequence: Bring the robot vacuum in only as the very last step
Every cleaning stage has its proper tool. Arranging the steps correctly lets each machine do what it does best without sustaining damage. The cleaning sequence should follow this order:
- Sweep up large debris, wood scraps, and tile fragments, and pick up metal pieces by hand or with a magnet.
- Vacuum fine dust using a shop vacuum equipped with a filter bag or fine-dust filter cartridge, working downwards from walls and baseboards to the floor.
- Mop the floor with a damp cloth once or twice to pick up the residual dust film left behind by the vacuum.
- Wait for remaining airborne dust to settle, then mop one more time.
- Bring the robot vacuum back into service, emptying the dustbin and tapping out the filter more frequently than usual during the first week.
When vacuuming fine dust with a shop vacuum, wear a dust mask. If dealing with an older home where existing paint or building materials are unknown, consult a contractor about dust management before doing it yourself. Inhaling dust from certain aged materials can be hazardous.
Accidentally let your robot vacuum suck up plaster dust? Can you keep using it?
You can keep using it if you stopped it quickly and cleaned it thoroughly. Turn off the machine, lift it off the charging dock, and empty the dustbin outdoors. Remove the filter and tap it gently; if the manual states it is washable, wash it and let it air-dry completely before reinstalling. If not washable, replace it with a new one. A damp or clogged filter is what causes the motor to overheat. Then remove the main brush and side brushes to clear off dust, wipe the sensors, and clean the charging contacts.
If you turn it on and suction power returns with the normal operating sound, it means the robot vacuum is undamaged.
Signs that you should stop using it include a high-pitched or grinding motor sound, a burning smell, or suction that fails to recover even after replacing the filter. These mean dust has penetrated the motor. Send it to a service center. Do not disassemble the body to blow compressed air inside yourself, as the battery and circuit boards may share the same compartment.
Warning signs to immediately stop using the robot vacuum and send it to a service center
A burning smell or the unit overheating abnormally during operation or charging; a bulging bottom cover or the unit wobbling on a flat floor (indicating a swollen battery); any liquid intake, whether small or large; charred, black charging contacts or sparking; cliff sensors alerting continuously even after cleaning; or if the unit has fallen down stairs.
If you notice any of these signs, turn off the robot vacuum, remove it from the charging base, and unplug the dock. Never charge, puncture, or press on a swollen battery. Place it on a non-flammable surface away from combustible materials, then contact the service center.
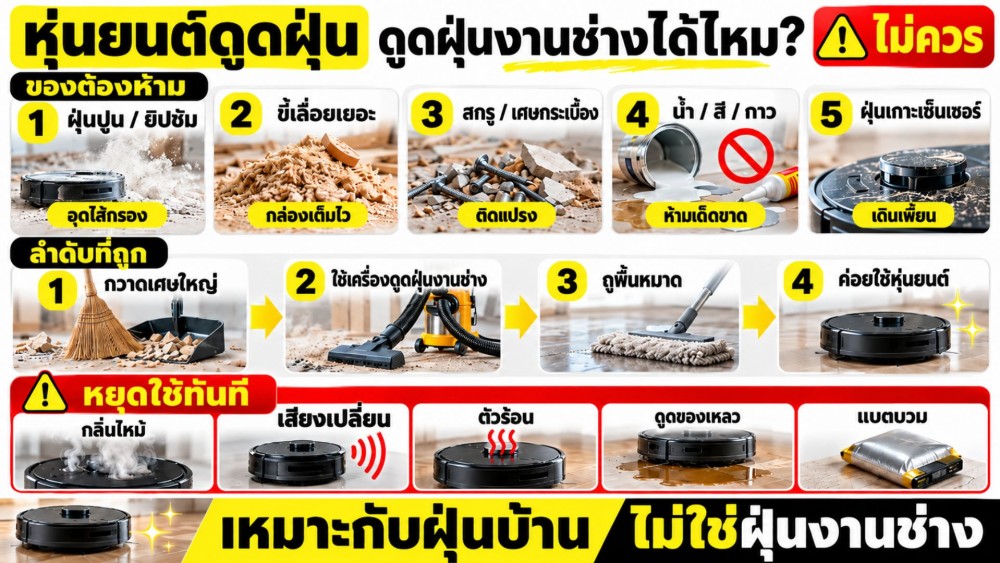
Summary: Robot vacuums are made for light daily dust, not heavy dust and fine debris from DIY or construction work.
A robot vacuum might not break down due to poor quality, but because the work exceeds the capacity of its motor, filters, and sensors. Whether it's cleaning up dust from drilling walls to mount shelves, laying new tiles, or assembling cabinets at home, the resulting debris is completely different from daily household dust.
What you should do is keep the machine and charging dock away from dust before starting the work, sweep up large debris and collect metal parts first, vacuum fine dust with a workshop vacuum cleaner equipped with a filter bag, mop the floor with a damp cloth, wait for the floor to dry completely, wipe down the sensors, and then let the robot vacuum return to work, maintaining the filter more frequently during the initial period.
The important thing is that cement dust, putty powder, and all types of liquids are forbidden. If accidentally vacuumed, stop and clean the robot vacuum immediately. If there is a burning smell, the motor sound changes, or the battery is swollen, stop using it and send it to a technician.
If your home regularly involves DIY or repair work, consider a workshop vacuum cleaner before choosing Robotic Vacuums which is very convenient for daily cleaning tasks.