


 EN
 ไทย


Customers Also Purchased
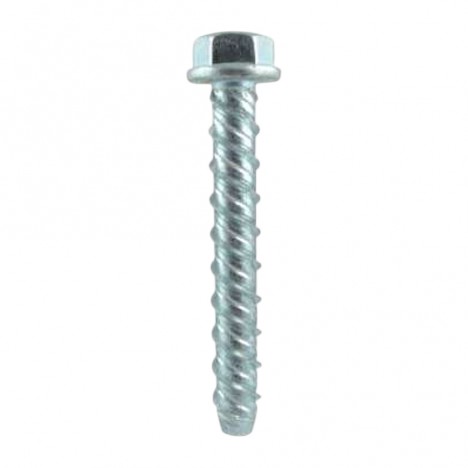
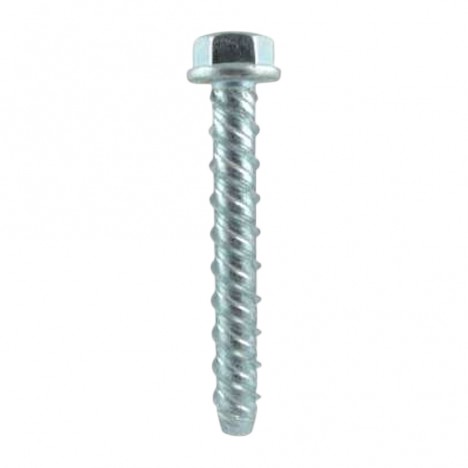
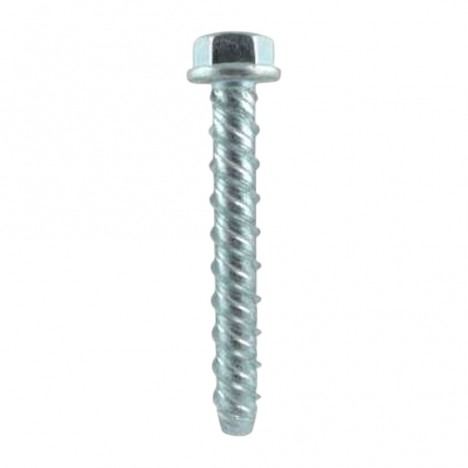
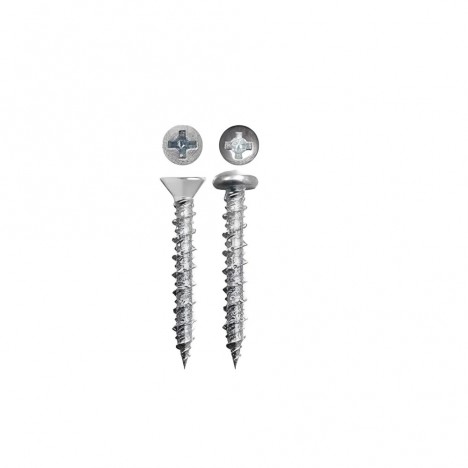
When starting to drive the screw Self Tapping Screws Everything may seem normal at first; the screw sinks in steadily and pulls the workpieces together. But near the end, a familiar issue arises that many tradespeople have encountered: the tool keeps spinning, the screw turns with it, but the screw refuses to go down any further, and the workpiece isn't as tight as it should be. When this happens, many people often squeeze the trigger a bit more, thinking the screw hasn't seated fully. Yet sometimes, the more you drive it, the more freely and easily the screw spins instead.
If you encounter this symptom, chances are the problem isn't that "it's not driven all the way in," but that the threads in the material have already stripped. Self-tapping screws do not hold the workpiece on their own; they rely on the surrounding material for the screw threads to bite into. When this material remains intact, the screw steadily draws down and fastens the workpiece. However, if the material surrounding the hole is stripped or severely deformed, even if the screw still turns, spinning it further will not make it hold tight again.
Self-tapping screws tighten because there must be base material for the threads to grip
When driving a self-tapping screw, the screw forms a mating thread in the workpiece during installation. Some screw types use sharp cutting edges to cut into the material, while others push or deform the material to form grooves matching the screw threads. Once both sides engage properly, the screw gradually moves downward as it turns.
Once the screw head begins to sit flush against the workpiece surface, resistance increases and the screw begins to tighten. At this point, many people assume that tightening further will make it even tighter. In reality, the material around the hole has a limited load-bearing capacity. Over-tightening may damage the newly formed internal threads in the workpiece before harming the screw itself.
Screw manufacturers' technical specifications therefore consider not only the screw size, but also the pilot hole diameter, thickness, and strength of the material together, as all these factors determine how effectively the threads grip the workpiece.
If you are not yet familiar with how these screws work, you can read further in the article Beginner's Guide: How Are Self-Tapping Screws Different from Standard Screws? It will help give you a clearer picture of why self-tapping screws rely more heavily on the material around the hole than certain other types of screws.
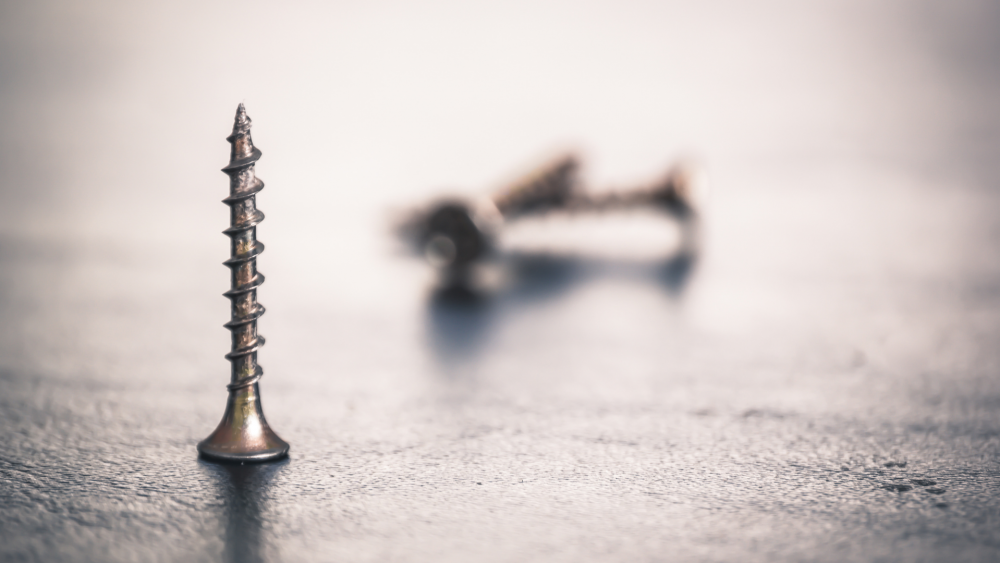
So when does thread stripping happen?
During the initial phase as the screw advances, its threads engage firmly with the base material. With every turn, the screw drives downward normally. However, once the screw head seats against the workpiece, the tightening force transfers directly into the threads inside the hole. If torque continues to be applied beyond what the material can withstand, the internal threads in the workpiece may deform or shear away.
Once this point is reached, the screw may still appear intact and its threads undamaged, but the internal threads in the workpiece have failed. As a result, the screw spins with the tool without driving deeper or securing the workpiece. This condition is commonly known as stripped threads.
This occurs more easily in softer materials, plastics, or thin sheet metals because there is limited material for the threads to bite into. Furthermore, using high-power tools and keeping the trigger pulled after the screw head seats makes it very easy to overshoot the ideal stopping point.
A spinning screw does not always mean stripped threads
The term "spinning screw" or "free-spinning screw" is used to describe several different issues. Misidentifying the problem can easily lead to the wrong fix. For example, if the screwdriver bit spins in the screw head while the screw barely turns, causing the drive recess to strip out, the issue lies with the screw head or bit—commonly referred to as a stripped screw head or cam-out.
Conversely, if the bit grips the screw head properly and turns it, but the screw fails to advance or clamp the workpiece tight, the internal threads inside the hole should be inspected instead. Additionally, issues such as a screw that is too short, an oversized pilot hole, or insufficient thread engagement with the substrate below can also create the impression of a free-spinning screw.
To troubleshoot easily, check three things simultaneously: is the bit gripping the screw head, is the screw actually rotating, and is the screw still advancing deeper? These three checks alone will guide you toward the right troubleshooting step.
Why does the screw spin more easily the more it is tightened?
When the internal threads just begin to fail, some material may still remain for the screw to grab, giving the sensation of friction and making it feel like it can still be tightened further. Many people push harder with the tool hoping it will tighten down, but repeatedly spinning through the same damaged spot simply clears away the remaining material.
What started as a hole that could still partially grip the screw gradually becomes a looser, enlarged hole. The screw spins even more easily, which can misleadingly suggest it needs more tightening, when in fact the threads are gripping less and less material.
This is why a screw sometimes feels "almost tight," but after a few more turns, it spins endlessly without ever clamping down. If the screw is spinning without advancing, stopping the tool and diagnosing the issue is far better than applying more force.
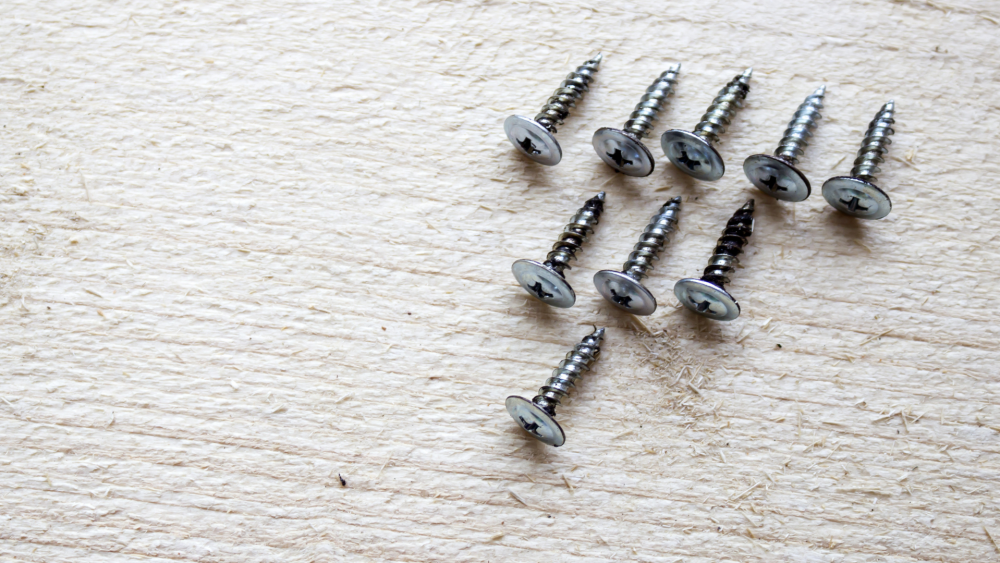
It's not just about over-tightening
Excessive tightening torque is a common cause, but not the only one. Some jobs run into problems right from the hole preparation stage, especially with a pilot hole that is improperly sized for the screw and material.
If the hole is too large, there will be less material left for the threads to grip. It might feel easy and smooth while driving it in, but when actual holding power is needed, there isn't enough material to bite into, causing the screw to spin freely much sooner. On the other hand, a hole that is too small requires more torque to form the threads, which can damage the workpiece or the screw itself as well.
An appropriate hole size should not be determined solely by the screw itself, but must also take into account the material type and thickness. This is especially true for metalworking, where even a slight difference in hole size can affect driving torque and post-installation tightness much more than in general applications.
Thinner workpieces mean less material for threads to grip.
Try using the same screw on two metal sheets—one very thin and the other thicker. Even with the same screw size, the results may not be the same because the thicker sheet provides more material for the threads to engage.
A thin sheet provides only a brief area for thread engagement. If excessive force is applied, those small thread grooves are likely to strip much faster. This is why the same screw might hold tightly in one workpiece, yet easily become loose in another.
The material itself also plays a role. Wood, plastic, sheet metal, and thicker metal do not handle thread forces in the same way. Choosing a screw should not be just about "can it be driven in?", but also whether the threads will have enough material to hold onto for that specific application after installation.
If you are choosing screws for metalwork and are still confused between tapping screws and self-drilling screws, you can read more in our article: Know Before You Ruin the Job! In-Depth Differences Between Tapping Screws and Self-Drilling Screws Every Craftsman Should Know Because even though they look similar, the functionality of their screw tips is not quite the same.
Removed and re-driven into the same hole: Why does it sometimes feel looser than before?
Another common issue is that the screw is tight upon initial installation, but after removing the workpiece and driving the screw back into the same hole, it feels looser. This happens especially with softer materials, because each time you remove and re-drive the screw, its threads must pass through the existing grooves again.
If the screw doesn't align with the original grooves, or if the internal threads were partially deformed from previous use, re-driving it can strip away even more material. Especially at points that require frequent disassembly, tightness can degrade much faster than at points that are fastened once and left alone.
This does not mean tapping screws should never be removed and re-driven. However, if the application requires regular opening, closing, or disassembly, consider whether repeatedly using threads in the original material is truly suitable. In some cases, using threaded inserts, nuts, or fastening systems designed for repeated disassembly may be more appropriate.
What should you do if the screw starts spinning freely?
If you notice that the screw keeps turning without going deeper, the first thing to do is stop tightening. Remove it and inspect where the problem lies. Check whether the screw threads are still intact, if the hole in the workpiece has enlarged, and whether any debris has stripped out from around the hole.
If the screw looks normal but the hole has loosened or the screw slips back in abnormally easily, the issue is more likely on the workpiece side. The solution depends on the material type and how much load that point needs to support.
In some jobs, you can relocate the fastening point. Others might require rivet nuts, threaded inserts, or switching to nuts and bolts if the backside is accessible. Wood and plastic also have different repair methods. What you should not do out of habit is immediately grab a larger screw and drive it into the same hole; although it may help in some cases, a larger screw will also consume more material.
If the original hole is close to an edge, the workpiece is thin, or that area is already severely damaged, upsizing the screw might cause even worse damage to the remaining material. Especially for load-bearing points or critical areas where failure could be hazardous, use a repair method genuinely suitable for that application rather than just relying on it feeling tight at first.
To prevent stripped threads, pay attention right from the start.
Prevention is much easier than fixing a stripped hole. Start by selecting the right screw type and size for the material, determine whether a pilot hole is needed, and ensure the hole size is appropriate for the job. For large-scale installations, testing on actual scrap material first helps you see how tightly the screw seats and gauge about how much force to apply.
When starting to drive the screw, keep it straight. If it starts at an angle, the internal threads formed in the hole may be compromised from the beginning, and trying to force it straight later is likely to damage the hole even further. If you'd like to read more on this topic, check out the article "Driving Self-Tapping Screws Straight Without Tilting: What to Look For?" on iToolmart, which directly covers screw alignment, downward pressure, and tool control.
Another critical phase is when the screw head is about to seat flush against the workpiece. At this point, there is no need to push down on the tool as hard as when starting. If the tool has an adjustable torque clutch, set it appropriately for the job. For delicate materials, gradually lowering the speed towards the end will make it easier to control the stopping point.
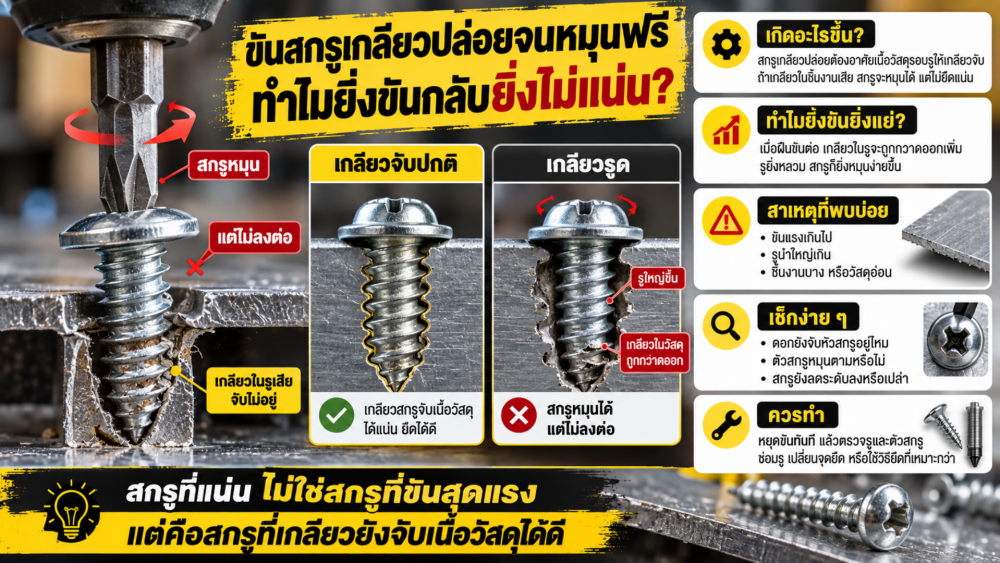 A tight screw does not mean you have to tighten it with maximum force
SymptomSelf Tapping ScrewsStripping isn't caused by a damaged screw alone; it can involve driving force, pilot hole size, material thickness, and the condition of the internal threads in the workpiece. If the screw keeps spinning with the tool but won't sink any further and the workpiece isn't pulling tight, forcing it will rarely solve the problem.
A properly driven screw doesn't mean using so much force that the tool stalls, but rather that the screw firmly secures the workpiece without stripping out the internal threads in the material. Once that point is reached, stopping in time is far more important than trying to squeeze in extra torque—because once the material around the hole is stripped, no matter how powerful the tool is, raw force alone will not make that joint tight again.