


 EN
 ไทย


Customers Also Purchased
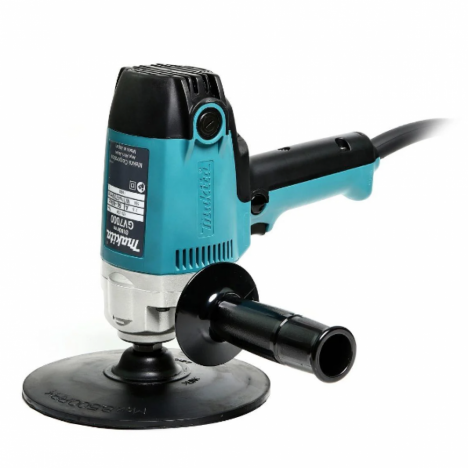

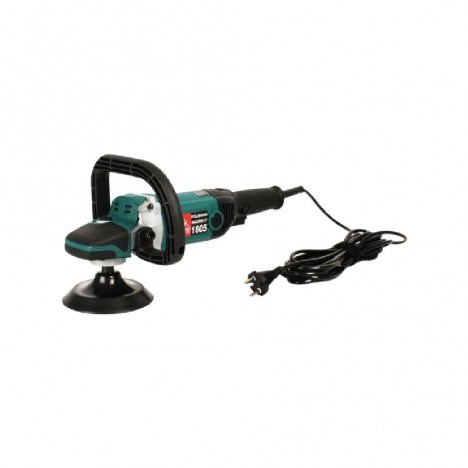
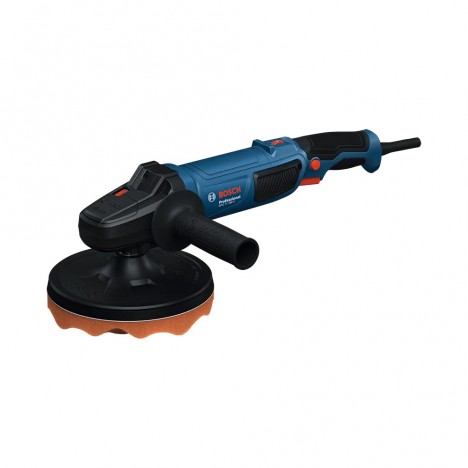
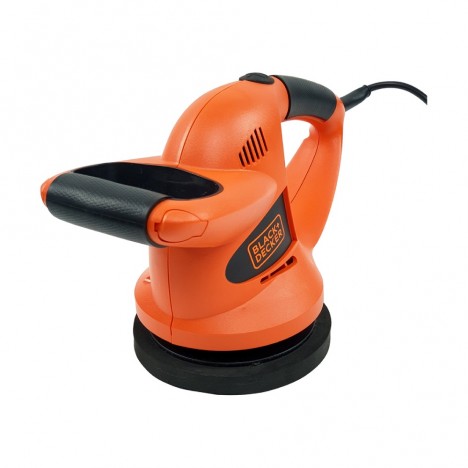
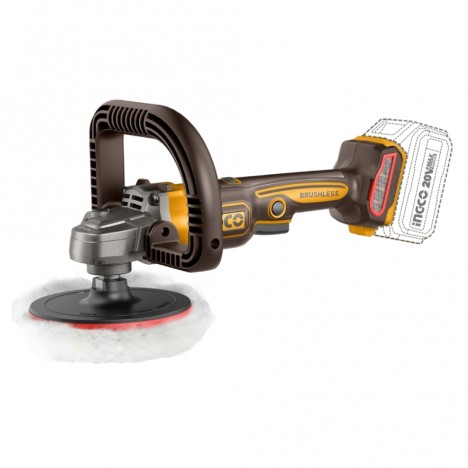
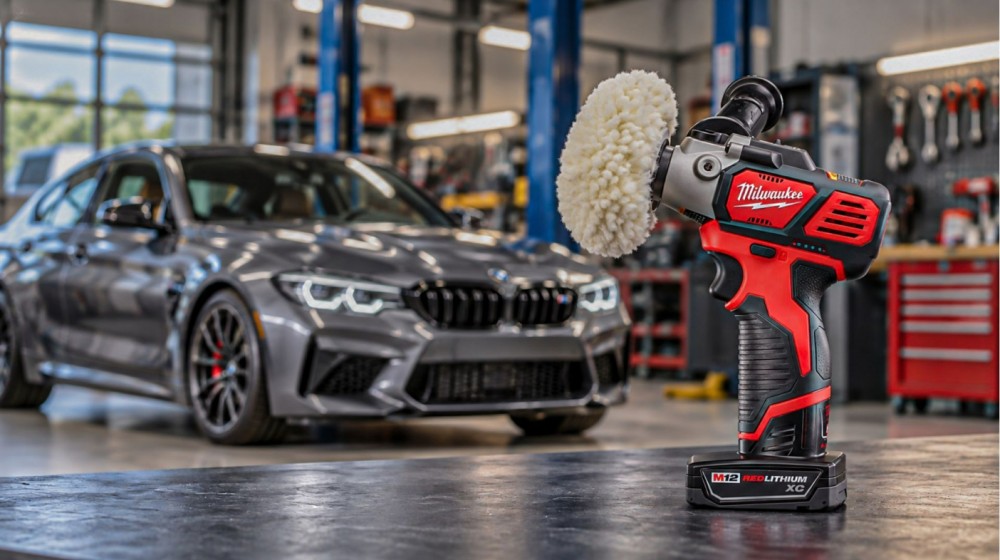
Picture this: you've just finished washing your car, backed it out into the afternoon sun, and spotted swirls of circular scratches all over the hood's reflection. Not to mention that long scratch on the driver's door from who-knows-what. The first question that pops into your head is: if you buy Polisher to use, will these scratches disappear?
The direct answer is: some can disappear, and some shouldn't be touched at all. A car polisher doesn't remove scratches by filling anything in; it removes them by leveling the paint surface around the scratch down to the bottom of the defect. The deeper the scratch, the more clear coat you have to sacrifice—and clear coat once removed never grows back. So let's look at which scratches can be polished out and how to use a car polisher while preserving as much paint as possible.
Car polishers remove scratches by abrading the clear coat layer
Most modern automotive finishes are not single-layered. At the bottom is the primer adhering to the bare metal, followed by the base coat that provides the color, and at the top is the clear coat—a transparent layer that provides gloss and protection against sun and rain. Almost all the scratches we see in daily life occur within this clear coat layer.
The problem is that the clear coat is extremely thin—measured in microns. When polishing compound works together with the rotation of the pad, the polisher gradually levels the clear surface, making shallow scratches disappear along with the uppermost layer. But if a scratch penetrates almost entirely through the clear coat, polishing until it completely vanishes might expose the color coat underneath directly to sunlight, which is far worse than the original scratch.
The goal of using a car polisher should be to make scratches "unnoticeable" at normal viewing distance, rather than eliminating them completely at the expense of what little paint thickness remains.
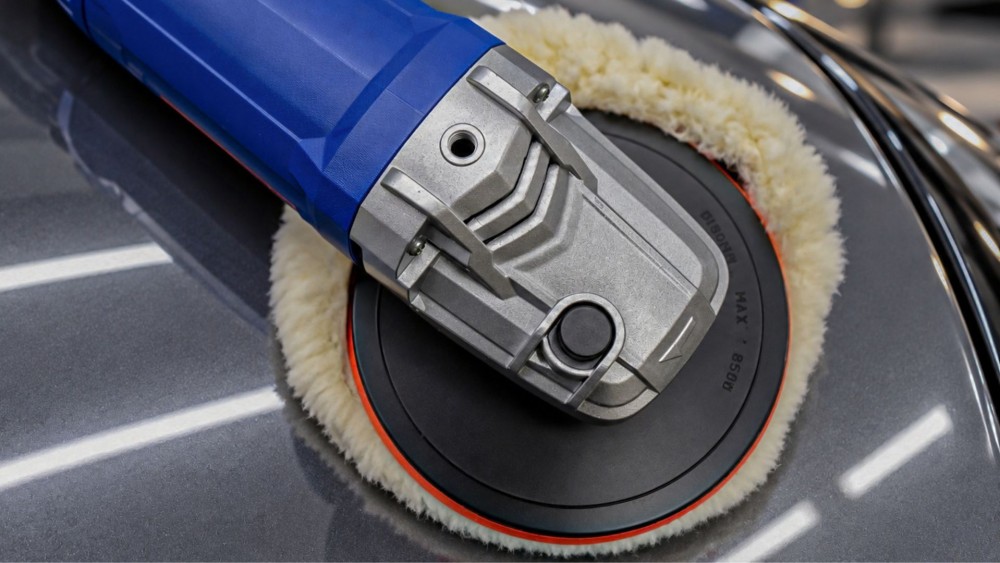
Use the Fingernail Test First: Can a Car Polisher Really Fix That Scratch?
Before plugging in, wash and dry the area thoroughly, then gently run your fingernail across the scratch. This method requires no tools at all, but it categorizes scratches into three types and helps you decide whether to use a polisher.
Scratches Where the Fingernail Doesn't Catch at All: A Car Polisher Handles These Best
This group includes swirl marks from wiping with dirty towels, fine spiderweb scratches, stubborn water spot rings, and paint dulled by sun exposure. These scratches are very superficial; polishing with a fine finishing polish and a soft foam pad for 1-2 passes is usually sufficient. If most scratches on your car fall into this category, using a car polisher is most worthwhile, as swirl marks tend to return regularly with routine car washes.
Scratches Where the Fingernail Catches Slightly: Can Be Polished, but Only Faded
If your fingernail catches just a bit and then slides through, the scratch has penetrated fairly deep into the clear coat. Polishing will help round off the sharp edges of the scratch, reducing light reflection and making it look much less noticeable. However, do not aim to eliminate it completely; polish until it is not noticeable from a normal standing distance, then stop.
Scratches Where the Fingernail Catches Deeply or Other Paint Layers Show: Stop Using the Machine
If your fingernail catches firmly in the groove, or if you can see the white or gray of the primer coat or bare metal, the scratch has penetrated through the clear coat. No polishing compound or car polisher model can restore the missing paint layer. For this group of scratches, you should consult a body shop; touch-up paint followed by wet sanding or repainting the entire panel may be needed. If rust has begun to form along the edges, do not delay, and do not attempt to buff out the rust yourself as it will only make the damaged area larger.
Wash and Clay First: Car Polishers Drag Trapped Dirt into New Swirls
A paint surface that looks clean may still contain embedded contaminants, such as tar spots, tree sap, or iron fallout from brake dust. Try sliding your palm across the hood after washing; if it feels gritty like fine sandpaper, debris is still embedded.
If you start polishing in that condition, the car polisher will spin these grit particles across the panel, creating a new set of swirl marks that you will have to polish out all over again. The best approach is to wash thoroughly, then lubricate and glide a clay bar over the surface until it feels smooth to the touch. Dry it off, and only then begin polishing. While polishing, remember to tap out or change the pad when it becomes loaded with compound and paint residue, as a saturated pad cuts less effectively and builds up more heat.
Using a Car Polisher with Minimal Paint Removal: Work from Least to Most Aggressive
A universal rule for any car polisher is to always start with the least aggressive method, stepping up only after proving that the milder approach is insufficient. Starting immediately with a wool pad and heavy compound will indeed remove the scratches, but it takes off more clear coat than necessary and usually wastes time polishing out the new compounding marks you created.
Make a Palm-Sized Test Spot First
- Choose an area with visible scratches and tape off a section roughly the size of your palm.
- Set the car polisher to a low to medium speed.
- Use a fine finishing pad with finishing polish, then wipe it clean to inspect.
If the scratches are reduced to your satisfaction, use this combination for the entire car. If they are still prominent, step up to the next level. This small test spot takes only a few minutes, but it prevents you from polishing the entire car with an overly aggressive setup.
Increase Abrasiveness One Step at a Time, Never Skip Ahead
The next step is switching to a cutting compound with the same pad; if that is still not enough, then switch to a cutting foam pad or a wool pad. Every time you use a more aggressive combination, you must follow up with a fine finishing step to clean up the finish; otherwise, hazing or holograms visible under light will remain. If you do not yet have a full range of backing plates and pads, prepare them before starting rather than trying to use a single combo for every step.
Wipe and inspect under proper lighting after every pass before deciding to polish again
Some polishing compounds contain oils that temporarily fill in scratches, making them appear gone. If you assess the surface while compound residue is still present, you might think the scratch is gone, only to see it reappear after the next car wash. Wipe off the residue thoroughly with a clean microfiber towel and inspect the area using an inspection light or sunlight from multiple angles. Only polish again if the scratch is still visible.
If you have polished for three passes and the scratch hasn't improved at all, that's your sign to put the car polisher down and accept that the scratch is beyond what polishing can fix.
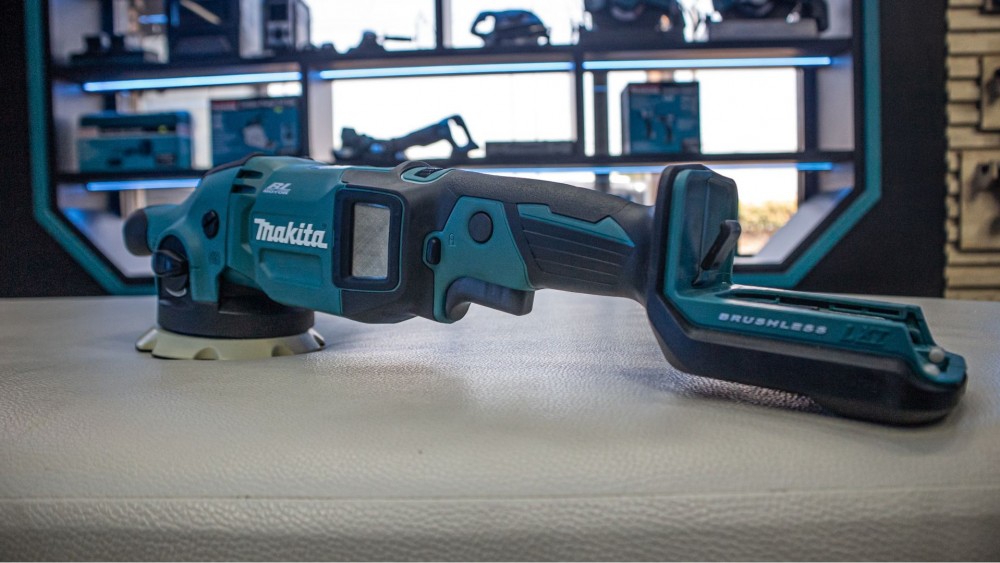
The areas where a car polisher is most likely to burn through paint are places people often overlook.
Burn-throughs rarely occur in the middle of a roof or hood panel; they happen along edges, body lines, and sharp contours. Paint is thinner in these areas, and when the polishing pad presses onto a narrow surface, pressure and heat become concentrated in a single spot.
Imagine polishing a hood smoothly and dragging the car polisher's pad across the center ridge without lifting it up. Just a few seconds is enough to expose the undercoat on that ridge. The easiest way to prevent this is to apply masking tape over all edges, ridges, rubber trim, and plastic parts before starting, then touch up those tight areas later by hand or using a smaller pad.
Another group to watch out for is panels that have been repainted or heavily polished multiple times, especially on used cars, because you have no way of knowing how much clear coat is left. If you plan to seriously use a car polisher on a used car, checking it with a paint depth gauge first is well worth the investment.
Which type of car polisher should you buy, and who shouldn't buy one yet?
If you are a car owner looking to remove swirl marks yourself once or twice a year, a Dual Action (DA) car polisher is the most suitable choice. Because the pad rotates and oscillates simultaneously, heat does not build up in a single spot, resulting in a much lower risk of burning the paint—at the trade-off of removing deep scratches more slowly.
If you run an auto detailing shop or do paint correction regularly, a rotary polisher removes deep scratches much faster. However, it requires an experienced hand to control pressure and heat. Many shops keep both types of car polishers: using a rotary to cut heavy defects and finishing with a DA. For mechanical differences between the two, you can read more in our car polisher comparison article. Dual Action vs. Rotary: What is the difference between Dual Action and Rotary car polishers? Which one should you choose?
For workshops that already have an air compressor, a pneumatic car polisher is another attractive option. Since it has no internal electric motor, the tool generally doesn't get hot in your hands during continuous use. However, it requires an adequate air supply; if the air compressor is too small, the RPM will drop mid-polish, leading to inconsistent results.
Those who should not buy one yet are individuals whose main problem is a single deep scratch down to the primer, because buying a machine won't fix it; having that spot repainted is likely more cost-effective. Another group that should avoid this is anyone thinking of putting a polishing pad on an angle grinder.
The reason you should never use an angle grinder instead of a car polisher is that an angle grinder spins far too fast for polishing work and mostly lacks low-speed adjustment; heat builds up so rapidly that the paint will burn before you even notice.
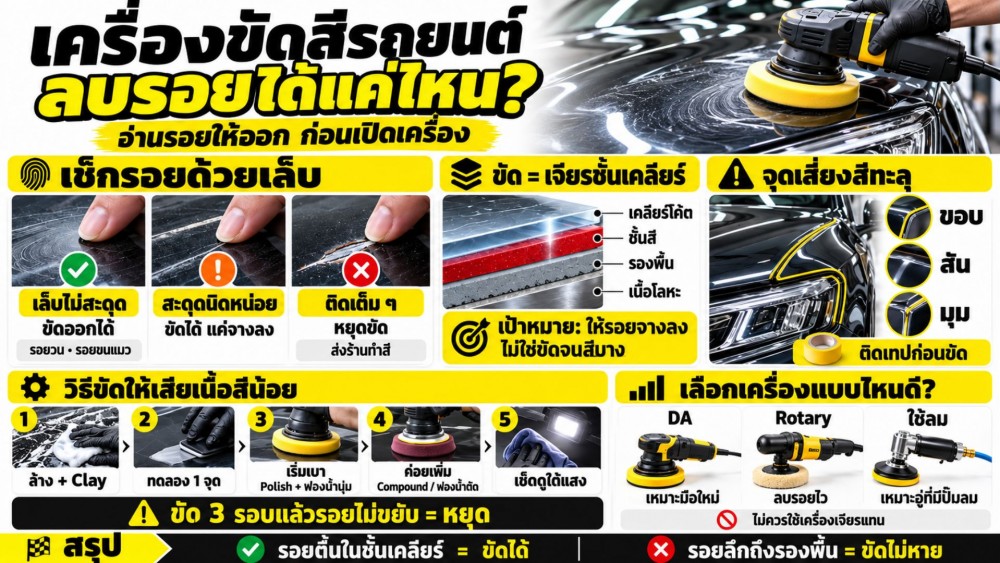
Summary: A car polisher is a tool for removing shallow marks, not every scratch.
A car polisher can truly restore your vehicle's gloss if used on scratches confined to the clear coat layer, following the "start mild, then go aggressive" approach. Always test with your fingernail first, start on a test spot, mask off edges and contours, and stop immediately if an underlying paint color appears or if the scratch hasn't shifted after three passes. Once finished, don't forget to apply wax or a paint sealant, as freshly polished paint is completely unprotected from sunlight and rain.
If you are looking for a Polisher a machine, start by determining which category most of your car's scratches fall into, then look for a model that best fits the job.