


 EN
 ไทย


Customers Also Purchased


Woodwork that has been used or is in the surface preparation stage before painting often has minor imperfections, such as nail holes, scratches, assembly grooves, or chipped corners from impacts. These flaws may not stand out much on bare wood, but once painted or finished, they become more visible because the uneven surface reflects light differently from the surrounding area. Wood filler plays an essential role in filling missing areas and leveling the surface before moving on to the painting stage.
However, Wood Filler Color it is not designed to fix all types of wood damage. A small surface flaw and wood that is rotted or cracked from load-bearing stress might both look like gaps that need filling, but their causes and repair methods differ greatly. If you apply wood filler without first assessing the wood's condition, the job may look fine at first, but it is likely to crack, dislodge, or reopen over time. Therefore, before reaching for wood filler, determine whether the mark is merely a surface defect or a sign of deeper structural issues.
What Is the Function of Wood Filler?
The primary function of wood filler or patching compound is to fill surface imperfections or small missing sections so that the surface can be sanded and finished smoothly. Common applications include filling nail holes, deep scratches, impact dents, chips, shallow grooves, or minor stable cracks. Once the filler has dried according to the manufacturer's instructions, excess material can be sanded down flush with the surrounding wood surface before proceeding to priming, painting, or staining as required for the project.
The key point is that wood filler is meant for surface preparation rather than reinforcing the structural strength of the wood piece. Furthermore, the term 'wood filler' on the market covers a wide range of products: some formulas harden and can be sanded, some are intended only for minor blemishes, some are suitable for interior work, while others withstand exterior conditions or can be stained over. Therefore, properties should not be generalized based solely on the product name. Before use, check whether the manufacturer specifies the product for your type of application and whether it supports your desired finishing steps.
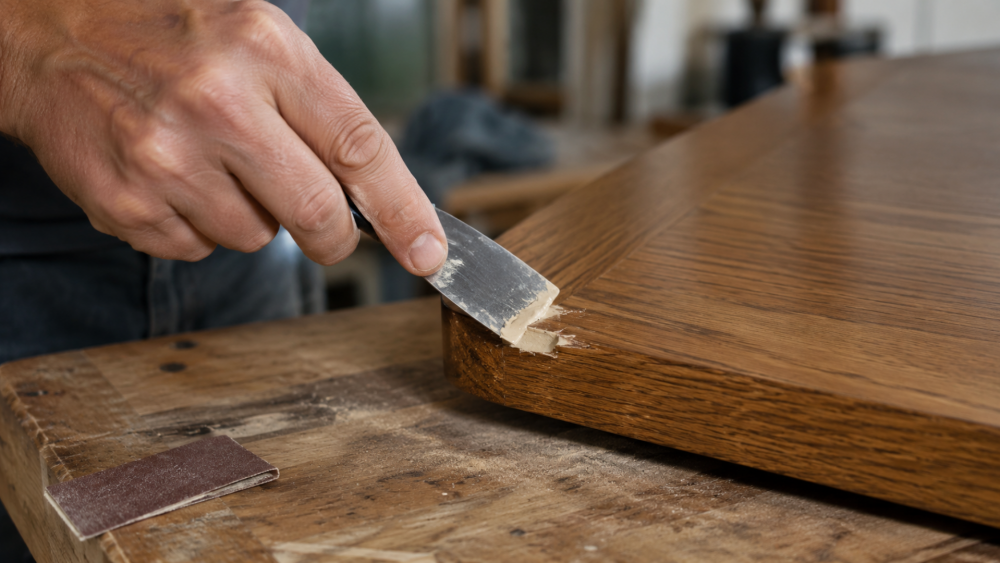
Nail holes, scratches, and minor surface blemishes are tasks where wood filler is exceptionally well suited.
Nail head marks, brad nail holes, or small openings from assembling furniture, baseboards, door frames, and decorative moldings are clear examples of jobs where wood filler performs well, because these are generally localized blemishes that do not compromise the workpiece's structural integrity. Before filling, clean the area thoroughly so that no dust, wood shavings, or debris remain. Also verify whether the nail or screw in that area is still loose; if the fastener is loose and you simply fill over it, the exterior might look smooth, but movement in the fastener can cause the filled area to crack later.
The simple rule of thumb is: if the root cause of the flaw is still moving, resolve that cause first before using filler to touch up surface details. This ensures the filler material sits on a stable, stationary surface rather than bearing movement that isn't its job to handle.
Chips and deep gouges can be filled, but do not assume every formula can be applied thickly.
Chipped corners, impact dents, or gouges deeper than ordinary scratches can be repaired with wood filler or wood patching compounds in many cases, but you must consider both the size of the damage and the product specifications. Some filler materials are formulated only for thin surface skimming, while others can fill deeper voids. Some products also specify applying in multiple layers rather than filling the entire depth in one go, as applying thicker than the formula allows can slow internal drying, cause shrinkage, or distort the sanded surface later on.
Therefore, there is no single rule for 'how many millimeters thick wood filler should be applied' that applies to all types. If the defect is deep or a significant amount of wood is missing, consult the specific product instructions directly and assess whether the task is still within the scope of surface finishing or approaching structural wood repair that requires alternative methods. The deeper the damage goes, the more cautious you must be when relying solely on fillers.
Small cracks can be filled, but you must check whether the crack is still moving.
Cracks in wood require more scrutiny than nail holes, because the term 'crack' spans from shallow, fine surface checks to cracks caused by shrinkage, expansion, warping, or mechanical stress. If it is a shallow, relatively stable crack, surface filling is usually fine. However, if the crack continues to widen or the wood on either side is still shifting, filling alone is unlikely to be permanent; once the wood moves, the cured, rigid filler can crack along the original seam.
Wood naturally changes dimensions with moisture, so minor movement in certain areas is normal, especially along joints. Troubleshooting therefore requires determining whether the issue is purely a surface blemish or a crack reflecting actual movement in the piece. If it is the latter, selecting the material or repair method must account for that movement, rather than just seeing an open gap that can be filled.
Gaps along joints: do not reach for wood filler right away.
A gap appearing along the seam where two pieces of wood meet might seem like an obvious spot to fill, but you should clearly determine beforehand whether that joint experiences movement. If it is a stationary joint and the product supports it, using a wood patching compound can work normally. However, if the joint is prone to shifting from humidity, temperature, load-bearing stress, or differences between materials on either side, rigid wood filler is likely to crack when the joint moves.
In such cases, choose a joint sealant or filler suited to the specific nature of the application rather than using wood filler simply because wood is present. The key is not a fixed rule on whether joints can be filled, but assessing how stable the joint is and whether the selected material can accommodate movement at that point.
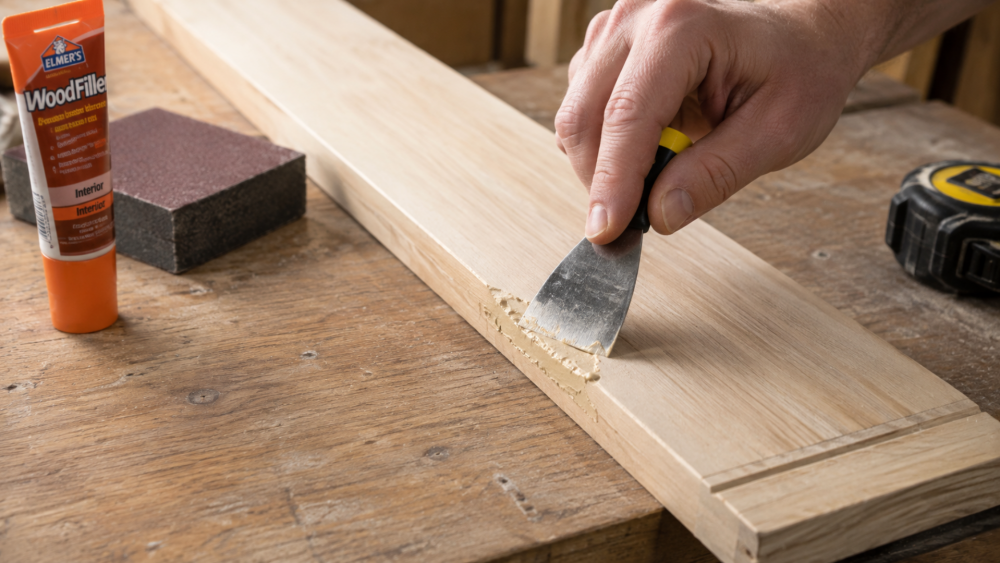
Rotted or spongy wood: do not simply fill over it and consider the repair complete.
If pressing or probing reveals the wood is soft, spongy, crumbling into powder, or structurally degraded over a wide area, the problem is no longer just on the surface. Smearing standard wood filler over the exterior may make the surface look smooth, but it does not restore strength to deteriorated wood. For this type of issue, find the root cause first—such as moisture, water seepage, or wood rot—then assess whether to cut out the damaged section, replace the piece, use a specialized wood restoration system, or apply a wood hardener as designed by the manufacturer.
There are dedicated wood repair systems that can be used on rotted wood, but they follow specific procedures rather than merely covering the damage with ordinary wood filler. Particularly on load-bearing components or safety-critical points, prioritize the structural integrity of the wood before surface appearance, as a good-looking surface cannot compensate for lost structural strength.
Large cracks or split wood components: restore structural strength first.
If a crack is wide enough that the two sides of wood have separated, joints are loose, or the piece shifts when pressed, it should not be treated as a mere cosmetic defect. Even if filler can be packed to fill the void completely, filling a gap does not properly rejoin the wood pieces. If the cause lies in the joint or load stresses, repair the fastening first—such as re-securing the assembly, reinforcing parts, or replacing damaged components as needed—and then use wood filler to smooth out any remaining surface gaps.
This mindset helps clearly separate material roles: wood filler is meant for post-repair detailing and should never substitute for structural elements intended to bear loads or hold pieces together. If the underlying structural issue remains, the original crack is likely to reopen or damage the filled surface again.
Large holes or significant wood loss: verify whether the chosen material is rated for that scale of repair.
The wider, deeper, or more wood material is missing, the less you should use general wood putty without checking the product details. Each formula has different capabilities; some are suitable for small blemishes, while certain wood fillers are designed to build up shape or bulk to repair missing corners and sections more effectively.
If you need to repair large damage, check whether the manufacturer supports such applications, how many layers must be applied, whether reinforcing materials are required, and how the workpiece will be used once cured. Cosmetic surface repairs and repairs on load-bearing components should not be judged by the same criteria, and choosing a material based solely on the term "wood putty" may not be sufficient for severe damage.
For exterior work, choose wood putty labeled for exterior use
Wood putty is not suitable for all exterior applications. Formulas that perform well on indoor furniture may not be designed to withstand rain, humidity, or temperature fluctuations throughout the day. Therefore, if you need to repair doors, windows, eaves, or exterior woodwork, make sure the product truly supports outdoor use and whether additional surface protection steps are required after patching.
Even if the product is rated for exterior use, post-patching steps remain crucial because some formulas require painting or a protective clear coat so the repair system withstands environmental conditions as designed. Another issue to address before patching is the moisture source; if the wood is damp from leaks, seepage, or persistent moisture buildup, refinishing without fixing the root cause will likely lead to repeated damage, even with exterior-grade patching materials.
When in doubt, distinguish between surface blemishes and structural damage first
When discovering a blemish on wood, you don't have to judge it by size alone. Some small cracks may stem from shifting joints, while certain large defects might simply be chipped wood that can still be fixed with specialized wood filler. Blemishes suitable for wood putty are typically nail holes, scratches, impact dents, grooves, chips, or flaws on wood that remains structurally sound and stable. Defects requiring closer inspection include wood rot, crumbling wood, expanding cracks, loose joints, wobbly sections, or load-bearing areas.
Another factor to consider before patching is the finishing method. If you plan to paint with solid colors, patched spots are much easier to conceal than in wood grain finishes. However, if staining, do not expect the filler to absorb stain exactly like real wood, even if the product claims to be stainable. Testing on scrap wood or an inconspicuous spot beforehand significantly reduces the risk of mismatched colors and gives you a realistic preview before working on the entire piece.
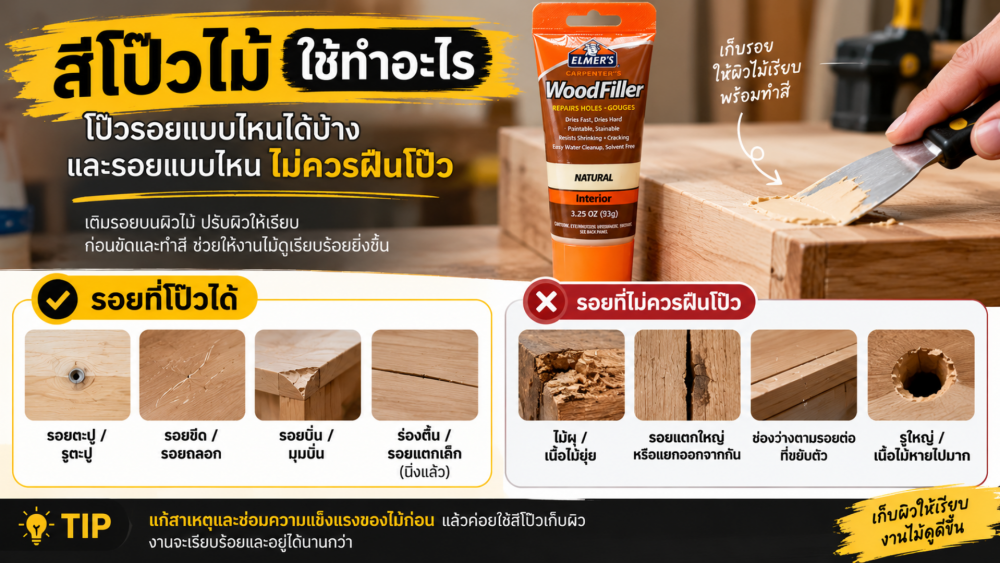
Use wood putty for its intended purpose, and the work will last longer
Wood Filler ColorIt is an extremely useful material for surface preparation and repairing imperfections, from nail holes, scratches, and chips to small, stable cracks. If you select the right formula for the job, prepare the surface properly, and follow the manufacturer's instructions, it helps restore the wood surface to a smooth finish ready for further decoration.
However, if the damage is caused by wood rot, structural load, loose joints, or wood movement, the first step is to address the root cause rather than rushing to conceal it visually. Once the wood and structure are in proper condition, wood putty can perform its best role: finishing the surface details neatly without shouldering the responsibility of structural repair or reinforcement.