


 EN
 ไทย


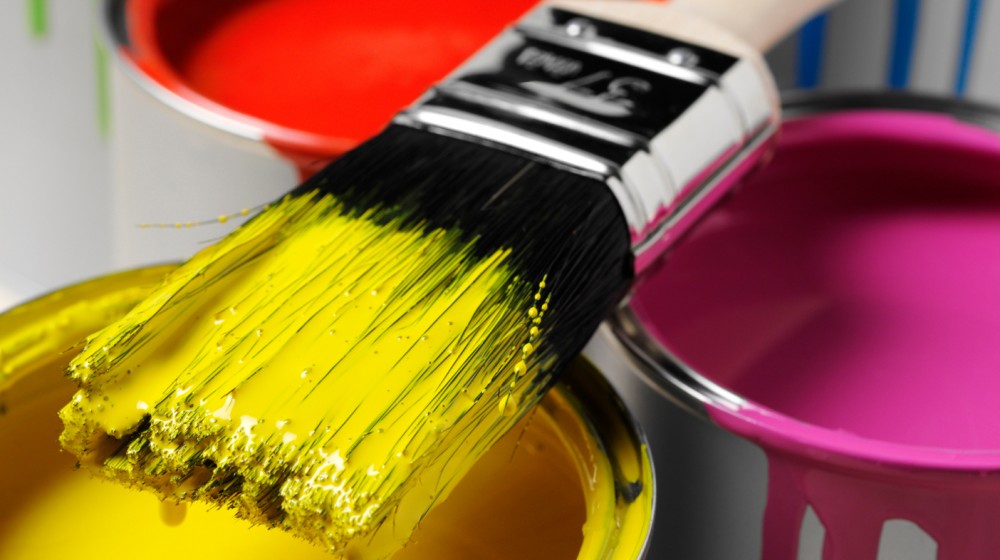
Customers Also Purchased


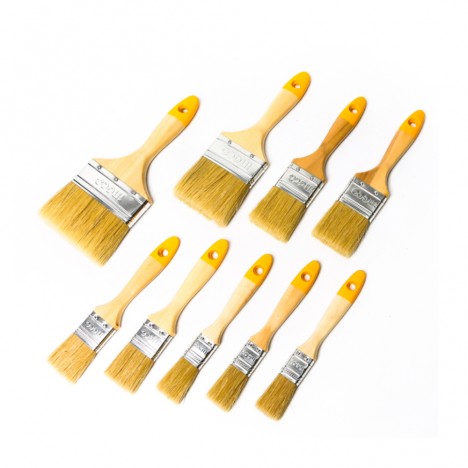

Paint BrushIt seems to be one of the simplest tools in painting: just dip it into the paint and brush it across the surface, and that should be it. However, once you actually begin painting—especially along trim, doorframes, wall corners, or areas requiring crisp, straight lines—you quickly realize that a single brush involves far more detail than meets the eye. The amount of paint loaded on the bristles, hand pressure, brush angle, stroke rhythm, and even knowing when to stop smoothing all directly impact the final surface finish.
Professional painters don't judge a brush merely by its size or price tag; they know which brush suits which task, how deeply to dip, when to use the tip of the bristles, when to let them fan out, and when to lift the brush to allow the paint to level itself. These aren't complicated trade secrets, but rather subtle nuances that produce a cleaner finish, speed up the job, and significantly cut down on the need for later touch-ups.
Loading the right amount of paint matters more than loading a lot
When first starting out with painting, many people tend to dip the brush deeply, assuming that holding more paint means they can paint longer without stopping. In reality, paint that reaches the base of the bristles and the ferrule doesn't improve the result; instead, it makes the brush heavy, difficult to control, and much harder to clean afterward.
A common guideline is to dip about one-third to one-half the length of the bristles, allowing enough paint to settle between the filaments for a steady, continuous flow. Then, gently tap the excess paint against the inside of the container rather than scraping the brush hard against the rim until nearly dry. This technique allows the brush to hold sufficient paint while minimizing the chance of paint flowing back up into the ferrule.
This detail is very obvious when watching someone skilled with a brush. They don't try to make the brush "just dry enough" before starting to paint, but rather try to have enough paint on the brush to make a continuous stroke without dripping or running out of control.
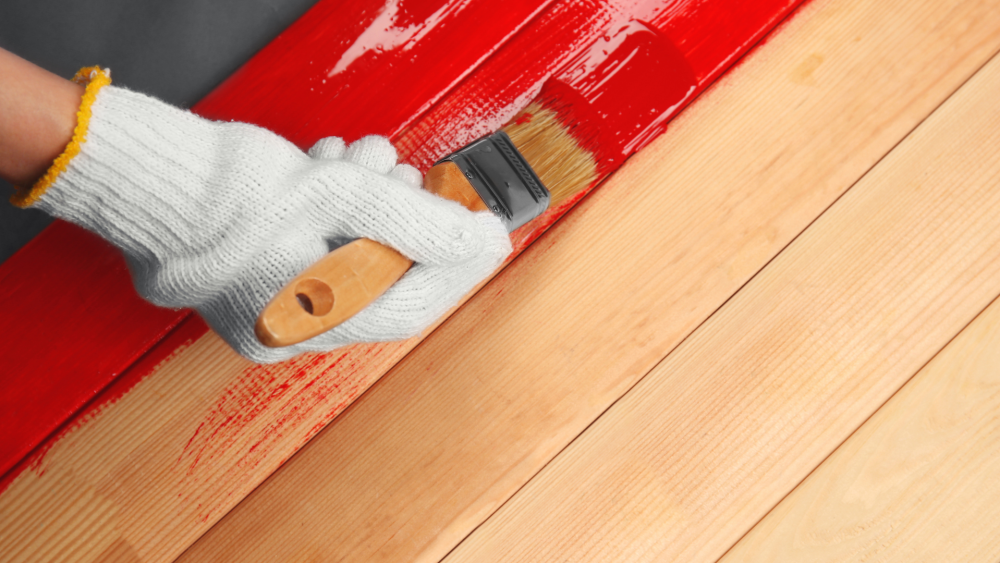
When edging, a brush with too little paint is actually harder to work with
When it comes to cutting in, many people are afraid of paint going over the line, so they try to use a brush with almost no paint on it. The result is a broken paint line, requiring multiple touch-ups, and the more you touch up, the more likely the edge will become uneven.
The technique painters use is to load the brush with just the right amount of paint, then place the brush slightly away from the actual line before gradually increasing pressure to splay the bristles. Then, guide the tips of the bristles toward the desired line. This method differs from dabbing the brush tip directly onto the line, as it makes it much easier to control both paint volume and direction.
Using an angled brush makes it even easier to handle and control the tips of the bristles contacting the surface, especially along the line between walls and ceilings, door edges, or frames. However, an angled tip doesn't make the line straight automatically; the key still lies in hand pressure and guiding the brush gradually into the line.
A small tip is not to scrape too much paint off the brush
After dipping the paint, many people often wipe the brush against the rim of the can two or three times until almost no paint is left on the bristles, thinking it will prevent drips. But if done excessively, the brush loses the paint it just loaded, requiring you to dip again much more frequently.
Tapping gently against the inside of the container helps remove only excess paint while retaining the paint held between the bristles. When you start stroking, the paint releases more consistently, preventing broken lines and reducing the number of times you have to reload. This method shows clear results in edging, as a brush with the right amount of paint can draw longer and produce a more continuous line than a brush that has been wiped almost dry.
Painting from a large can is harder than you think
If you use paint directly from a large can, especially when the paint level starts dropping, dipping the brush becomes inconvenient. You have to tilt the can or try to push the brush down deeper, which easily leads to paint getting on the handle or deep into the heel of the bristles.
Many painters therefore pour some paint into a small container or paint pail when working with a brush, especially for cut-in work. Holding a handy-sized container allows you to move along the wall more easily and control the dipping depth much better than holding a large paint can. Another advantage is that you don't need to leave the main can open the entire time, reducing the chance of dust, dirt, or dried paint skin around the rim falling back into the main paint.
Bristles should splay, but shouldn't be pressed flat
Pressing hard on the brush doesn't always make the paint smoother. If pressed so hard that the bristles splay almost flat against the wall, paint gets pushed out to the sides, and the line you are trying to control widens accordingly. Especially when edging, excessive pressure makes it harder for the tips of the bristles to properly guide the paint.
The ideal pressure should splay the bristles moderately while retaining their snap and spring. As you move your hand, the bristles follow the direction and help guide the paint along the intended line. This is why a brush with good bounce and resilience feels easier to control than one that is limp or out of shape.
However, softness or stiffness should not be used as the sole criteria, because the type of paint, viscosity, bristle length, and surface texture also affect how the brush feels during use.
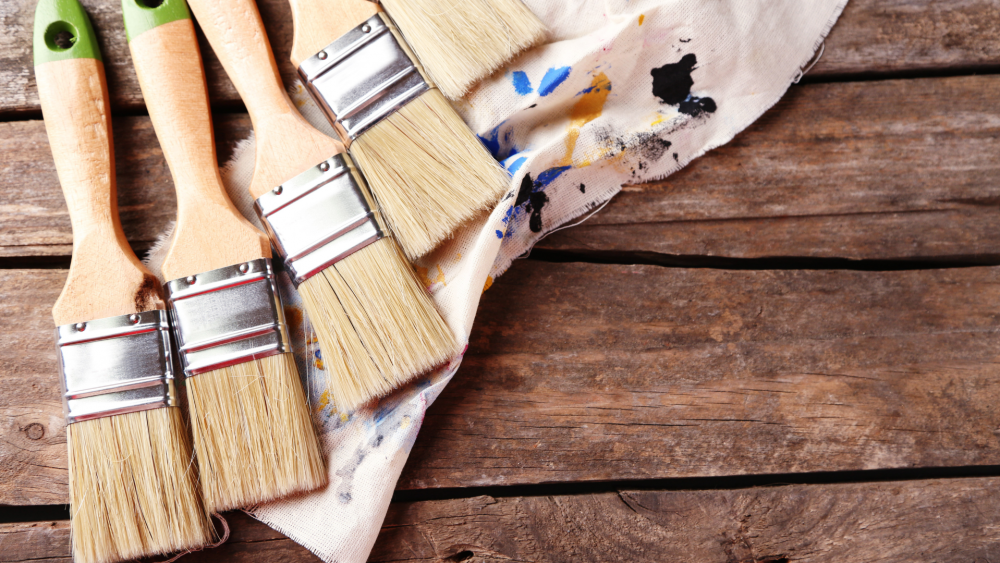
Where pros outshine beginners is often knowing when to stop brushing
When paint is freshly applied, you might still see brush marks on the surface, so it's natural to want to brush over it again to smooth it out. But the more you brush over it as the paint begins to set, the easier it is to ruin the finish, because the brush disrupts the forming paint film.
While the paint is still wet and workable, a single long, gentle tipping-off stroke can help align the finish neatly. But after that, let the paint do its work, especially with paints that feature self-leveling properties to reduce brush marks once left alone for a while.
This is one of the clear differences between those unfamiliar with painting and experienced painters. Beginners often try to fix every line they see immediately, while painters familiar with paint know that certain marks can still change as the paint flows and levels, and going back to touch it up might make it worse.
Seeing brush marks when wet doesn't always mean they will be clearly visible once dry
Many types of paint have self-leveling properties after application, especially when applied at the proper film thickness and at temperatures that don't cause the paint to dry too quickly. Therefore, some brush bristle marks may diminish on their own while the paint film is forming. However, brush marks do not disappear on their own in every case. If the paint is too viscous, the wrong brush is used, excessive pressure is applied, or strokes are reworked as the surface begins to dry, marks can remain even after the paint dries. Additionally, an uneven existing surface can also cause the paint line to appear inconsistent.
A better approach is not trying to make the wet surface look completely smooth across every square centimeter, but rather checking whether the paint is evenly distributed, free of drips and heavy ridges, and still within the window where it can flow and level.
Brushes and rollers must work in sequence, not in separate phases
Wall work often uses a brush to cut in areas rollers can't reach, and a roller for large surfaces. The problem arises when cutting in the entire room first and letting the paint begin to dry before coming back to roll the middle areas later.
When the cut-in edges and the rolled paint dry at different times, the seams can become visible, especially on walls with raking light. The standard practice is to cut in sections and roll right after while the paint is still wet to maintain a continuous "Wet Edge."
You don't need to cut in just a few centimeters and immediately put down the brush, but you should work in spans where you can roll before the first section begins to set, taking into account weather conditions, paint type, and working speed.
Where the brush meets the roller, avoid leaving a heavy paint edge
The transition between brushed and rolled areas is often where differences in texture are noticeable. If you cut in with a brush and leave a thick ridge of paint, then roll up to it later, that line may still be visible after drying.
A better method is to taper the brushed edge slightly thinner or feather it, then overlap the roller onto that area while the paint is still wet. The goal isn't to brush everything flat, but to avoid leaving a thick ridge of paint that turns into a harsh line between the two textures. This is crucial on walls exposed to side lighting, because even with the exact same shade of paint, the difference in texture between brush and roller becomes visible when light hits it.
A larger brush doesn't always make the job faster
Large brushes hold more paint and cover wider areas, but when used on jobs that require precise control, the speed gained can be lost to being overly cautious about overstepping edges or having to go back and touch them up.
For door frames, baseboards, corners, or cutting in between two colors, a brush that fits comfortably in hand and is easy to control is usually more agile. For truly large open areas, it's better to let the roller do its job rather than painting everything with a large brush.
There is no single brush size that fits everyone, because hand sizes differ, the weight of the brush loaded with paint varies, and each painter has a preferred grip angle. What matters is being able to hold and control the brush tip without straining your hand excessively.
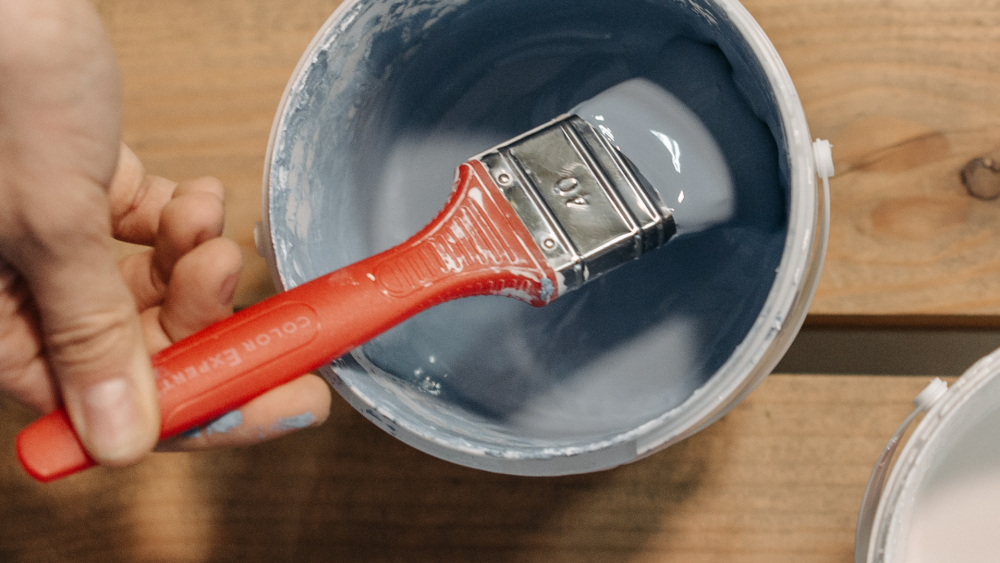
When pausing work, never rest the brush on its bristles
During work, if you need to take a temporary break, resting the brush with the bristle tips pressed against the bottom of a container or surface can bend the bristles and distort their shape, especially when the brush is wet and fully loaded with paint. For short breaks, position the brush so the bristles do not bear weight directly, and never let paint dry on the brush. If stopping for longer periods, handle it according to the paint and brush manufacturer's recommendations, as neglecting a brush even once can cause the heel to harden and ruin its shape. A brush tip that has lost its shape might still be usable for general areas, but you will notice a clear difference the next time you need to cut in fine lines.
Once paint dries down to the heel of the brush, its behavior starts to change.
The most important part of a brush is not just the tips of the bristles, but also the base of the bristles under the ferrule. If paint repeatedly builds up and dries in that area, the base of the bristles will harden, causing them to splay out and lose their spring.
Once this happens, you will start to feel that the brush is not the same, even if the tips still look fine. When applying pressure, the bristles will not fan out and spring back naturally, line control becomes more difficult, and it is more likely to leave brush marks. Therefore, properly caring for a brush actually begins when dipping it into paint, not waiting until cleaning time. If you do not let paint accumulate at the heel from the start, cleaning is much easier and the brush retains its shape better.
Old brushes do not need to be thrown away immediately, but you should not force them onto detailed work.
Brushes that have been used many times may start to develop frayed tips or bristles that do not hold together like they used to when new. If they have not hardened and shedding is not excessive enough to make them unusable, they can still be used for tasks that do not require sharp edge control, such as applying primer, working on rougher surfaces, or general paint distribution.
As for brushes that still hold their shape well, keep their tips together, and have good spring, they should be reserved for cutting in edges, door and window frames, or surfaces that demand a neat finish. Sorting brushes by condition this way helps prevent using good brushes on jobs that unnecessarily deform them. However, if the bristles are so stiff that they splay unnaturally, shed continuously, or have heavy build-up of dried paint at the heel, forcing yourself to keep using them may cause more issues for the finish than the cost of a new brush is worth.
Bristle tips being slightly frayed does not mean the brush is ruined.
One detail that people often overlook is that the tips of certain types of bristles are not cut completely straight; instead, they may have a fine, frayed, or flagged texture. In certain types of brushes, this feature helps increase the surface area for picking up and releasing paint, resulting in a smoother distribution of paint on the surface. Therefore, do not conclude immediately that a brush is damaged just because the tips do not look completely straight. What you need to distinguish is bristle tips that are designed that way by material or manufacturing, versus bristles that are split, broken, bent, or deformed from use and improper storage. Details like this are one of the reasons why two brushes that look similar from a distance can feel completely different when actually used.

A good paintbrush does not create a beautiful finish on its own, but it makes the hand's work much easier.
A quality brush helps with paint pick-up, paint release, and bristle rebound, making edge control easier. However, no brush can fully compensate for dipping too much paint, pressing too hard, or brushing back over paint that has already begun to dry.
What makes the work look neat usually comes from a combination of many details: choosing the right brush for the paint and surface area, dipping an amount of paint that remains controllable, knowing how to cut lines using the tips, maintaining a wet edge so the brush and roller blend seamlessly, and preventing paint from drying and building up at the heel.
Once you start paying attention to these details, Paint Brushit will no longer be just a tool to carry paint from the can to the wall, but a tool used to control paint volume, edge lines, surface texture, and working rhythm all at once. And that is why a skilled painter and a beginner using the exact same brush can achieve noticeably different surface finishes.