


 EN
 ไทย


Customers Also Purchased

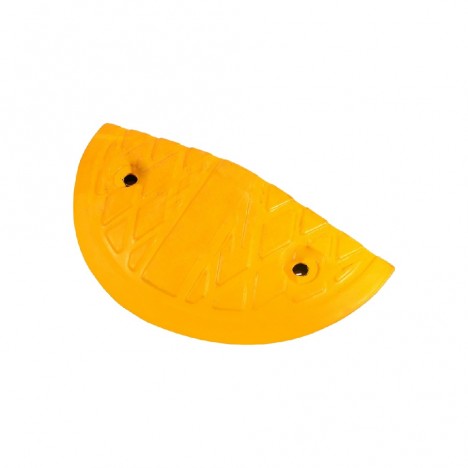
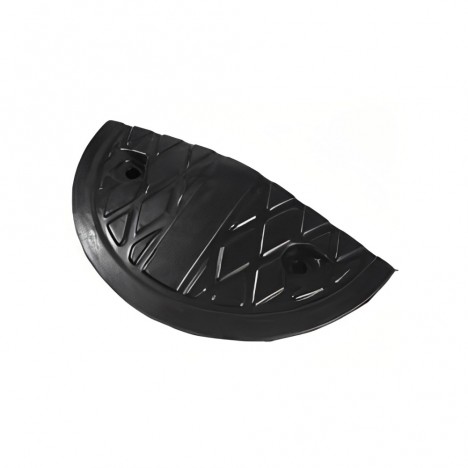
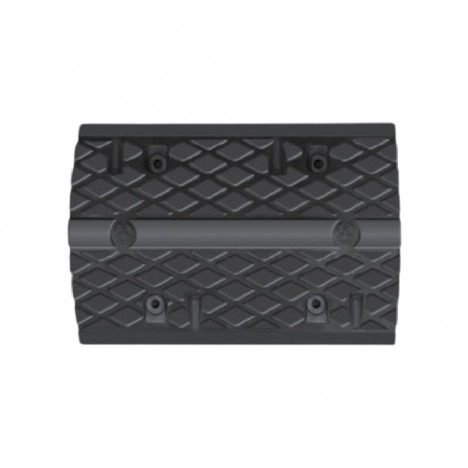
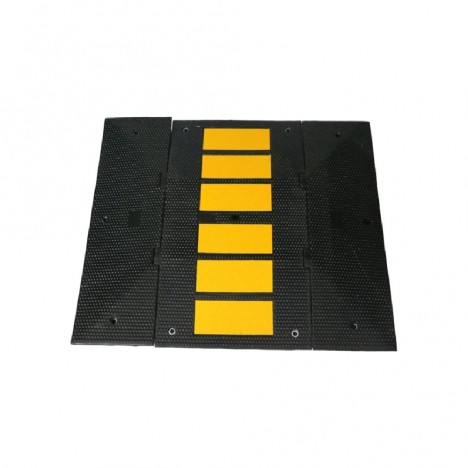
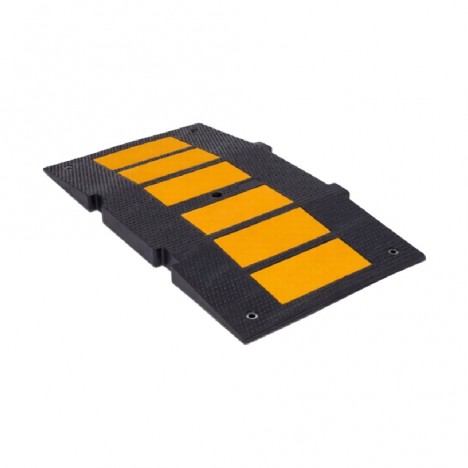
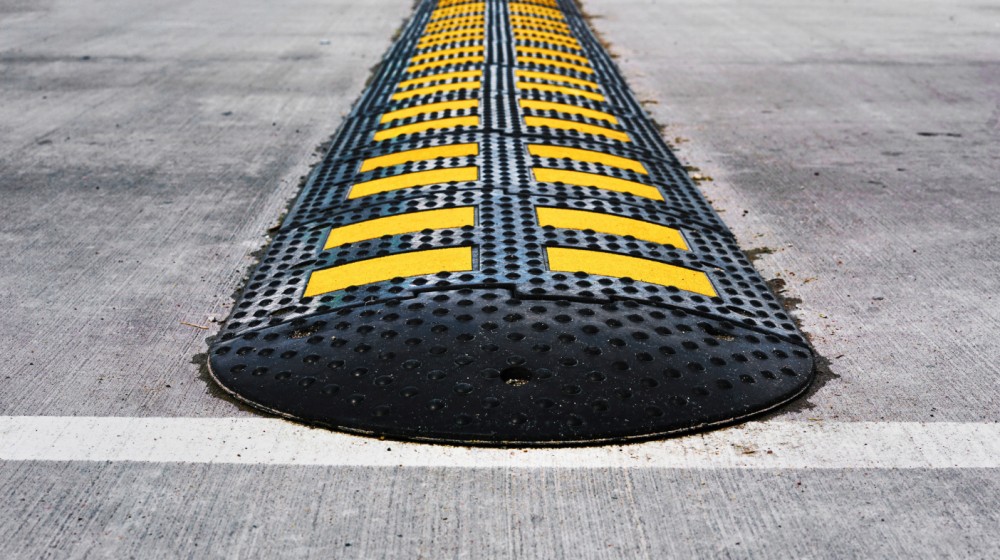
Rubber Speed BumpsPrefabricated units are mostly installed by aligning sections along the roadway, drilling holes through the mounting positions, and securing them to the ground using bolts, anchors, or spikes. From the outside, the procedure on concrete and asphalt looks very similar, but the details underneath the surface differ considerably.
Concrete surfaces are solid and rigid, providing good support for anchors designed to grip into concrete. Asphalt surfaces, on the other hand, are flexible and can soften when exposed to heat, meaning the fastening system must suit the nature of the surface layer and the underlying base structure. However, there is no hard-and-fast rule that concrete surfaces must always use one type of anchor while asphalt surfaces must always use a particular spike, as different speed bump models may require different hardware kits. Before starting work, you should inspect the surface type, actual site conditions, and the product manual. Do not choose anchors based solely on the hole size on the speed bump.
Concrete and asphalt surfaces bear loads differently
Every time a vehicle passes over, a rubber speed bump endures not only downward pressure, but also forward thrust generated by vehicle wheels—especially as they mount and dismount the bump. If the base of the rubber bump is not completely flush with the ground, or if the fasteners are unsuitable, the anchor points will gradually loosen, the drill holes may sustain damage, and the unit will begin to shift and cause clattering noises.
Solid concrete can withstand anchor forces and distribute stress into the surrounding slab quite effectively. However, if the concrete is cracked, too thin, or spalling at the surface, anchor strength will decrease. On the other hand, although asphalt can support vehicle weight, the material is not as rigid or shape-retaining as concrete. Using hardware not designed for this type of surface can cause anchor holes to gradually widen under repeated stress.
The difference therefore lies not just in which drill bit to use, but in the gripping mechanism that secures the hardware to the ground.
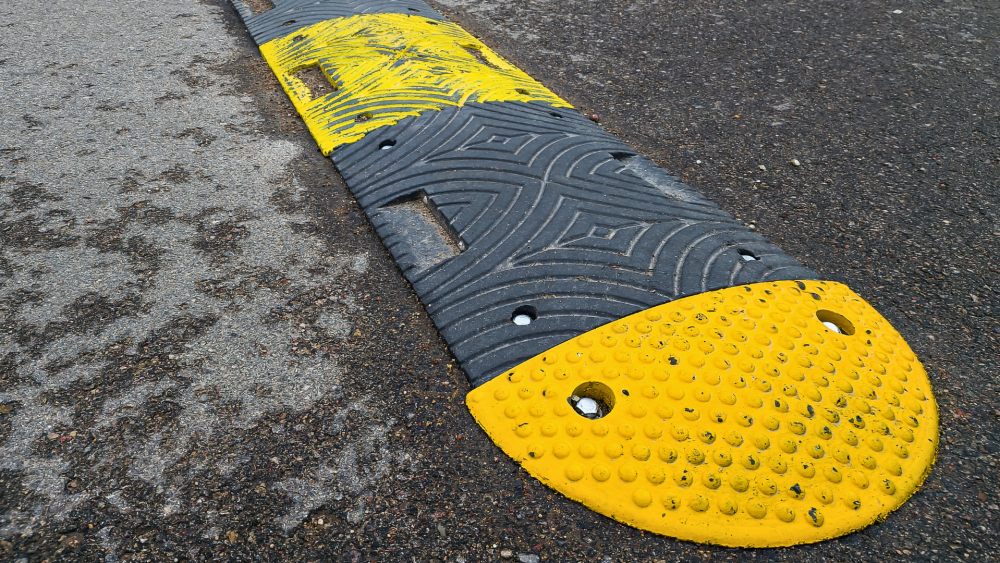
What to look for when installing rubber speed bumps on concrete surfaces
A concrete floor provides a relatively straightforward installation surface for rubber speed bumps if the structure is in good condition. However, drilling should not commence immediately without prior surface inspection, as many issues stem from the installation location rather than the anchors themselves.
Inspect for cracks and surface levelness
The installation location should be free from large cracks, surface flaking, or brittle concrete edges. Avoid drilling too close to expansion joints or slab edges, as the expansion forces from the anchors could cause the concrete to crack further.
When the rubber speed bump is laid on the ground, its base should sit flush against the concrete surface along nearly its entire length. If the piece rocks or shows large gaps, the floor level should be corrected first. Do not overtighten bolts to force a warped section flush, as this may distort the rubber body or the material around the anchor holes.
Before drilling, also verify whether there are water pipes, electrical conduits, or other embedded utilities beneath the surface, especially in indoor areas, parking structures, and factory floors.
Select anchors according to the manufacturer's specifications
Some rubber speed bump models use lag screws with plastic plugs, others use metal expansion anchors, or come with their own dedicated mounting hardware. Do not readily substitute with generic anchors from the market, even if they have a similar diameter.
The product manual should specify the drill bit size, hole depth, anchor type, and tightening method. If the manufacturer offers a dedicated kit for concrete, use that specific kit, as the hole locations and part profile are engineered to work in tandem with those fasteners.
Drill straight holes and clean them before inserting anchors
After aligning the rubber speed bump, mark through the mounting holes to set reference points, then set the unit aside before drilling to the specified diameter and depth. Drilling at an angle or deviating from marked positions can prevent the bolt heads from seating flush and force the assembled sections out of alignment.
Concrete dust inside the holes must be thoroughly removed using a method suitable for the anchor system, as debris can compromise anchor hold, especially with adhesive-bonded systems. When repositioning the unit, thread all bolts loosely first before tightening them down systematically. Do not fully tighten the first bolt immediately, as the unit may shift and misalign the remaining holes.
Some manufacturers' installation manuals instruct starting all bolts before final tightening, and tightening only until firm resistance is met rather than cranking down until the material around the hole crushes.
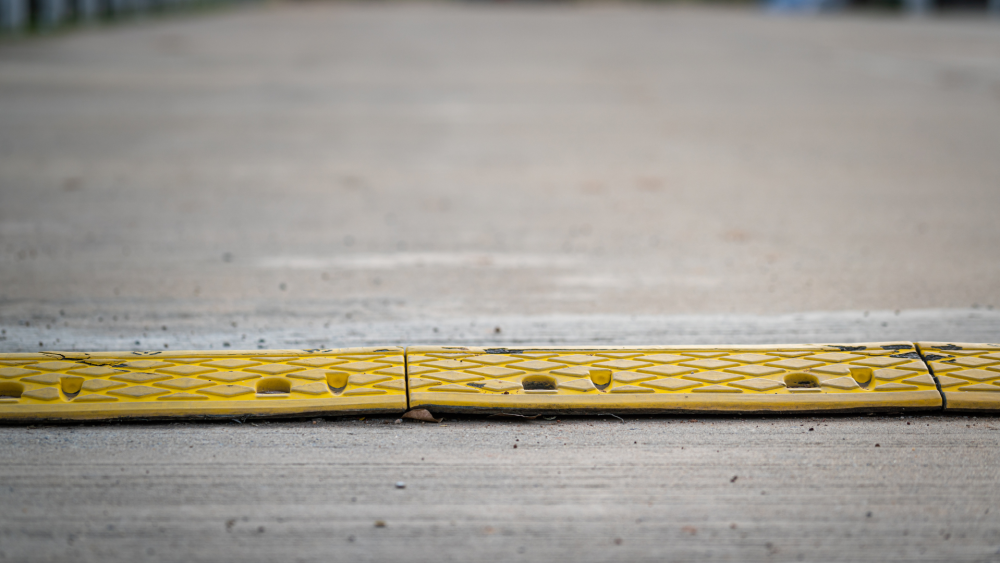
How does installing rubber speed bumps on asphalt differ?
The most critical consideration for asphalt surfaces is that visible surface conditions may not reflect the overall strength of the underlying pavement. Some asphalt surfaces appear smooth and compacted, yet the wearing course may be thin, the subbase may have settled, or moisture may have accumulated underneath. Under repeated vehicle impact, anchors can easily wobble and work loose.
Check the thickness and compaction of the surface
Installation should not be performed on areas exhibiting potholes, alligator cracking, raveling edges, or surface depression. If pressing or tapping indicates a loose surface layer, repair the pavement first. Merely increasing spike length cannot compensate for an unstable road base.
Areas with high truck traffic require special consideration because the forces at the anchoring points are higher than in standard passenger car parking lots. If the manufacturer does not specify that the speed bump model is suitable for heavy vehicles, you should verify this before selecting it; do not rely solely on the hardness of the rubber or the size of the piece.
Fasteners may be dowels, spikes, or model-specific anchors
Some speed bump models require steel dowels or long spikes for asphalt surfaces by drilling pilot holes and hammering the dowels through the piece into the ground, while other models may use bolts with anchor shields or anchor sets certified by the manufacturer for use on both asphalt and concrete.
One example from a manufacturer manual clearly separates installation methods: using steel dowels driven through pilot holes for asphalt surfaces, and screws with expansion plugs for concrete surfaces. However, products from other manufacturers may use different fastener sets, so the method from one brand should not be applied to all product models.
If the product does not include a manual or specify the type of fasteners, consult the distributor before installation. Relying on intuition that longer dowels provide more strength may not be sufficient, as asphalt layer thickness, hole diameter, and sub-base material must also be taken into account.
Drilling or hammering without deforming the piece
If the system uses driven dowels, insert the dowels into all positions before hammering them all the way down to ensure the piece stays aligned and is not pulled to one side. The dowel heads and washers should press the piece flush against the ground, but should not sink so deep that the rubber around the hole collapses or tears.
If not hammered completely flush and the dowel head protrudes, the piece may bang against the ground every time a vehicle passes over it. Conversely, excessive force can deform and tear the mounting holes. After installation, check that every section is flush with the ground, no metal heads protrude, and no part wobbles when pressure is applied.
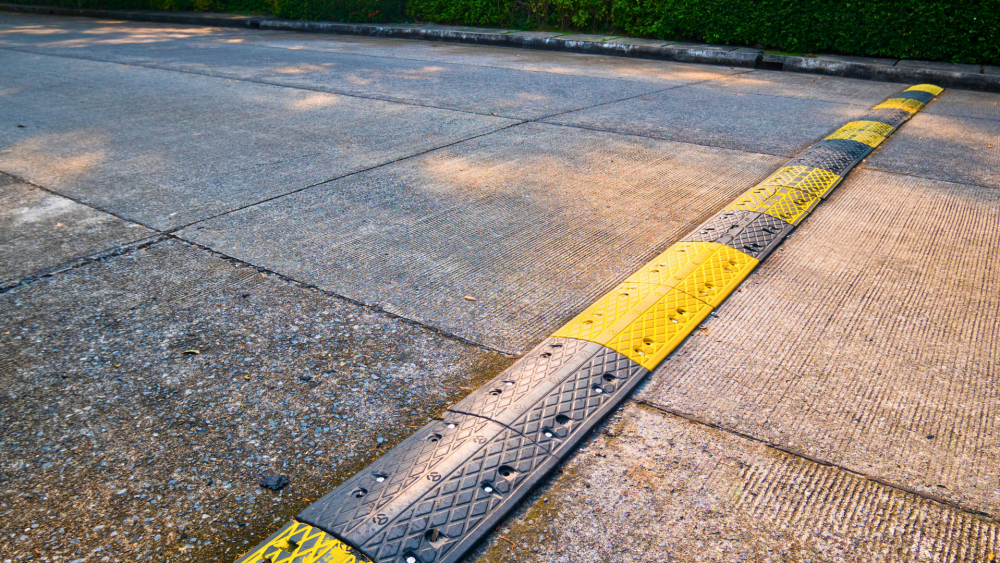
Basic installation steps applicable to both surface types
Whether installing on concrete or asphalt, the overall procedure should begin with barricading the area and cleaning the road surface. Next, lay out the sections to the desired length, align them perpendicular to vehicle traffic, and ensure the installation does not unnecessarily obstruct drainage paths.
Once positioned, mark the hole locations, remove the pieces, and drill using tools suited for the surface type. After cleaning out the holes, place the pieces back into position, insert all fasteners, and then gradually tighten or hammer them down evenly.
Before opening to traffic, verify that:
- All sections are aligned in a straight line
- The base sits flush with the ground and no part wobbles
- Bolt heads or dowel heads do not protrude above the piece
- Washers are not driven so deep that they deform the rubber
- No debris or tools are left on the roadway
- Adhesive or bonding agent has fully cured according to the manufacturer's specified time
After opening to traffic, inspect the anchoring points again during the initial period, especially in high-traffic areas. If you hear banging sounds, see the piece shift, or notice bolt heads beginning to lift, fix it immediately; do not wait until the mounting holes enlarge or the ground cracks around the installation points.
Is it necessary to use adhesive together with wall plugs/anchors?
Adhesives or bonding agents can help increase stability, reduce shifting, and help the base adhere better to the surface. However, not every speed bump model requires adhesive, and adhesive should not be used as a substitute for anchors or spikes without supporting data.
Some manufacturers' manuals specify using adhesive together with fasteners for certain types of speed bumps, sloped surfaces, or areas with frequent truck traffic, while other models can be installed using only the fastener hardware. Therefore, always check the product specifications first.
If adhesive is required, the surface must be clean and dry, and you must allow the adhesive to cure according to the time specified by its manufacturer. Rushing to open the area to traffic before the material fully cures can cause the pieces to shift and damage the adhesive bond right from the start.
Mistakes that cause speed bumps to come loose quickly
A common problem is using anchors intended for concrete on asphalt without checking if the manufacturer supports it, as well as using spikes or bolts of a similar size instead of the original installation hardware under the assumption that they are interchangeable.
Another cause is installing on uneven surfaces. When the base sits raised off the ground, the unit will flex and bounce back every time a vehicle passes over it. The load then concentrates on just a few mounting holes. Even if the bolts were tightened properly on day one, after a period of use, the mounting holes can tear and the unit begins to loosen.
Over-tightening or hammering too forcefully can also cause damage. Sinking bolt heads deeply into the rubber does not mean a stronger hold; instead, it thins the material around the hole and makes it easier to tear. Meanwhile, drilled holes that are skewed or off-center can force the piece into a constant state of twist.
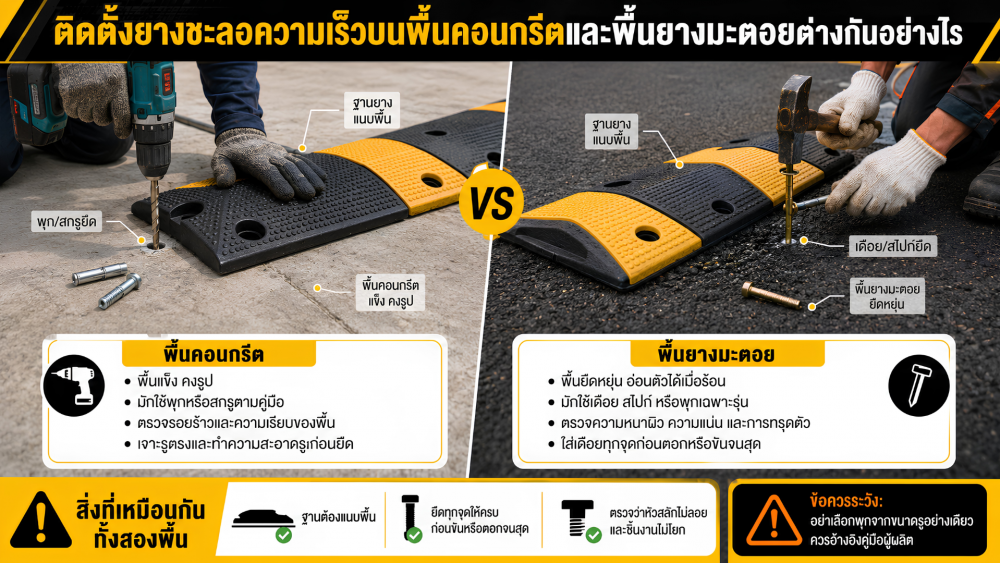
Which type of surface provides a more stable installation?
If a concrete surface is thick, strong, and free of cracks, the anchor points generally maintain their shape and are easier to inspect than on asphalt. However, that does not mean a speed bump on concrete will always last longer, as lifespan also depends on product quality, traffic volume, vehicle weight, surface flatness, and proper installation.
Asphalt surfaces can also provide a stable installation if the surface layer and base course are in good condition, and fasteners suited for that specific model are used. Problems usually arise when anchors are chosen out of habit or simply because they fit the hole size, without checking the anchoring mechanism and manufacturer specifications.
The key difference is not simply that concrete is harder than asphalt, but that each surface type requires appropriate load distribution methods and fasteners. Before installation, check the surface condition, read the manual, and prepare the right tools for the product's system. When the base sits flush, holes are correctly positioned, and all anchor points work together, the speed bump will not easily shift or come loose when vehicles drive over it.