


 EN
 ไทย


Customers Also Purchased


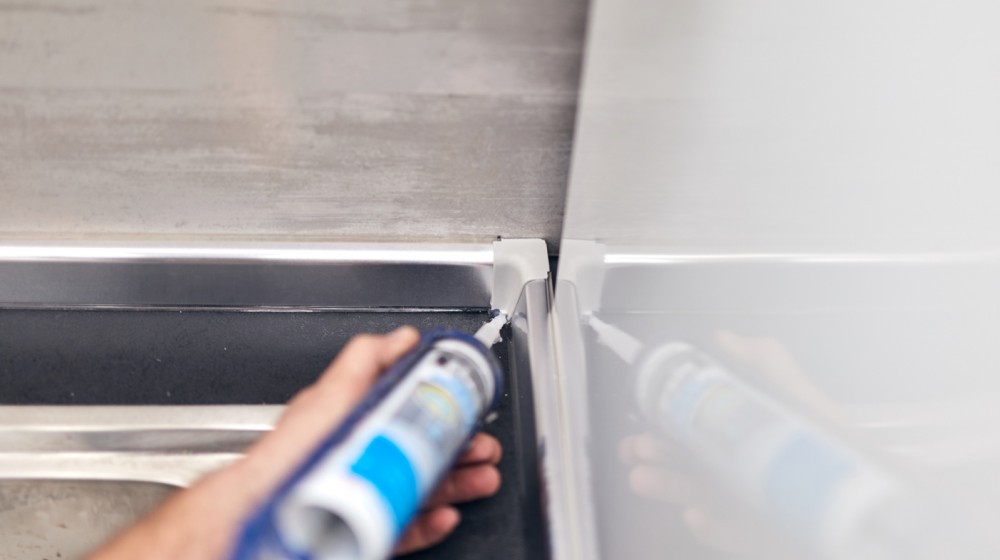
Adhesive/Glue Construction Silicone It is a popular material used for sealing joints around door/window frames, glass, washbasins, sanitary ware, kitchen counters, and areas requiring waterproofing because it is easy to use, flexible, and adheres to various materials. However, a common problem encountered is that shortly after applying silicone, the sealant bead begins to peel away from the surface, detach into strips, crack, or leak at the same spot again.
These issues do not always mean the silicone is of poor quality. Often, the root cause comes from poor surface preparation, applying sealant while the joint is still wet, using the wrong product for the material, or putting it into service before the sealant has sufficiently cured. Even if the outer silicone bead looks smooth and seals the joint completely, if there are voids inside or it hasn't actually bonded to the substrate, water can still seep through.
Silicone Is Waterproof, but It Doesn't Fix Every Type of Leak
Silicone sealant is suitable for sealing joints between materials, such as glass-to-frame joints, sink-to-wall gaps, or spaces around sanitary ware. However, it cannot solve problems caused by leaking water pipes, cracked walls, structural settling, damaged waterproofing membranes, or improper drainage.
If water is coming from behind the wall or from an active, moving crack, applying silicone on the outside may temporarily mask the symptoms, but water will continue to accumulate inside. Over time, this can lead to peeling paint, musty odors, mold, or further deterioration of surrounding materials.
Before repairing silicone joints, make sure to identify the exact source of water. If the leak involves plumbing, roofing, structural work, or a waterproofing system, address the root cause first, and then apply silicone as a joint sealant in the final step.
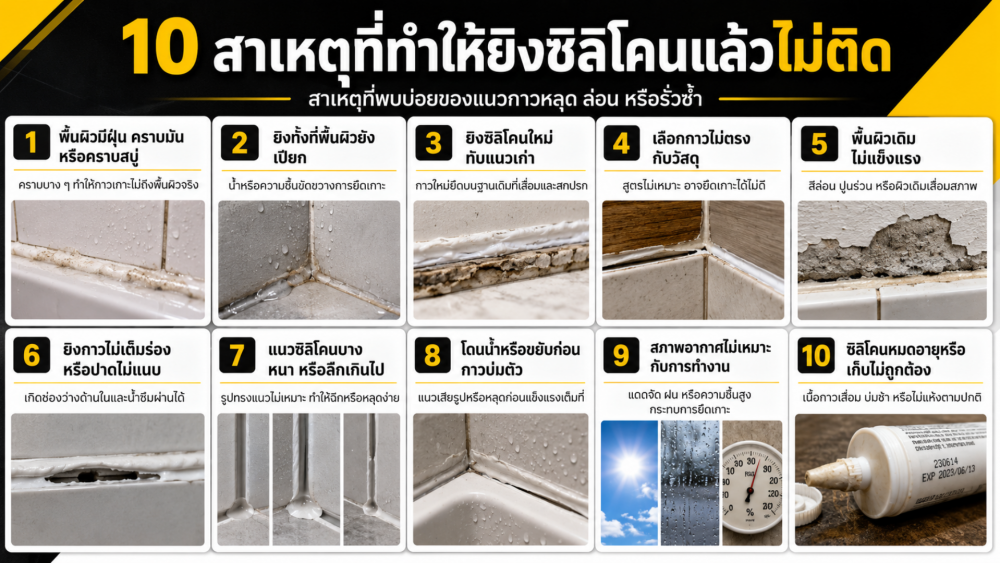
1. Surface Contains Dust, Grease, or Soap Scum
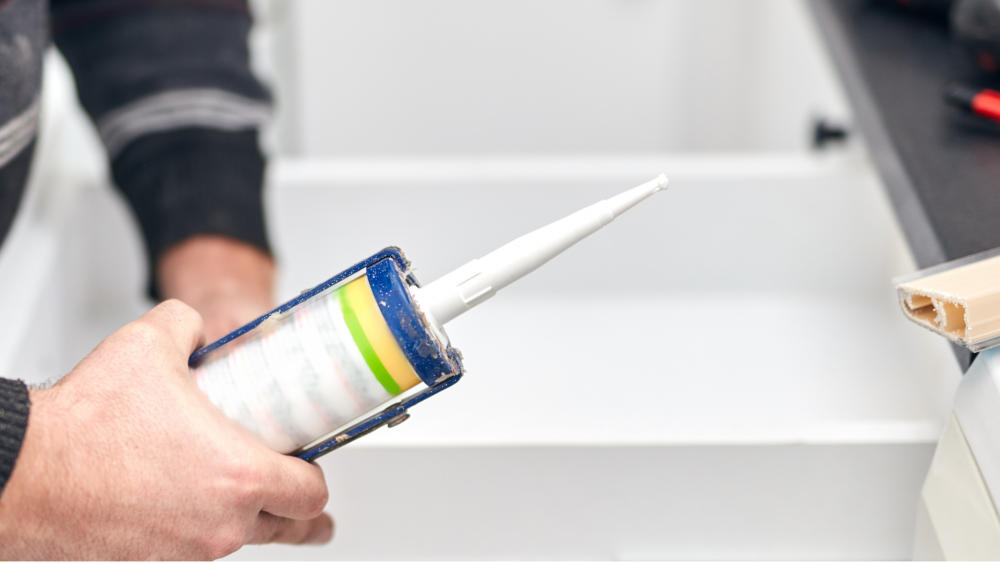
One of the main reasons silicone sealant fails to stick is an unclean surface. Even if it looks clean on the outside, glass, tile, metal, or sanitary ware may still have a thin coating of contaminants, such as soap scum, grease, oil, concrete dust, wax, or cleaning agents.
When silicone is applied, the sealant bonds to the layer of grime rather than making contact with the actual substrate. At first, the bead may seem firm because silicone has inherent tackiness, but when exposed to water, heat, or movement, the residue in between becomes a weak point, causing the bead to lift and peel off in strips. This problem is prevalent in bathrooms and kitchens because surfaces are regularly exposed to soap, shampoo, oil, and cleaning products. Wiping with just a damp cloth may not be enough, as greasy residues often remain on the surface.
Before applying sealant, eliminate all dust and stains, choose a cleaning method suitable for the material, and avoid cleaning agents that leave behind a film or greasy residue. After wiping down, allow the cleaner to evaporate completely and ensure the surface is fully dry before starting work.
2. Applying Silicone While the Surface Is Still Wet
Although many silicone sealants cure using atmospheric moisture, that does not mean they can be applied to surfaces with standing water or moisture on them. Water trapped between the sealant and the material prevents proper adhesion, keeping the silicone from fully bonding to the substrate.
Areas that require extra care include washbasin edges, bathroom corners, glass edges, areas around faucets, and exterior frame joints, as they may appear dry on the outside while moisture remains trapped deep inside the gap. Sometimes wetness is not caused directly by water usage, but rather from condensation forming on metal or glass surfaces, especially in areas with significant temperature fluctuations. If you rush to apply silicone over this, the bead may detach soon after use.
For bathroom projects, avoid using water in the area before starting, clean the surface, and let it thoroughly dry. If water continuously seeps out of the joint, you must find the source of moisture first; do not rush to seal over it while it remains wet inside.
3. Applying New Silicone Over Old Sealant
Applying new silicone over an existing bead is a quick method, but it carries a high risk of peeling and recurring leaks, especially when the old silicone has started to peel, develop mold, or deteriorate. The old bead often harbors soap scum, mold, dust, and residue films from cleaning products, preventing the new silicone from bonding to a clean, solid base. Furthermore, if the underlying sealant has already detached from the surface, adding more on top will not restore the base's grip.
When exposed to water or material movement, the new layer of silicone may peel away along with the old bead, or gaps may form between the two layers, allowing water to seep in behind.
The proper method is to remove as much of the old bead as possible by slicing along both edges and pulling the sealant out. Then, carefully scrape away any remaining thin film on the surface before thoroughly cleaning and reapplying. Surface preparation often takes longer than the silicone application itself, but it is the part that has the greatest impact on the sealant's durability.
4. Choosing the wrong silicone sealant for the material
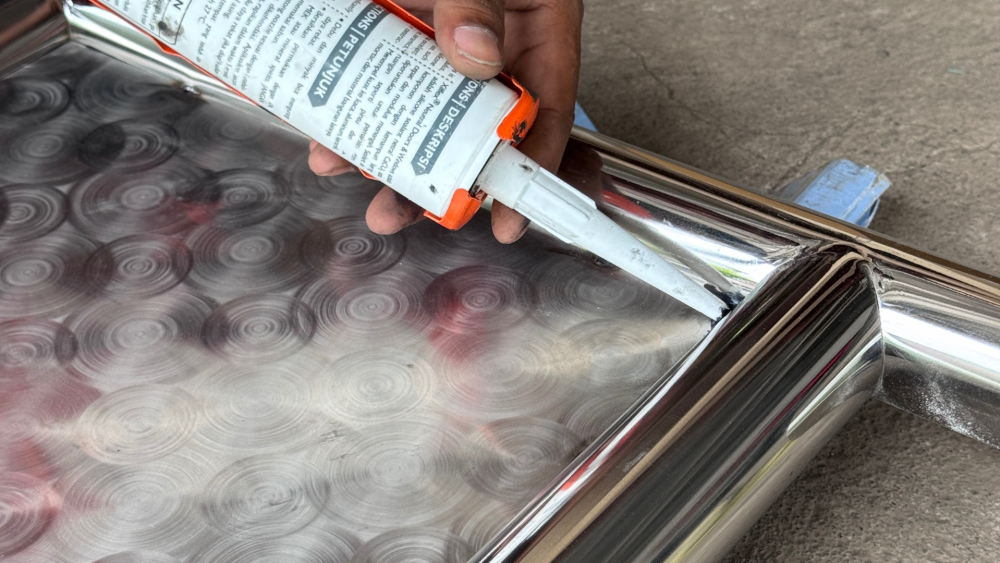
Silicone sealants come in various formulas and do not adhere equally to all types of materials. A product suitable for glass may not work well on concrete walls, natural stone, certain plastics, or certain metals. Besides the type of surface, application conditions must also be considered, such as indoor or outdoor use, wet and humid areas, exposure to sunlight and rain, or joints subject to continuous movement.
Before purchasing, check critical information on the label or technical data sheet, including:
- Whether it is compatible with the intended substrate
- Whether it is suitable for interior or exterior use
- Whether it can be used in bathrooms or wet areas
- Whether it is resistant to UV radiation and weather conditions
- Whether a primer is required prior to application
- Whether there are limitations with stone, metal, plastic, or coated surfaces
- The joint movement capability it can accommodate
Do not choose based on color alone. Clear and white silicone may only differ in color, whereas products of the same color with different formulations can have vastly different properties and limitations.
The term "All-purpose" also does not mean it can be used for every job. Particularly for continuous water immersion, structural glazing, floor joints, or high-stress areas, specialized products specified by the manufacturer should be used.
5. The existing substrate is not sound
Sometimes the silicone adheres well, but the underlying paint, plaster, or coating layer is not strong enough. When the sealant bead undergoes expansion and contraction forces, the silicone pulls the original substrate surface away with it. A clear sign of this is the sealant peeling off along with paint chips, thin flakes of plaster, or excessive dust. This issue is often found on walls with bubbling paint from moisture, dusty plaster, deteriorated old paint, or crumbling joint edges.
Before applying sealant, try lightly scraping the surface. If paint peels off easily, dust comes off on your hand, or the material crumbles into powder, the substrate must be repaired and strengthened first. Applying primer cannot replace repairing a crumbling or peeling surface. If cracks are caused by structural movement or workpieces that still move excessively, applying silicone alone may not be enough. The root cause of the cracking or movement must also be addressed.
6. Not filling the joint completely or failing to tool the sealant flush
A silicone bead that looks smooth on the outside does not always mean it is completely filled on the inside. Moving the gun too fast, squeezing unevenly, or cutting the nozzle much smaller than the joint width can cause air pockets or voids behind the sealant bead. These voids create pathways for water to seep through. As water accumulates, it leaks out along the edges or points where adhesion is incomplete, causing recurring leaks even though the exterior still appears fully sealed.
When dispensing, squeeze the sealant continuously, move the gun at a steady pace, and ensure the silicone makes contact with both sides of the joint. Then tool the bead before skinning starts to press the sealant firmly against the surfaces.
Tooling should not be done merely for aesthetics; its vital role is to ensure full contact between the sealant and the edges of the joint. If tooled too lightly or after the surface has started to cure, the silicone bead may look uneven and fail to adhere fully.
Masking tape helps keep lines straight and neat, but it must be removed before the silicone starts skinning over. If left on too long, the tape can pull, lift, or tear the edge of the sealant away from the surface.
7. The silicone bead is too thin, too thick, or too deep
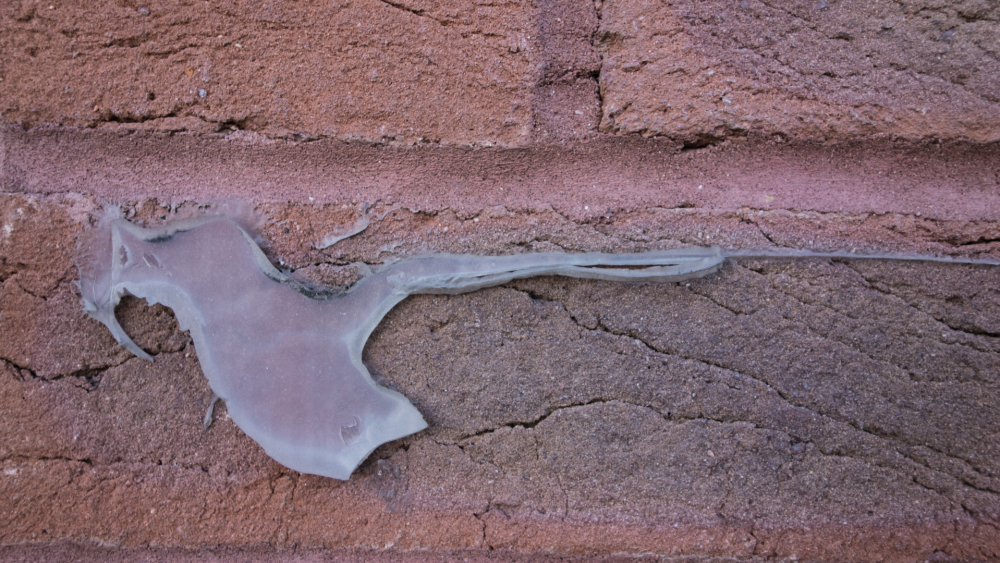
Applying a thin layer of silicone only over the front of the joint may look neat and save sealant, but the bead will lack sufficient thickness to absorb material movement. When door/window frames, glass, or sanitary ware shift even slightly, a thin bead can easily tear or peel away from the edges. Conversely, filling a deep joint entirely with silicone does not necessarily make it stronger. An overly thick sealant bead can take a very long time to cure and will not expand and contract properly.
Deep or wide joints should be shaped properly for the specific product. Some applications may require a foam backer rod to help control depth, reduce the volume of sealant used, and ensure the silicone adheres primarily to the joint's sidewalls.
For general household repairs, complex joint design calculations are not required, but you should avoid applying a thin skin or filling large gaps completely without proper joint preparation. For exterior window/door frames, building joints, or large openings, check the manufacturer's recommendations or have an experienced technician assess the work.
8. Water exposure or movement before the sealant is cured
After applying silicone, the outer surface may feel tack-free and not stick to fingers in a short time, but the inner core may still not be fully cured—especially for beads that are thick, in deep joints, or in poorly ventilated areas.
Using water too quickly, moving sanitary fixtures, or frequently opening and closing frames can distort the silicone bead, create gaps, or cause it to detach from the substrate before reaching full strength.
Drying time and curing time are not the same, and there is no single fixed rule that applies to every silicone sealant, as it depends on product formulation, bead thickness, temperature, and humidity. Always check the instructions on the product label or technical data sheet and allow ample time before putting it into use. For bathroom work in particular, plan your project during a period when water use in that area can be avoided continuously.
9. Unfavorable weather conditions for silicone application
Outdoor work requires more consideration of temperature, sunlight, rain, wind, and humidity than indoor work. Applying sealant to frames or walls that are extremely hot from sunlight can make it difficult to control the bead, while very cold weather may cause the sealant to stiffen and slow down curing. Rain, dew, and moisture on the material surfaceare another critical factor. If the sealant gets exposed to water before properly adhering or curing, the silicone bead may develop flaws, pull away from the edges, or experience reduced performance.
Before working outdoors, choose a time when the surface is dry, without rain, and not overly hot. If the wall or frame receives direct sunlight, consider switching to the morning or after the surface has cooled down, while also checking the installation temperature range specified on the product.
10. Expired or improperly stored silicone
Expired silicone sealant or sealant stored in extremely hot areas may undergo changes in its properties. The compound may become lumpy, separate, hard to dispense from the cartridge, or fail to cure properly. Before use, check the expiration date, the condition of the cartridge, and the extruded sealant. If it is found to be uneven, contains hard lumps, shows phase separation, or fails to skin over normally, discontinue use.
Once a cartridge is opened, silicone often hardens around the nozzle tip. If stored for a long time, moisture can enter and cause the sealant inside to begin curing. Even if you can remove the hardened plug from the tip, you must check whether the remaining sealant is still uniform in consistency. For applications with a risk of water leaks—such as sanitary ware edges, exterior frames, or glazing beads—do not use compromised products simply because some sealant is still left in the cartridge.
Conclusion
The issue of applied Construction Silicone silicone failing to adhere, peeling, detaching, or leaking repeatedly is more often caused by surface preparation and application methods rather than the amount of sealant used. Surfaces with dust, oil stains, moisture, or old leftover silicone will prevent new sealant from adhering fully, while choosing the wrong type of product, failing to fill the joint completely, or rushing to put it into service before it cures can also compromise the silicone bead.
When an existing joint starts to fail, do not fix it simply by applying new sealant over it immediately. You should identify the water source, remove the old bead, clean and allow the area to dry, then choose the correct silicone sealant for the substrate, fill the joint completely, and let it cure according to the manufacturer's instructions. Although the surface preparation step takes more time than applying the sealant, it is the most crucial part in eliminating silicone detachment issues and preventing repeated repairs in the same spot.