


 EN
 ไทย



Customers Also Purchased
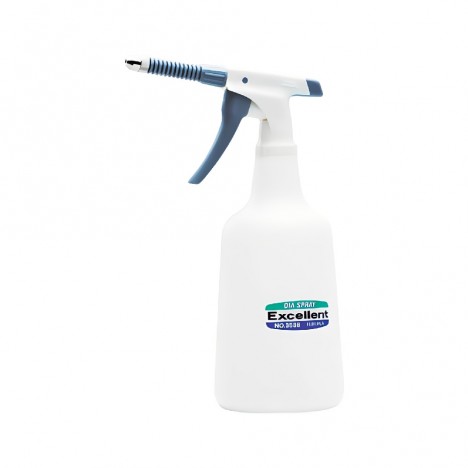
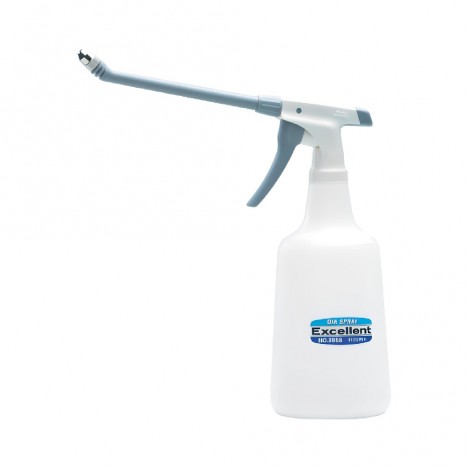
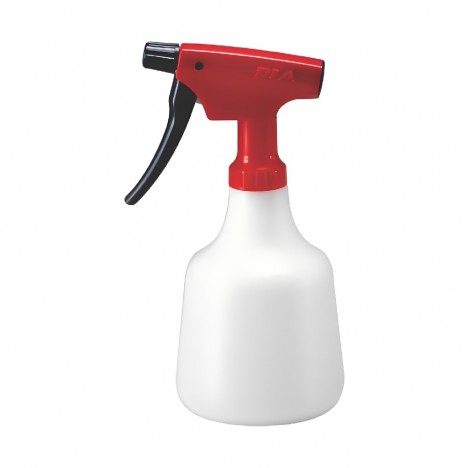
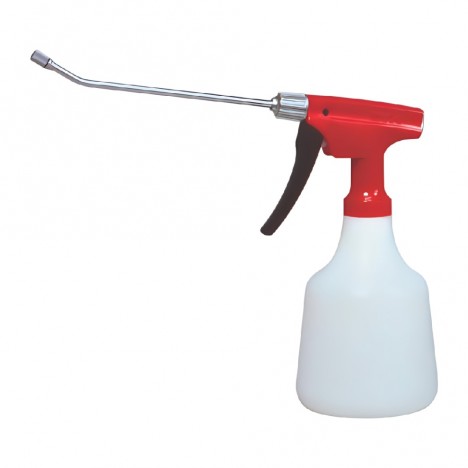
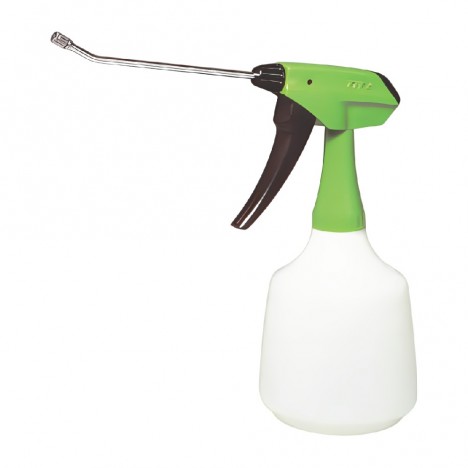
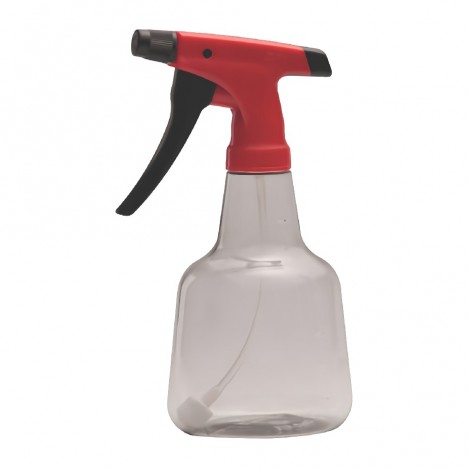
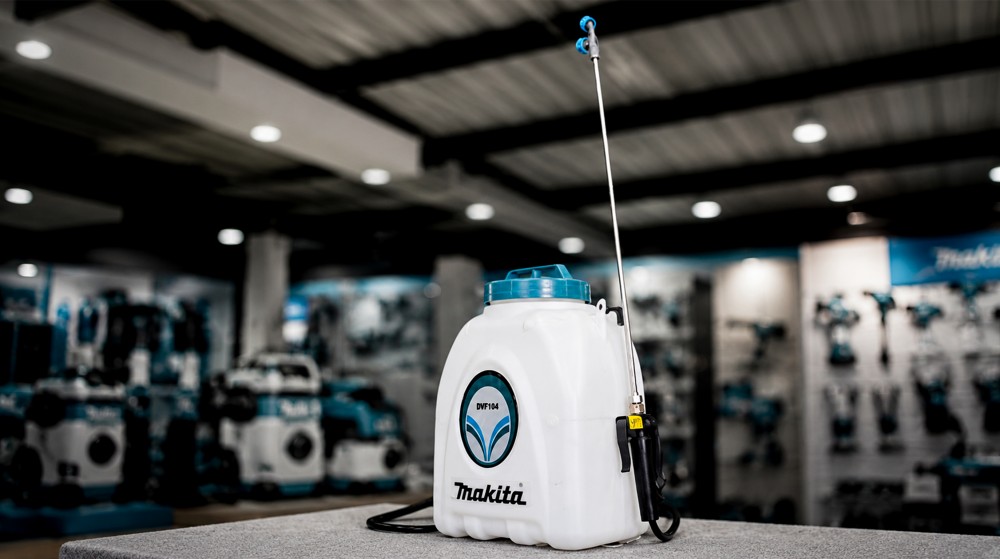
Sprayers make applying water, liquid fertilizers, insecticides, herbicides, or plant care solutions much more convenient, eliminating the manual effort of traditional watering or hand spraying. This is especially true for battery-powered sprayers, which are easy to use—just fill with liquid, turn the machine on, and start spraying immediately.
However, a common issue after some time of use is that the sprayer stops spraying, fails to mist, sprays weakly, clogs the nozzle, or the pump runs without pumping any liquid at all. Many assume the machine is defective or of poor quality, but in reality, the primary cause is often "not cleaning the machine after use" or "improper cleaning."
Why Must You Clean the Sprayer After Every Use?
After using a sprayer, many people think, "I'll use the same solution next time," or "There's only a little bit left, it's fine," leaving liquid sitting in the tank. But this is one of the main causes of long-term machine issues.
Liquid left in the tank does not stay in the same state over time. Some types settle as sediment, some form gummy residue, and some accelerate the deterioration of rubber parts or seals. When stored in hot areas or direct sunlight, residues dry and stick even harder. The next time you use it, these residues can enter the system, passing through filters and hoses down to the tiny orifice of the nozzle. Even a tiny speck of sediment can cause uneven misting, skewed spray, intermittent flow, or no output at all.
The pump is also affected; accumulated sediment or sticky residue makes the pump work harder, hinders suction, drops pressure, and accelerates wear. Cleaning the machine after use is not just about cleanliness—it is essential maintenance to keep the tool ready to use and avoid future repair costs.
Common Areas Prone to Dirt and Clogging in a Sprayer
Before cleaning, it's helpful to know which parts of the sprayer are most prone to residue or sediment buildup, from the chemical tank down to the nozzle tip.
- The chemical tank comes into direct contact with the solution. If the solution is not properly dissolved or if water containing dirt and leaves is used, sediment easily settles at the bottom of the tank and can be sucked into the system during operation.
- Sprayer filters: Many models have filters in the tank or at the suction inlet before the pump. They trap dirt and debris to keep it out of the pump or nozzle. However, if not cleaned, the filter itself will become clogged, obstructing water flow.
- Sprayer hose and lance: Because chemical solutions flow through them continuously, any residue or solution left sitting in the hose will build up inside, narrowing the fluid path, dropping pressure, or causing uneven spraying.
- Nozzle: The most easily clogged point due to its very small orifice. It functions to atomize the liquid into a fine mist; even tiny sediment particles clogging it can immediately alter the spray pattern, such as turning a fine mist into a solid stream, spraying to one side, or not spraying at all.
Preparation before cleaning the sprayer
Before cleaning the sprayer, prepare the area and equipment properly. Especially if it was just used with chemicals, liquid fertilizers, or insecticides, proceed with care without rushing or dumping chemicals carelessly, as it could affect people, pets, plants, or nearby water sources. Items to prepare: clean water, gloves, a soft brush, clean cloth, a container for small parts, and a wash area with good drainage. If chemicals were used, always read the product label first, as each type has different instructions for cleaning and handling leftover solution.
Before removing parts, always turn off the machine, remove the battery (if detachable), and release the pressure in the tank first. If residual pressure remains, liquid may squirt onto your body or into your eyes. For manual pump sprayers, squeeze the spray trigger in a safe direction to relieve pressure first. For battery-powered sprayers, make sure the switch is turned off so the machine does not operate during cleaning.
Do not forget to wear protective gloves and avoid direct contact with leftover chemicals. Never use your mouth to blow through nozzles or spray hoses, as this can cause residual chemicals to enter your body.
Steps for cleaning the sprayer
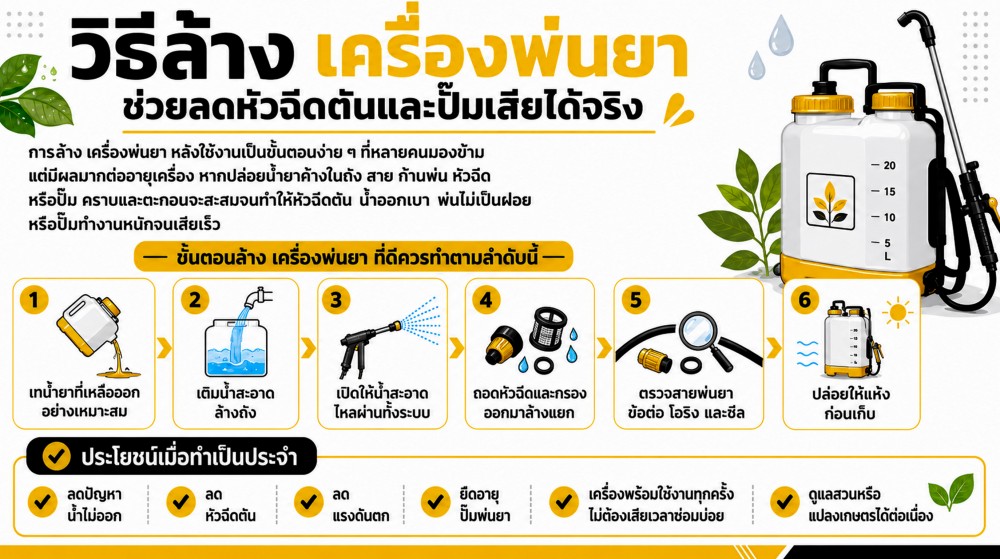
Step 1: Properly dispose of leftover solution
After using the sprayer, do not inadvertently pour remaining solution down drains, onto the ground, or near trees right away, as some types may harm plants, soil, pets, or water sources. Check the product label first for disposal instructions. Insecticides or herbicides require special caution: never dispose of them where children or pets can access them, or directly into water sources. After pouring out the solution, check the bottom of the tank for sediment or residue; if present, clean it immediately. Do not let it dry, as it will be harder to clean.
Step 2: Fill with clean water and shake the tank gently
Fill the tank about 1/3 to 1/2 full with clean water, close the lid, and shake gently to let the water rinse away residue throughout the tank, especially at the bottom and corners. There is no need to shake vigorously; just swirling the water around is enough. For stubborn residue, use a soft-bristled brush to scrub. Do not use stiff brushes or sharp objects as they will scratch the tank. Pour out the rinse water and repeat if residue or odor remains.
Step 3: Flush clean water through the entire system
Rinsing just the tank is not enough because chemical solution remains in the suction tube, pump, hose, and nozzle. Turn on the machine and squeeze the spray trigger to flush clean water through the system until the water runs clear, odorless, and free of sediment. This step is crucial because it purges old solution left in the hose, preventing it from drying and causing clogs next time. For battery-powered sprayers, be careful not to run the machine too long when the water is running out, as the pump will suck in air.
Step 4: Disassemble and clean the nozzle separately
The nozzle should be removed and cleaned every time, especially after using solutions with sediment or those that leave residue easily. Because the nozzle orifice is very small, tiny residual particles can prevent it from spraying next time. Turn off the machine and relieve pressure first. Remove the nozzle, taking care not to lose small parts. Soak it in water and clean it with a soft brush. Do not use needles or stiff wires to poke aggressively, as this will deform the hole. If it is severely clogged or cracked, it should be replaced. After cleaning, test-spray with clean water again.
Step 5: Clean the filters and strainer mesh
Filters protect the pump and nozzle from sediment. If they clog, pressure drops or water flow weakens. Check filter locations (tank opening, inside the tank, suction hose inlet, near the nozzle), remove them, and rinse with clean water. Rub gently or use a soft brush; do not scrub hard enough to tear the mesh. If the filter is degraded or torn, it should be replaced.
Step 6: Inspect and clean the spray hose
The spray hose is often overlooked, but residue can build up inside, especially if solution was left sitting for a long time. After cleaning the tank and nozzle, flush clean water through the hose once more. If water flow is weak or intermittent, check for kinks, crushing, or pinched spots. If the hose is stiff, brittle, cracked, or leaking, it should be replaced. If the hose is detachable, clean it separately by running water through from one end to the other. Avoid using stiff wire to pierce through it.
Step 7: Check O-rings, seals, and fittings before assembly
While disassembling and washing the parts, inspect the condition of the O-rings and seals as well. If they are dry, hard, swollen, or torn, it may cause leaks or make the pump draw air instead of water. When reassembling, tighten just right—not too loose and not too tight. After assembly, fill with water and test-spray again to check for leaks or uneven spray patterns.
Step 8: Let the sprayer dry before storage
Do not seal the tank lid tightly and store it immediately, as moisture can cause musty odors or residue buildup. Leave the lid open and air-dry in a shaded, well-ventilated area until completely dry. Nozzles, filters, and small parts should also be air-dried before storing. Avoid direct sunlight, as rubber and seals will deteriorate quickly. For battery-powered models, be careful not to let water enter the switch or battery terminals; if wet, wipe dry before storing. Store the battery according to the manufacturer's instructions—never store in extreme heat, high humidity, or near chemicals.
Select Agriculture Spray Machine here