


 EN
 ไทย


Customers Also Purchased


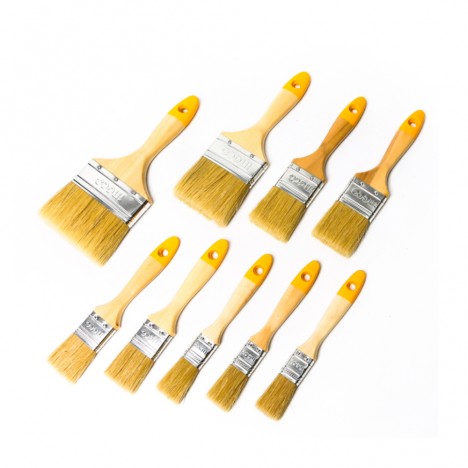

If you've ever painted and thought, "Why doesn't this look as smooth as a pro's job?" even with good paint and all the right tools—or you put in a lot of care, only to end up touching up edges multiple times, dealing with brush marks, or having paint bleed over—these real-world jobsite issues usually aren't just about skill. They start with "choosing Paint Brush the wrong tool from the start," especially not understanding the difference between flat and angled paint brushes.
These two types of brushes are the most commonly used for home painting, woodworking, metalwork, and general renovations. Many people think they're similar and interchangeable, but in reality, they are clearly designed for "different jobs." It's precisely this subtle difference in brush head shape that makes a world of difference in the final results.
In this article, we won't just tell you how they differ, but we'll dive into the "actual behavior of the brush in practical use"—why each type delivers its specific results, how to use them for a professional smooth finish, and which one to pick for every situation so you can finish the job in a single pass without having to go back and fix mistakes.
What Determines Job Quality Isn't the Paint, but the "Brush Head"
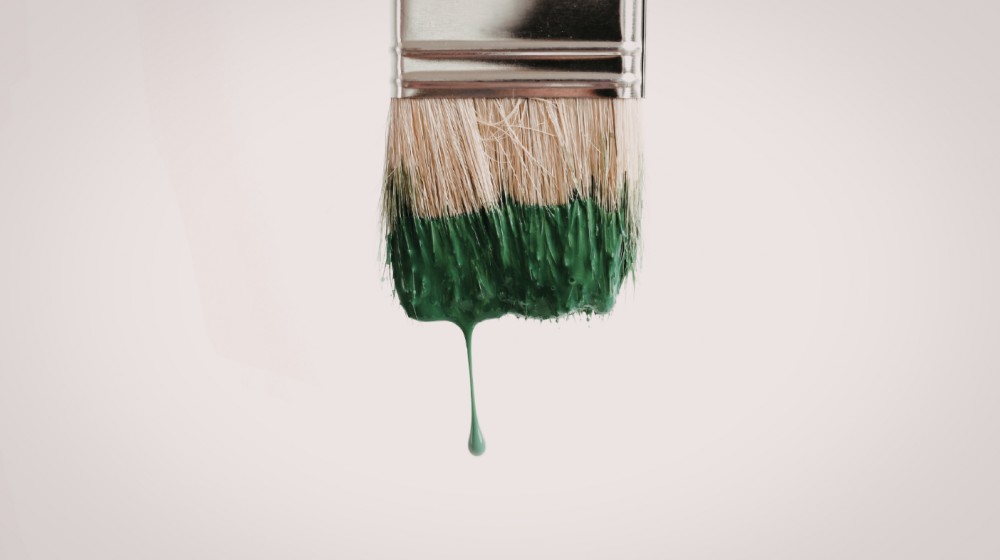
When painting, what actually touches the surface isn't the handle or the ferrule, but the "bristle tips," which are the exact points transferring paint from the brush directly onto the material. Therefore, the shape of the brush head dictates how the paint is distributed.
If the brush tip is flat and even, paint spreads across the entire contact area in a single pass. But if the brush tip has an angle or a guiding point, paint is much easier to steer in the desired direction. This difference may seem small, but on the job, it's what makes the finish look clearly "professional versus amateur."
Flat and angled brushes aren't just two brush styles; they are tools with "completely different working behaviors" that must be used at the right moments.
Flat Brush — The Tool for Speed and Surface Consistency
A flat brush features bristles cut completely straight and even across the tip, creating a wide, uniform contact area. When pressed against a surface, pressure is distributed evenly across the entire brush width, resulting in a continuous, smooth release of paint.
On the job, this dramatically impacts "work efficiency" because a flat brush holds just the right amount of paint and covers a wide area in one stroke, cutting down on passes and significantly boosting the efficiency of every brush stroke.
When used on broad surfaces such as walls, wood panels, or flat planes, a flat brush lets you work faster with less effort. If you draw the brush continuously without stuttering or stopping, the resulting finish is smooth with virtually no brush marks—exactly the result most people want.
However, the weakness of a flat brush becomes obvious near "edges" or "joints." Because the brush tip has no angle to guide the line, every attempt to paint close to an edge carries a high risk of bleeding over, no matter how careful you are. This isn't due to poor skill, but because the tool simply wasn't designed for that type of control.
In practice, painters primarily use flat brushes for central, open surfaces and avoid using them for edge work, which would only require backtracking to touch up—wasting both time and compromising job quality.
Angle Brush — The Tool for Crisp Lines and Precision
An angle brush, or sash brush, has bristles cut at a slant, creating one longer side and a "pointed tip" that acts like a pen nib or fine artist brush, allowing you to draw lines with pinpoint precision.
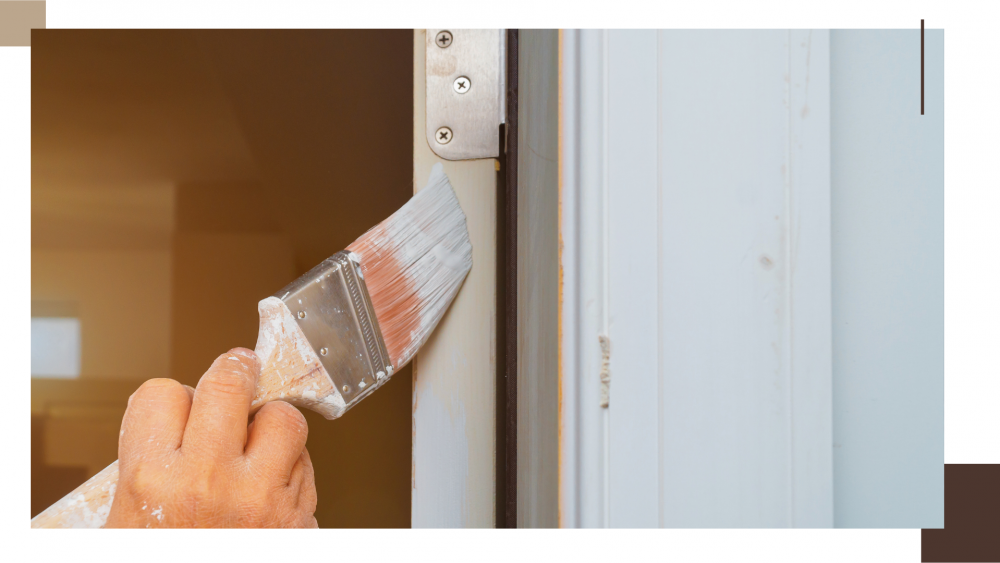
In practical applications—such as cutting in along wall-to-ceiling seams, door and window frames, or baseboards—an angle brush lets you place the pointed tip exactly where needed and draw a line along the edge without bleeding outside the area.
What sets an angle brush distinctly apart is its "ability to control paint direction." Because it doesn't just spread paint, it defines lines—allowing you to control paint thickness and line width simply by varying hand pressure, like pressing slightly harder to fill a corner or easing up for a finer line.
On real job sites, this ability significantly reduces the use of masking tape. Once you are skilled, you can achieve clean, crisp edges without using tape at all, saving both time and work steps.
However, the limitation of an angled sash brush is that when used on large surfaces, the work feels noticeably slower. Because the brush's contact area is smaller, it takes more strokes to cover the same area compared to a flat brush. Additionally, if used incorrectly—such as using the entire flat face of the brush instead of the angled tip—the finish may not turn out smooth.
It's not just the shape, but the "role" that transforms the entire result
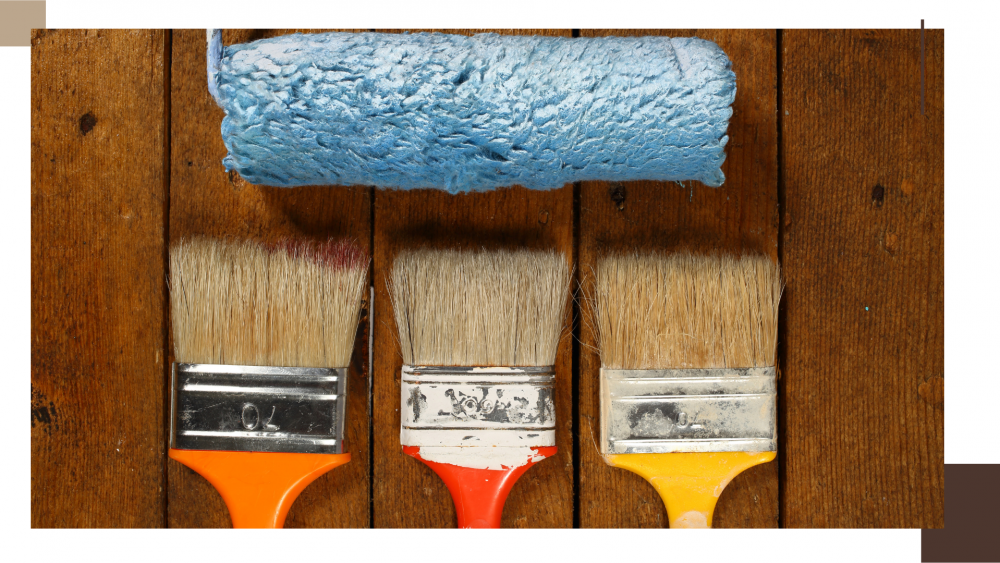
At a glance, flat brushes and angled sash brushes look identical: they both have bristles, a handle, and come in various sizes. But the real difference lies in "how they lay down paint onto the surface"—and that is the heart of everything.
A flat brush is designed to distribute pressure evenly across the entire brush face. When you stroke it down, paint is released smoothly across the full width in a single pass, much like dragging a squeegee across a surface. The result is consistency, continuity, and speed, especially on walls or broad surfaces where you need the paint to look uniformly smooth throughout.
An angled sash brush, on the other hand, works completely differently. Its focus is not on "broad coverage" but on "precise control." Its pointed tip acts like a pen nib, defining the paint edge the moment it touches down. This lets you draw crisp, clean cut-in lines with precision without worrying about paint bleeding over.
And this is where many people go wrong: they try to use a flat brush for an angled brush's job, such as cutting in. In theory, it might seem "doable," but in practice, the results are often messy, require tedious touch-ups, or worse, fail to produce clean edges from the start.
Conversely, if you use an angled sash brush on large surfaces, even though it can apply paint, you will immediately feel the pace slow down. Because of the narrower contact surface, you have to make multiple passes, increasing the risk of lap marks from overlapping strokes.
Therefore, the difference between these two brushes is not just about shape, but their distinctly different "roles in the workflow"—like two separate tools each engineered from the start for a specific purpose.
How to use them together for professional results
On a real job, no professional painter uses just one brush for everything because it leads to wasted time on touch-ups later. The proper method is to "assign each brush its role from the start" and work in sequential order.
The actual procedure painters use begins with cutting in all edges using an angled sash brush—whether along the joint between wall and ceiling, around door/window frames, or in tight corners. Place the pointed tip of the brush precisely along the target line and draw a long, continuous stroke in a single pass. This step is critical: getting sharp edges right from the beginning makes the rest of the job significantly easier.
After cutting in the edges, switch to a flat brush to fill in the larger interior areas, stroking the paint right up to the previously cut-in lines. This technique eliminates worries about painting outside the lines, as the borders are already set, allowing you to work much faster without excessive caution.
The result is crisp edges on the first pass, a smooth and even surface finish, and virtually no need for rework—the clearest indicator that separates amateur work from professional craftsmanship.
Common mistakes that quietly ruin your finish
Even if you have selected the right paintbrush—whether flat or angled—improper technique will still yield poor results. Most importantly, these mistakes are rarely complex; they are usually minor oversights made during actual application.
Take a look at the most frequent errors that quietly sabotage paint jobs on site.
- Dipping the brush too deep Many people think dipping deeper lets them paint longer, but in reality, it overloads the brush with paint. When applied, the paint flows out uncontrollably—too thick in some spots, too thin in others—with a high risk of drips and runs. This is especially disastrous when working near edges, where mistakes are hardest to fix.
- Pressing the brush too hard Pressing too hard does not help the paint adhere better; instead, it causes the bristles to splay outward. This results in lines that should be sharp—especially with angled sash brushes—becoming frayed and smudged immediately. Particularly in cutting-in work, this is the main reason lines lack sharpness even when using the correct type of brush.
- Making short strokes or pausing frequently Painting with short, dabbing strokes or frequently pausing midway creates "lap marks" at each stroke transition. As a result, the finish will not look smooth and brush marks will become more visible, especially across broad areas that require long, continuous strokes.
- Using the brush for the wrong task This is the most common mistake, such as using a flat brush for cutting in or using an angled brush to paint an entire wall. Although it can be done, it wastes time unnecessarily and yields subpar results, because each brush type is fundamentally designed for a different purpose from the start.
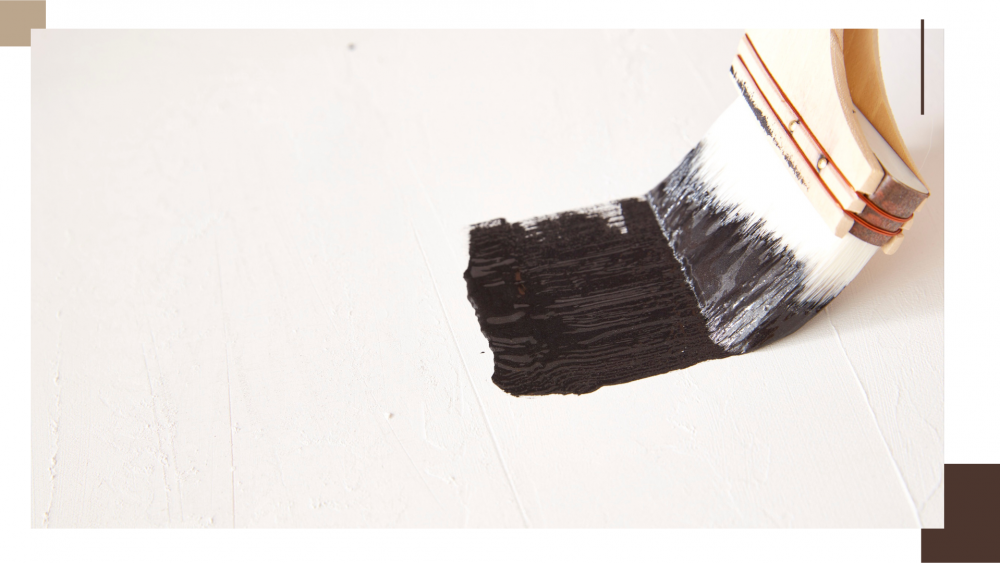
Small differences that transform overall work quality
Paint Brush Flat and angled brushes aren't meant to be judged as to which is better, but rather to be matched "to the right task" from the start. Understanding this distinction turns painting from a trial-and-error chore into a process that is fully controllable from the outset.
When you use an angled brush where sharpness is needed and a flat brush where speed is required, the workflow becomes noticeably smoother in terms of time, smoothness, and the aesthetic quality of the finish—with virtually no need for rework.
Ultimately, achieving a smooth, crisp, and professional finish is not just about trying harder; it is about choosing the right tool for the job from the very first stroke.