


 EN
 ไทย


Customers Also Purchased
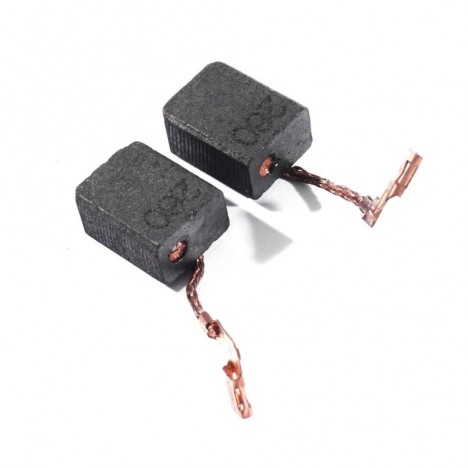
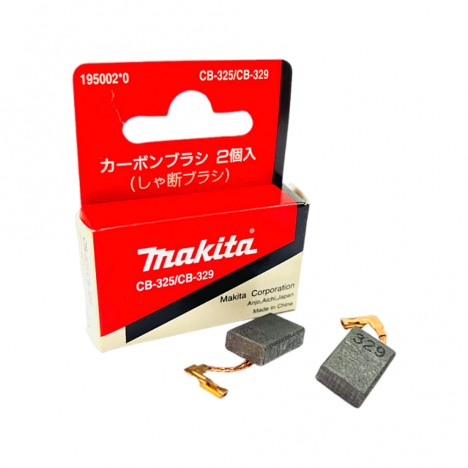


Picture this: you are using an angle grinder that used to be powerful, but suddenly it starts sputtering, gives off a faint burning smell, or the switch works only intermittently—even though the outside looks completely fine. This might seem alarming, as if the tool is about to break, but the root cause could simply be a tiny component like Carbon Brush and that's all.
What Are Carbon Brushes? And Their Essential Role in Power Tools You Should Know When talking about Carbon Brushes, many people might think of complicated repair work, fearing that once disassembled they won't be able to reassemble it, install it incorrectly, or not even be sure if their power tool still uses this system—since both brushed and brushless motors are ubiquitous in the market today. This makes the question "Can I replace carbon brushes myself?" a common curiosity among power tool users, even if many newer models no longer require carbon brush replacements.
In this article, we will take a closer look at whether you can replace carbon brushes yourself, what symptoms indicate they need replacing, what precautions to take, and when you shouldn't do it yourself but instead send it to a technician or service center. This will make your decision easier and avoid the risk of disassembling your tool without proper information.
Signs That Carbon Brushes Are Running Low
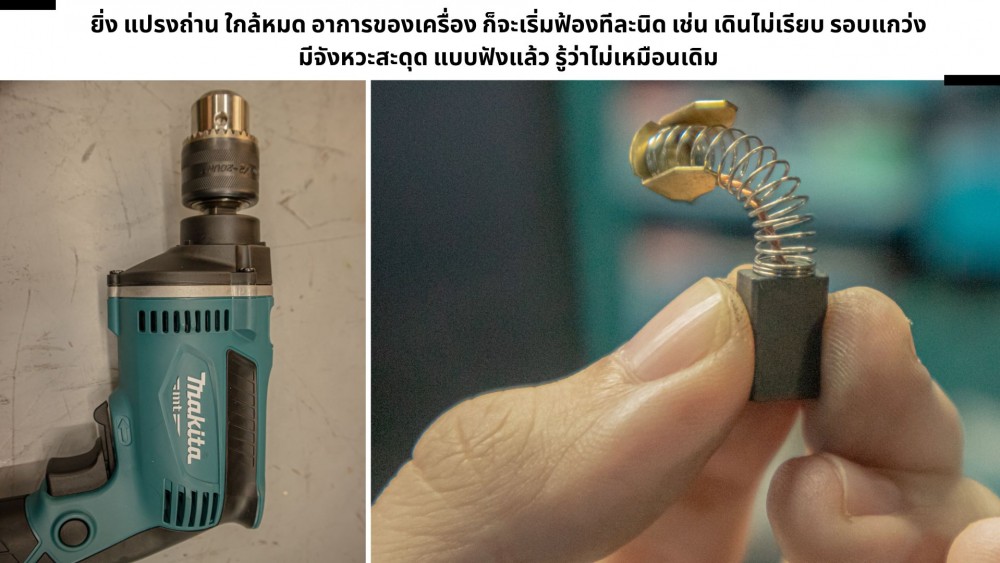
This is an easily overlooked point: the tool might still spin, so you assume it can still be used. In reality, symptoms of worn carbon brushes usually develop gradually rather than causing a sudden breakdown. Regular power tool users should keep a close eye out for signals such as:
- Power supply is normal, but the tool loses power and fails to reach full RPM.
- Excessive sparking or unusually prolonged arcing.
- A noticeable smell of burnt carbon or insulation.
- Intermittent operation when pressing the switch, as if the contact is inconsistent.
- Motor sound changes, running rough, or RPM fluctuates.
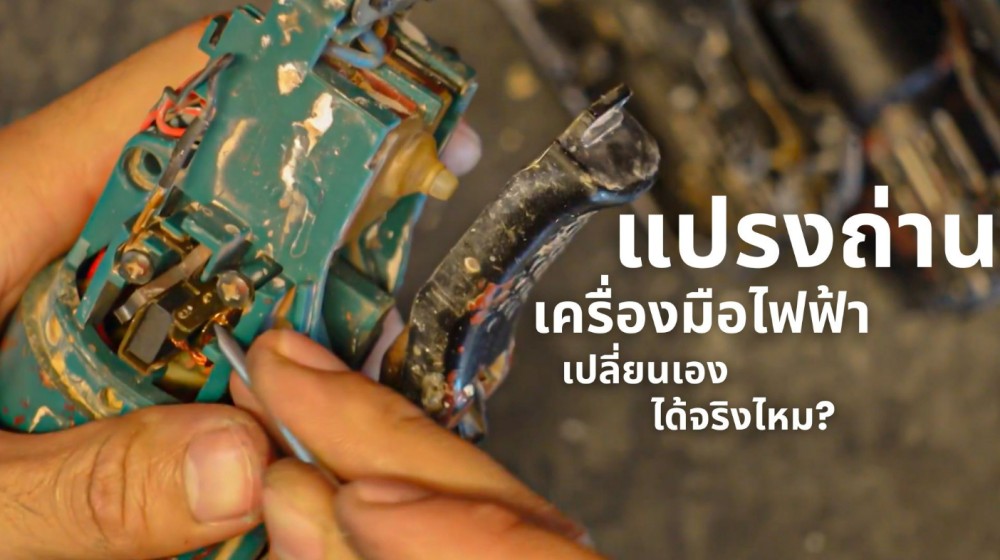
Can You Replace Carbon Brushes Yourself? ...Yes, but not in every case
The most straightforward answer is You can replace carbon brushes yourself Yes, but on the condition that the model's replacement points are easy to access, exact matching spare parts are available, and the person doing the replacement has a reasonable basic understanding of disassembly and assembly. It is not just about having the courage to take it apart; you must also know what parts not to pry, where the springs are, where the electrical terminals are, and the correct orientation for reassembly.
Some power tool models are designed for very easy carbon brush replacement. They have side caps that can be removed with just a few turns of a screwdriver. In this case, if you read the manual and work carefully, the chance of making a mistake is quite low. However, some models require splitting the housing in half, disconnecting wires, removing switches, or disassembling the motor assembly. In such cases, the risk is higher, especially if you are not accustomed to remembering part placements.
Replacing carbon brushes yourself tends to be suitable if you meet conditions like these:
- The tool is already out of warranty
- You have the manual or clear model specifications
- Exact matching replacement carbon brushes are definitely available
- The replacement points are easily accessible without tearing down the entire tool
- The user has basic tool disassembly and assembly skills
- You have a clean workspace and sufficient time to work carefully
Cases where you should not do it yourself
Having read this far, some might still think, "Let me just give it a try first." But I would like to urge caution, because taking it to a technician is much safer under the following conditions:
- The tool is still under warranty
- You are unsure whether the symptom is actually caused by the carbon brushes
- You are not sure if the spare parts are an exact match for the model
- Accessing the brushes requires disassembling multiple layers of the tool
- There are obvious burn marks on the commutator
- Internal wiring, electrical terminals, or switches also appear damaged
- The tool is high-value or essential for daily livelihood, making the risk unacceptable
What to prepare before replacing carbon brushes?
Many people have probably experienced this: as soon as something breaks and they realize they can fix it themselves, they rush to order parts and start tearing it down immediately. In reality, you shouldn't do that yet. Even though this isn't a major repair, preparation is still a crucial factor that makes a huge difference in the results.
- Make sure the replacement carbon brushes are indeed the correct model Even if they fit, the hardness, length, tip shape, and contact angle might differ.
- Have basic tools ready Such as screwdrivers that fit the screws properly, small pliers, a dust brush, a dry cloth, and a small container for removed screws to prevent losing them.
- Take photos at every step before and during disassembly This helps more than you might think, especially if the tool has multiple internal wires or small parts.
Photos will help you know how the original parts were placed, which direction the springs faced, where the cover seated, and will give you much more confidence during reassembly.
General steps for replacing carbon brushes that everyone should know
This is not a rigid disassembly manual because each model is different, but here is the general overview of the carbon brush replacement process you should understand:
1. Always disconnect the power first
If it is a corded power tool, unplug it immediately—just turning off the switch is not enough. If it is a cordless tool, always remove the battery first as well. Many people overlook this assuming that simply not pressing the switch is safe, but accidentally touching internal circuits or sudden impeller rotation
2. Carefully open the carbon brush access points
Some power tools have separate left and right carbon brush caps that open easily, but others require splitting the tool housing open.
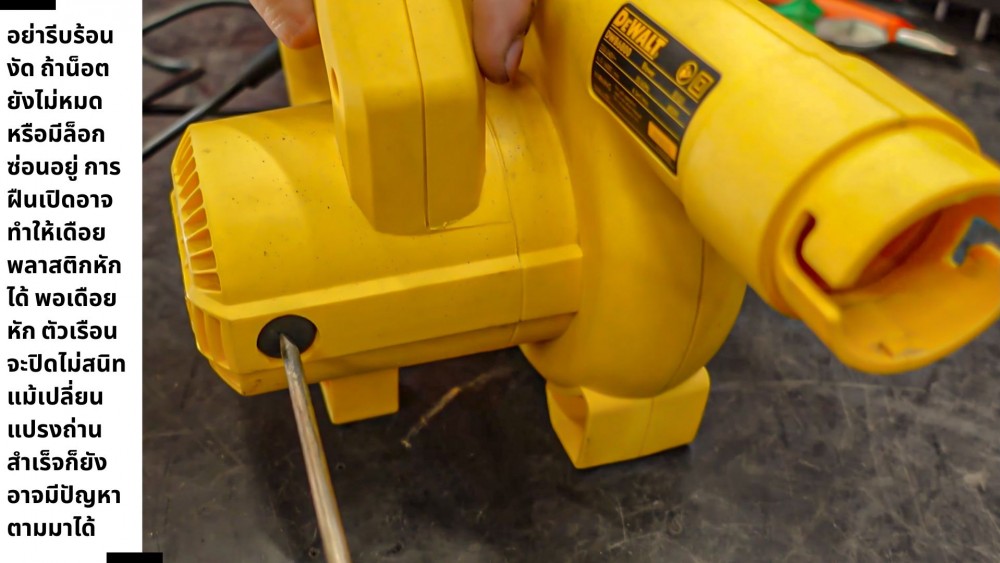
3. Remove the old carbon brushes and inspect their condition
This is important: don't just take them out and call it a day. Check if the old carbon brushes wore down evenly, whether there are cracks, whether the contact surface is smooth or chipped, and whether the springs still push properly. If the wear between the left and right sides is very uneven, there might be issues with a sticking brush holder or an uneven commutator, which is crucial information before installing the new ones.
4. Clean out internal carbon dust
As carbon brushes wear down, a fair amount of carbon dust accumulates. You should gently brush it away with a dry brush or carefully blow it out with low-pressure air. Avoid using arbitrary cleaning solutions, and do not blow air in a way that pushes dust deeper inside. If the interior is very dirty, installing new parts is like starting on an unclean surface.
5. Install the new carbon brushes in the correct orientation and position
Some carbon brush models have specific shapes, angles, front/back sides, or lead wires and springs that must be oriented in a particular direction. If installed incorrectly, the tool might not run at all or might run under strain and cause subsequent damage. Therefore, always compare the old part with the new part before installing.
6. Reassemble and test without rushing into heavy loads
After replacing the carbon brushes, do not rush to put the tool under heavy use immediately. Try running it unloaded first: listen to the sound, check its smoothness, and observe if the sparks are normal, because new carbon brushes need a little time to bed in with the commutator surface. If you force heavy loads right from the start, both the tool and the new brushes will be strained unnecessarily.
The most critical points to watch out for when doing it yourself
The phrase "it can be replaced" does not mean "it can be replaced any which way." In short, what you really need to be careful of involves much more than just putting them in the wrong way round.
- Beware of mismatched spare parts Similar parts cannot always be substituted, especially carbon brushes which directly involve contact surfaces and wear.
- Be careful not to deform the springs The springs pressing against the carbon brushes serve to maintain consistent contact pressure. If you bend them too hard, twist them out of shape, or fail to reseat them fully during removal and installation, even brand-new brushes will not perform properly.
- Watch out for accumulated dust and debris If left unchecked, excess dust can affect internal operation. Replacing carbon brushes without cleaning anything is like only doing half the repair job.
- Beware of the misconception that replacing them fixes every symptom If the symptom persists after replacing the carbon brushes, do not force the tool to keep running in hopes that it will fix itself. Stop and check immediately.
A drop in power can indeed be caused by carbon brushes, but it could also stem from stiff bearings, switch issues, degrading windings, or a burnt commutator just as well.
Do you need to break in carbon brushes after replacement?
This is an important question. New carbon brushes do not make 100% full contact with the commutator right away; initially, the contact surface gradually beds in. Therefore, you should be a little patient after replacement and avoid putting the tool under continuous heavy loads from the very first minute.
A simple method is to run the tool without load for a while after replacing the carbon brushes. Listen to the sound, observe its behavior, then start with light-to-medium work before returning to full-scale use. Doing this helps the contact surfaces seat properly, reduces the chance of heavy sparking, and gets the new carbon brushes off to a better start.
What signs mean you should stop immediately and send it to a technician?
It must be acknowledged that not every symptom should be resolved by yourself, and not every machine should be disassembled or have spare parts replaced by yourself just to save on labor costs. Watch for signs such as obvious burn marks or smoke coming out of the tool, symptoms not improving after replacement, and unusual grinding noises or abnormal vibration.

Conclusion: Can you replace carbon brushes yourself, and how should you decide?
If you ask whether Can you replace power tool carbon brushes yourself? The answer is yes, for many models, various symptoms, and for those with sufficient basic skills, but it is a job that should be approached with proper understanding. Even though carbon brushes are small parts, they directly affect motor operation. If installed incorrectly, using the wrong model spare parts, or overlooking other concurrent symptoms, what looks like a minor issue could turn into a major repair job.
The simple takeaway is: if the tool is out of warranty, the replacement access point is easy, you have the exact-fit carbon brush spare parts, and you are prepared to work patiently, replacing them yourself is considered great tool maintenance. However, if the tool has severe symptoms or you are unsure whether all issues genuinely stem from the carbon brushes, sending it to a technician for inspection is always safer. Ultimately, keeping power tools performing well comes down to spotting symptoms early, knowing what to do yourself, and knowing when to stop taking risks.
Understanding Carbon Brush helps us maintain tools more cost-effectively, operate them at full efficiency, and naturally reduce the risk of damage.