


 EN
 ไทย



Customers Also Purchased

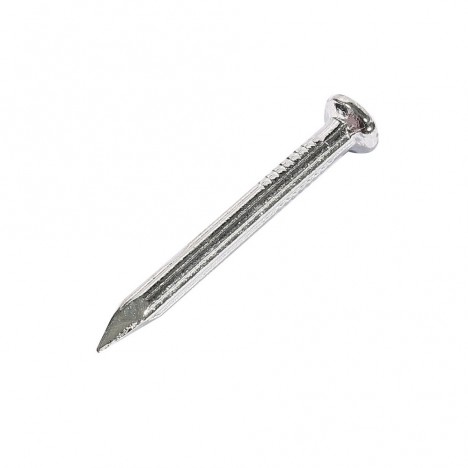
Neat, strong, and long-lasting woodwork does not depend solely on the type of wood or tools, but also on small details like Length and the spacing of Wood Screws as well.
On actual jobsites, common problems like wobbly furniture, split edges, or loosening joints are often not caused by low-quality materials, but by choosing the wrong screw length or improper screw spacing for the load type. Professional craftsmen do not simply guess when choosing wood screws; they rely on sound mechanical principles. This article will guide you from length selection rules to practical standard spacing, ensuring your wood joints are tight, split-free, and won't loosen over the long haul.
What is a Wood Screw?
A wood screw is a fastener designed with threads that "bite" into the wood grain to create a holding power much higher than regular nails. Its key advantages are superior clamping force, removability, and precise positioning control.
However, wood screw performance depends on 3 main factors:
- Screw Length
- Screw spacing
- Edge distance
If chosen incorrectly, even high-quality screws might not provide the intended strength
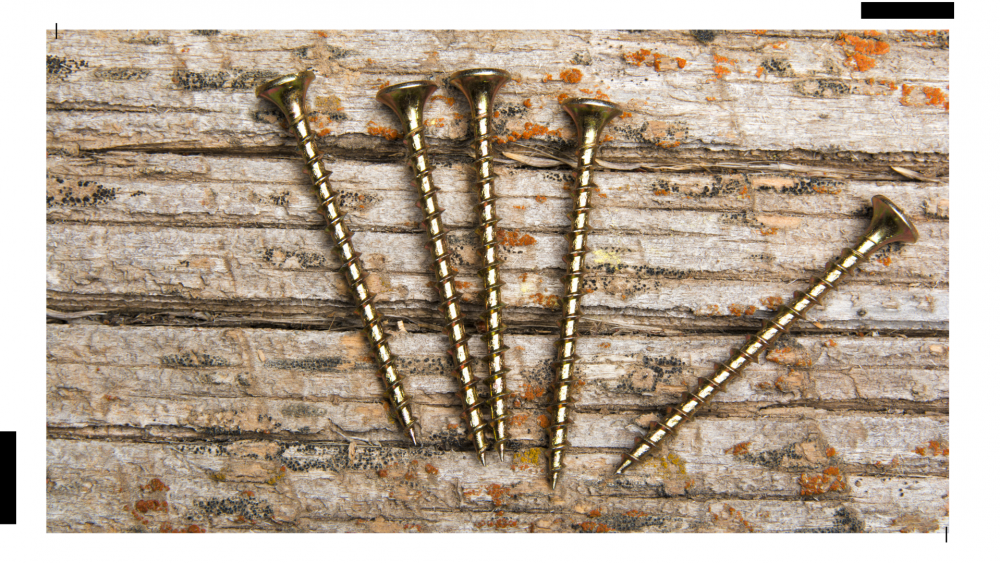
Golden Rule: How Long Should Wood Screws Be?
The 2–3 Times Wood Thickness Rule
A widely adopted practice in woodworking that aligns with fastener design principles is:
Screw length ≈ 2–3 times the thickness of the top piece of wood
This rule ensures the thread has sufficient embedment in the bottom piece to generate holding power without being overly long and increasing the risk of wood splitting.
Selection Examples
- Top wood piece 10 mm thick → Use screws ~20–30 mm
- Top wood piece 15 mm thick → Use screws ~30–45 mm
- Top wood piece 20 mm thick → Use screws ~40–60 mm
Thread Embedment Depth Matters More Than "Overall Length"
The primary holding power of a wood screw comes from thread embedment in the receiving piece (member receiving the screw)
In applications requiring high holding power, engineering guidelines often call for an embedment depth of approximately:
At least ~8–10 times the screw diameter
Once this level is reached, significantly increasing length yields only minimal additional holding power while increasing risks instead.
Why You Shouldn't Just Use the Longest Screw Available
A common misconception is "longer means tighter," which is not always true because unnecessarily long screws can cause:
- Tip pokes through the other side
- Bottom piece splits from expansion force
- Unnecessarily high driving torque
- Diminished efficiency relative to length
Choosing the "right fit" length for the job is therefore more important than choosing the longest screw
Recommended Wood Screw Length Table
| Top wood piece thickness | Recommended screw length | Common applications |
| 9–12 mm | 20–30 mm | Plywood / thin furniture work |
| 15 mm | 30–40 mm | General furniture |
| 18 mm | 35–50 mm | Cabinet framing |
| 20–25 mm | 40–60 mm | Timber framing |
| ≥30 mm | 60 mm+ | Structural work |
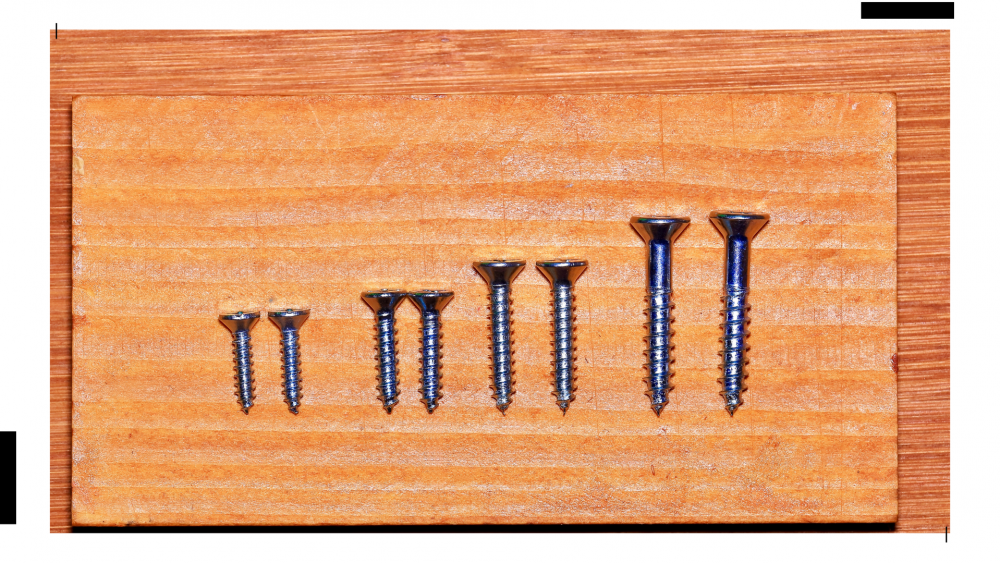
What should the wood screw spacing be?
Setting the spacing directly affects force distribution across the wood. If spaced too closely, accumulated damage to the wood may occur; but if spaced too far apart, stress will concentrate.
Values commonly used in general work
- Furniture work: 100–200 mm
- Timber framing work: 200–300 mm
- Wood flooring work: 150–250 mm
- Exterior work: 150–200 mm
These ranges align with standard fastener spacing practices in general woodworking.
Note: Actual load-bearing structural work should be calculated based on design loads.
Why you shouldn't drive screws too closely together
Driving screws much more densely than necessary may cause:
- Accumulated damage to wood fibers
- Wood being overly locked down (restrained movement)
- Wasteful of costs
- Increases the risk of splitting along the wood grain
The gained strength will not be proportional to the increased number of screws
Safe edge distance (Edge Distance)
Placing screws too close to the edge is the main cause of splitting along the grain
Principles used in woodworking
Edge distance ≥ 2–2.5 times the screw diameter
Examples
- Ø4 mm screw → should be ≥ 8–10 mm away
- Ø5 mm screw → should be ≥ 10–12 mm away
In the case of hardwood or near the end of the wood
Recommended to increase to:
≥ 3× Ø to account for the risk of splitting
Pre-drilling according to engineering principles
The main cause of wood splitting is radial pressure from the threads; pre-drilling significantly reduces this force
When to pre-drill
- Hardwood
- Fastening close to the edge
- Using large screws
- Finished surface work
Generally, pilot hole size is usually: Approximately 70–90% of the root diameter
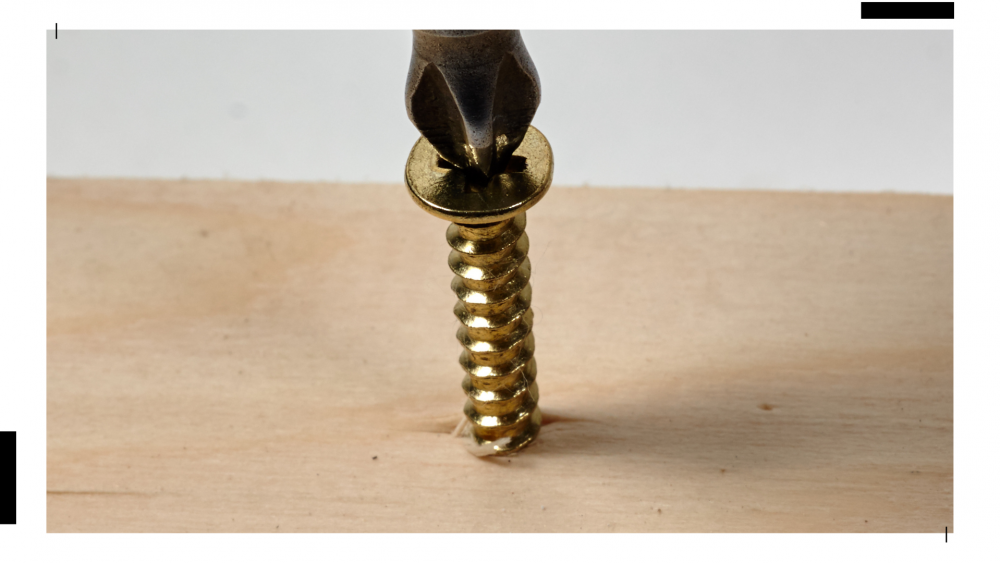
Professional contractor techniques for stronger joints
1. Let the threads grip the bottom piece of wood
The primary holding power must come from the receiving wood, not from spinning freely in the top piece
2. Do not drive screws too densely without reason
Spacing should correspond to the load, not just gut feeling
3. Choose the right thread type for the wood species
- Softwood → Coarse thread
- Hardwood → Fine thread
- Don't want to pre-drill → Self-drilling point
Choose the right fit, and your woodworking will be much more solid and stable
Wood Screws It will perform at full efficiency only when length and spacing are matched to the wood's behavior, not just chosen out of habit
A simple rule of thumb that works for almost any job is:
- Length ≈ 2–3 times the thickness of the top piece of wood
- Fastening spacing around 100–300 mm depending on the type of work
- Edge distance ≥ 2× diameter
- Pre-drill pilot holes in hardwood or near edges
Follow all of these, and most woodwork will hold tight, look neat, and last for a long time without needing rework later