


 EN
 ไทย


Customers Also Purchased
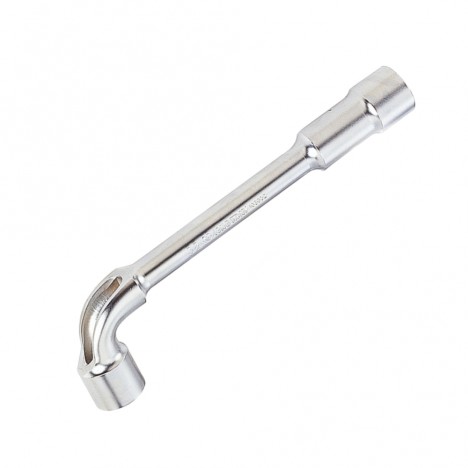
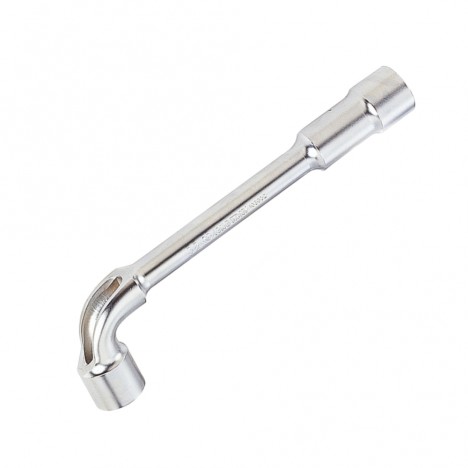
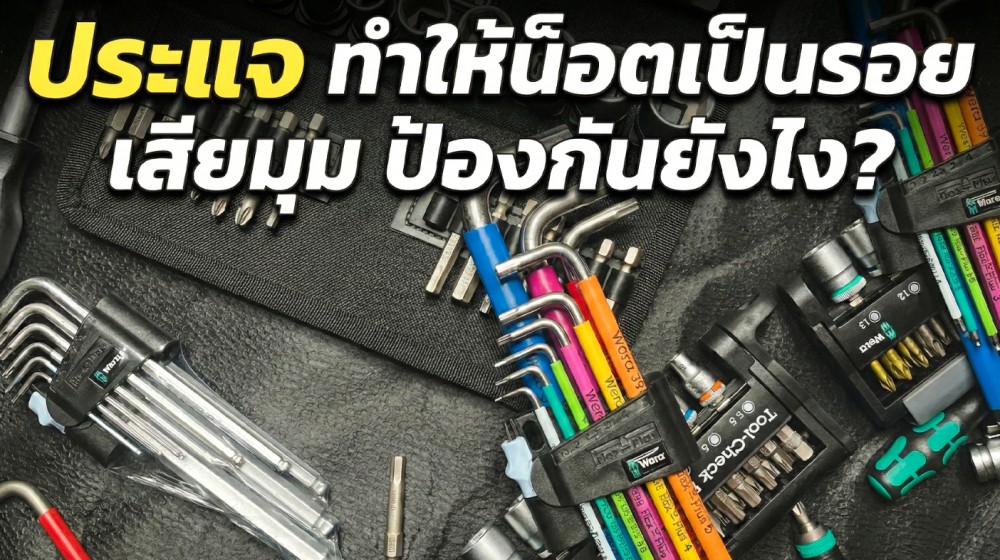
Has this ever happened to you? You're tightening a bolt smoothly, and suddenly you hear a sharp "click!" Wrenches It slips out of your hand! And the bolt head chips and deforms right before your eyes. We believe every technician has experienced this feeling, especially when rushing or working in tight, hard-to-turn spots. Once it slips, the hassle multiplies instantly—turning a simple tightening job into rescuing a damaged bolt instead. The frustrating part is that some bolts aren't even that tight; they break because our applied force was at the wrong point. Naturally, bolt heads are designed to take force across their flat surfaces, not directly on the corners. When we use a wrench that doesn't fit precisely, the torque crushes the corners until they're rounded. That’s where that faint crunching sound comes from... a warning sign saying 'Done for... stripped.'
In this article, we'll share how rounded or stripped bolt heads aren't always caused by cheap bolts, but often by 3 easily overlooked mistakes people repeatedly make: wrench grip technique, size/type selection, and the angle of applied force. The good news is... it can be prevented! Let's take a look at how to keep bolt heads in pristine condition and how to salvage bolts that have already started getting damaged.
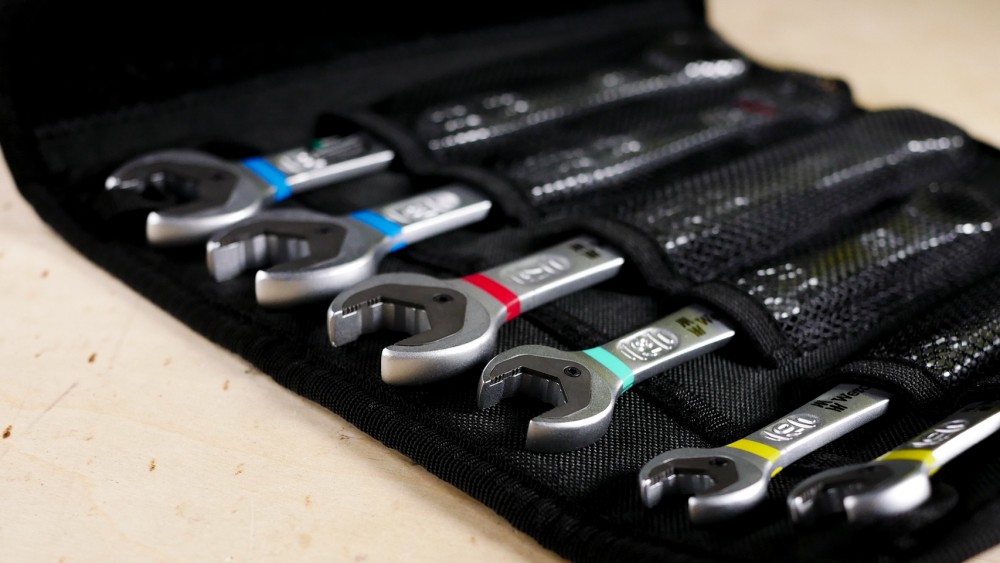
Why do wrenches scratch or round off bolt corners?
Before moving on to prevention methods, let's understand why they get damaged. Hex bolts or other fastener heads handle torque through contact surfaces between the wrench and the bolt's flats. If there isn't full surface contact, or if excessive pressure is concentrated on the corners, the corners will start to crush, chip, or round off until the wrench completely slips.
To picture it clearly: a bolt is like a faceted stone, while a wrench is like pliers that must "grip fully across the flats." If it doesn't grip fully and instead presses against the corners, the corners will crack or round off. Here are the common primary causes:
Using the wrong wrench size: even a 0.5 mm difference can ruin it!
Improper size = excessive play = the wrench twists and puts pressure on the corners rather than the flats, easily leaving marks on the bolt. This is especially true for softer materials or bolt heads with slick plating. For example, using a 13 mm wrench on a 1/2" (12.7 mm) bolt: it seems to fit at first, but as soon as force is applied, the play causes it to slam against the corners, mangling them immediately.
Using an adjustable wrench loosely adjusted or pressing the wrong side
Not tightening the adjustment screw leaves a gap that allows the jaws to spread open during turning. Applying force in the wrong direction pushes against the movable jaw instead of the fixed jaw, overwhelming the mechanism and causing the jaws to flare open.
Using an open-end wrench on extremely tight fasteners or in tight spaces that prevent full engagement
It's meant only for running down fasteners or working in tight quarters. If used for heavy torquing or frozen bolts, all the torque concentrates entirely on just 2 corners until the head deforms.
Using a 12-point wrench on worn bolts or average-quality bolt heads
A 12-point box wrench is easier to engage in confined spaces, but its contact area per flat is less than a 6-point wrench. Especially if the bolt is already slightly rounded, the risk of slipping is even higher.
It is indeed easier to fit, but the contact area on the bolt head is significantly smaller than a 6-point profile. If that bolt is older or made of soft metal, using a 12-point doubles the risk of stripping it.
Not seating the wrench completely / cocking it at a slight angle
The applied pressure shifts from the "contact flats" directly to the "tip of the bolt head." With such minimal load-bearing area left, the bolt head cannot withstand it: twist once, and it chips instantly.
Bolt coated with paint/rust/dirt, preventing proper wrench engagement
Rust or thick coatings cause the wrench to engage only halfway onto the bolt head. When torque is applied, the tool "cams out" or slips off, causing damage.
The "jerking" or sudden tugging technique
Sudden jerks cause temporary torque spikes, biting into the corners first. The less full contact the wrench has, the more scratches it causes.
Warning signs before a bolt head strips (Catch it before it breaks)
Many people cause damage because they force it past the limit, even though the bolt head always gives warning signs first. It gradually tells you that contact is slipping and force is concentrating on the "corners" rather than the "flats." If you catch these signs in time and stop, your chances of finishing the job without stripping corners are much higher. Common warning signs (which we use as our personal red flags on the job) include:
- The wrench starts springing back or feeling jerky as torque is applied, as if it's trying to climb over the corners.
- Hearing a faint clicking or scraping sound like metal rubbing together (repeated clicking is even more concerning).
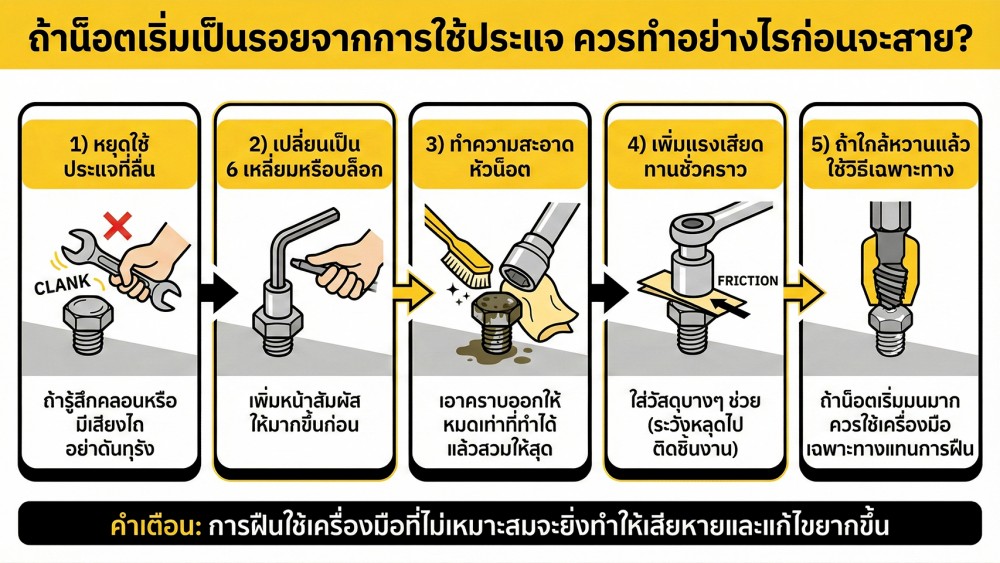
- Seeing metal shavings or paint coating dust falling from the bolt head, or visible scratches forming around the corners.
- The wrench requires "excessive downforce" just to keep it from slipping off (needing your other hand to constantly press down).
- Feeling that "the wrench is widening the gap itself"—going from a snug fit to increasingly loose even though the fastener hasn't loosened yet.
- The corners of the bolt head start developing shiny, localized spots (marks from being abraded/chewed up), meaning the surface is already degrading.
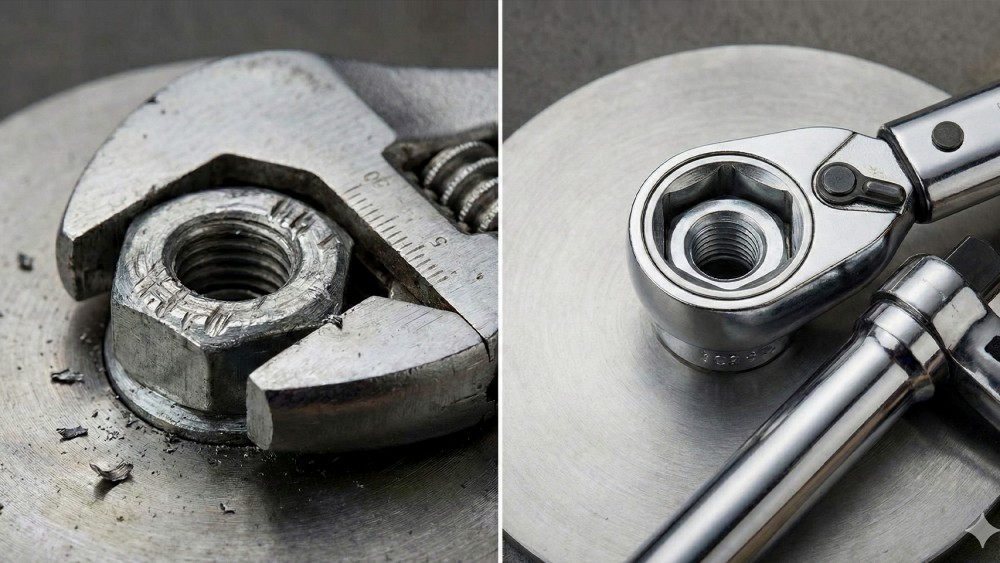
How to tighten/loosen bolts without scratching or stripping the corners
We divide this into 3 main parts: Choosing the right wrench + Preparing the bolt head + Proper torque posture to reduce corner biting.
Choose the right type of wrench for the job (This alone solves 60% of issues)
- For tight fasteners or heavy-duty torque, use a "6-point box wrench" or "6-point socket." If you have the choice, always go with 6-point first because it grips the flats more completely and reduces corner pressure. For general, easily accessible jobs: a 6-point box wrench is great. For automotive or machinery work: a 6-point socket + ratchet handle is best.
- Tight spaces allow 12-point, but make sure the bolt head is still sharp. 12-point wrenches offer the advantage of engaging at more angles, making them ideal for confined spaces. But if the bolt is already slightly rounded, don't force it—switch back to a 6-point or a tighter-gripping socket.
- Avoid open-end wrenches on very tight fasteners. They are fine for light-duty work, assembly, and moderately tightened fittings. But to break loose stubborn, tight bolts, always switch to a box wrench or socket.
- Adjustable wrenches can be used, but must be oriented correctly and adjusted tight. An adjustable wrench should be a "backup tool," not your primary option—especially for tight fasteners. Adjust the jaws as tightly as possible, and apply force in the direction that "pushes the jaw closed," not opens it. In our experience, we see more rounded bolts from adjustable wrenches than all other wrenches combined, because people reach for them when "nothing else is around" and hastily apply force, ultimately stripping the bolt.
- If you're worried about marks on stainless steel fasteners or aesthetic work, use non-marring tools. Certain wrenches and sockets feature smooth-faced profiles to minimize marking, or protective plastic sleeves for stainless steel/finished surfaces—invaluable for jobs where "appearance comes first."
Choose the exact wrench size (and stop guessing)
To be completely honest, many people ruin fasteners because they think, "If it fits, it's good enough for now." For metric fasteners, use the exact metric wrench. For imperial fasteners, use the exact imperial wrench, because some sizes are so close they can easily deceive you—such as 13 mm and 1/2 inch, or 17 mm and 11/16 inch (these close sizes are very common). On-site tip: If there is any "wobble" or play, even a little, change the size immediately. Never assume it will tighten up on its own.
Prepare the fastener head before tightening/loosening (significantly prevents rounded corners)
- Scrape off rust/paint/dirt first: Simply use a wire brush or utility knife to scrape debris off the corners so the wrench can seat all the way down, maximizing surface contact.
- Tap lightly to seat the wrench: Sometimes the fastener head is slightly chipped or covered with grime, preventing full engagement. Tap the wrench gently with a rubber mallet to seat it properly, improving surface contact.
- Use penetrating oil/lubricant: If the fastener is seized by rust, don't force it and round off the corners. Apply penetrating oil and wait a while (or work on something else first), then come back and try again. The chances of damaging it will be vastly reduced.
Proper stance and technique: "Pulling" is better than "pushing"
A rule safety-conscious technicians always emphasize is to pull rather than push.
- Pulling allows easier force control; if the tool slips, your hand won't fly forward into obstacles.
- Pushing: If the wrench slips, your hand thrusts forward, easily leading to impact injuries and often rounding fastener corners due to jerky force.
Another key point is to apply continuous, steady force without jerking, as sudden impacts tend to chew up the corners first.
Seat the wrench fully and squarely on axis
- Seat it as deep as possible.
- Make sure it is not tilted.
- If space is too tight for full engagement, switch wrench types (e.g., box wrench, socket, or specialized wrench).
Real-world experience: Working under a vehicle or behind machinery naturally creates angled access. If you force it half-seated and apply torque, fastener heads will round off very quickly.
Conclusion
If you ask us how to reliably prevent damage, the answer is: maximize surface contact and control your force as smoothly as possible. Just by switching from guessing to exact measurement, swapping open-end or adjustable wrenches for box wrenches or 6-point sockets on tight fasteners, and adjusting your technique to a smooth pull, you will see a noticeable reduction in marked and rounded fasteners.
Finally, if you are doing work where aesthetics matter (such as stainless steel, showcase pieces, or assemblies with visible fastener heads), choosing the right wrench + scratch prevention from the start will ensure a clean, professional finish without having to fix mistakes later.
Select Wrench to suit the application