Customers Also Purchased
Picture this with us... when we are using a hand saws to join two pieces of wood at a 45° angle—whether it's a small tabletop picture frame or wooden table legs—getting a spot-on miter cut is pure satisfaction. The corners join seamlessly without any light gaps; the work looks clean without needing putty, filler, or forced adjustments to fit. But in reality... the 45° angle is notorious for being a real troublemaker when using a hand saw.
When we first started woodworking, we were overconfident too: marked lines clearly, clamped the wood tight, used a sharp hand saw. But once finished sawing and joined together, a gap appeared! That was when we realized it wasn't about mismeasurement, but a slight tilt when drawing the hand saw that ruined the workpiece! Even though it seemed tiny, the result was obvious. Always keep in mind that miter cutting isn't just about force or blade sharpness, but about stability, focus, and keeping the angle consistent from start to finish. Once you master this, your hand saw work on every piece of wood will speak for itself at a whole new level.

Why is cutting a 45° miter harder than it seems?
It's true—many people tend to think, "Just draw an angled line and saw along it." Sounds easy, right? But when put into practice, it's not nearly as simple as it seems. That 45° angle is the ultimate test of both "stability" and "accuracy" for woodworkers. Everyone wants neat, precise corners in woodworking, but the reality is... just a tiny slip while sawing turns into a gap that needs putty, sanding, or sometimes even starting completely over. And the problem usually doesn't come from a misplaced line, but mostly right when your hand starts drawing the saw.
If anyone reading this thinks, "Yeah, I've been there!", don't worry. It's truly a rite of passage for everyone using a handsaw. But the good news is... once you understand the proper principles of miter cutting, it becomes much easier. Let's take a clear look point by point at why cuts intended to be straight veer off so easily.
Controlling the Handsaw Angle
A handsaw doesn't have rails or guides like a miter saw, right? So every angle produced is entirely down to your skill. It requires finding the right balance between force and direction. If you exert just a little too much pressure on one side, the blade twists or tilts in that direction immediately. Have you ever been sawing and felt, "Wait, why is it drifting away from the line?" That's a classic sign of unbalanced force.
Viewing Lines on the Wrong Plane
This happens to a lot of people, including myself when I first started. When cutting at 45°, you need to look at both the top line and the side line simultaneously, but our brains tend to focus on just one. By the time the saw reaches the middle of the wood, the blade often veers off line unnoticed. It's like thinking you're cutting straight, but when you flip the piece over... oops, it's off by half a degree! A simple fix is to use a miter box or mark lines on both sides to guide you.
Dull Blades or Uneven Teeth
This is something many people overlook. A saw blade that's been used for a long time or has worn unevenly will naturally pull toward the sharper side; you could say the saw develops its own "habit". If the right-side teeth are sharper, it will slowly drift to the right without you noticing. And the harder you try to push it back mid-cut, the messier it gets because the cut line loses its continuity. The easiest fix is to inspect your blade before every use. If it starts feeling sluggish or the sound changes, it's time to replace or resharpen it.
Unstable Workpiece Setup
Here's another cause that seems minor but ruins work the most. Wood that moves even "just a tiny bit" during sawing will instantly throw off the cut line. Some people clamp wood to a table without locking it down tight, resulting in the workpiece vibrating with every saw stroke. Once finished, the cut edge looks jagged like sawteeth. The solution is to secure the workpiece firmly in a vise or clamp every time before sawing. Never try to just hold it down with one hand, as it's definitely not steady enough.
We believe these problems are precisely what make 45° miter cuts such an essential lesson for anyone serious about woodworking. But there's a silver lining: once you master this, you won't fear cutting any angle in the future. Put simply, if you can cut a true 45° angle with a handsaw, your woodworking skills are definitely one step closer to professional level!
The Secret to Making Precise 45° Cuts with a Handsaw
If you still think you need a miter saw to cut precise angles in wood, take a breath and read on. Because the truth is, a "standard handsaw" that you already have in an everyday household toolbox can produce beautiful 45° angles just like a pro. All it takes is understanding a few small principles and paying attention to your rhythm and hand control. You'll soon realize you don't need expensive machinery to achieve clean, crisp results.
Using a Miter Box: The Essential Helper Every Woodworker Needs
A miter box can truly be called a handsaw's best friend, as it helps you cut precisely at your desired angle without any guesswork. These boxes come with pre-slotted guide channels for both 45° and 90° cuts. You simply insert the wood into the slot and saw along the guide.
When I first started making picture frames, I used a box just like this. Back then, I didn't have great control over the saw, but having slots to guide it kept my sawing stroke much steadier, making the finished cuts vastly straighter than before.
Keep in mind, though, that not all boxes are created equal. On some models, the slots are too wide, allowing the blade to wobble enough to turn into a "45.5°" cut, or they may fail to hold the wood tightly, letting it vibrate while sawing. An easy way to choose is to ensure the slot width matches your blade thickness closely and that it features a solid clamping mechanism.
A Fine-Toothed Handsaw Helps Immensely
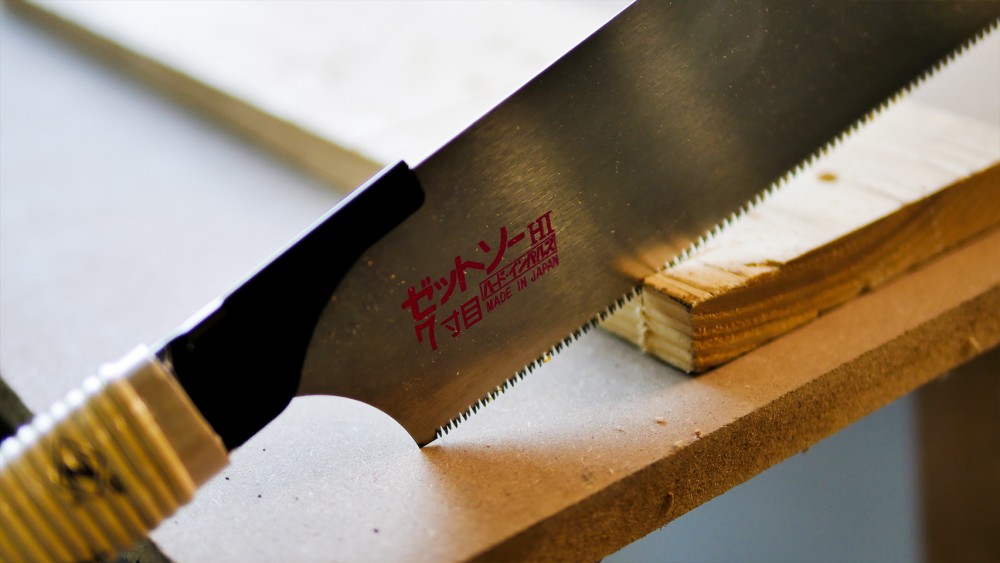
Many people don't realize that tooth count directly affects accuracy. Using a coarse-tooth saw (like 8–10 TPI) bites aggressively into the wood right from the start, making it easy for the cut to wander—especially on thin or softer woods. I once made the mistake of using a coarse-toothed saw on small framing lumber, and the cut line skewed within the very first centimeter. Switching to a fine-toothed blade (12–14 TPI and up) changed everything. At first it feels slower, but the cut line is smoother and the angle is much easier to control. In short: if your project demands neatness or involves small miter joints, stick with fine teeth—slow and steady wins the race.
Secure the Wood Firmly and at the Right Spots
Never leave the wood unsupported while sawing—that's a 100% guarantee for crooked cuts! Every bit of downward pressure you apply vibrates the entire piece, causing the saw line to waver easily. Always secure the wood firmly to your workbench using clamps or a vise every single time.
The trick is to position the wood at eye level without having to bend your body or lift the saw too high. The more awkward your posture, the more the angle will unintentionally skew. I usually clamp the wood near the edge of the workbench at the angle where I can see the line most clearly. This makes it easy to control and avoids fatigue.
Start using the hand saw with gentle strokes
We've seen many people—including ourselves in the early days—hoping to finish quickly by applying full force right from the first stroke. The result? The saw teeth skitter! The line is lost! And you have to start all over again. The right way is to gently "score a guide notch" with the tip of the saw first. Use light pressure to let the teeth groove a path. Once you have a guide notch, you can increase pressure later. It will be much straighter and much easier to control.
Don't be afraid to rotate the wood
This is something we really want to emphasize. Many people, once they secure the wood at one angle, don't want to move it for fear of wasting time. But the result is sawing in an awkward posture with a poor viewing angle where lines aren't clear, and ultimately the cut ends up crooked anyway. In reality, you should rotate the wood so your line of sight can see both the top line and the side line simultaneously. This helps you control the angle much more accurately.
To this day, we still rotate the wood almost every time, especially when cutting long pieces, because sometimes just shifting the angle slightly makes the cut line much clearer.
Simply put, a hand saw is like a straightforward friend who is always ready to work well for you—if you understand it and know how to control the pace and angles properly. No need for big machinery, no loud noise. Just patience and these small techniques, and you can cut beautiful bevels just like a professional craftsman!
Pro tips: How to check if your cut is truly 45°
No matter how straight the cut looks, without measuring to confirm, you can't be confident that it's an exact 45°. Here are simple techniques that woodworkers use:
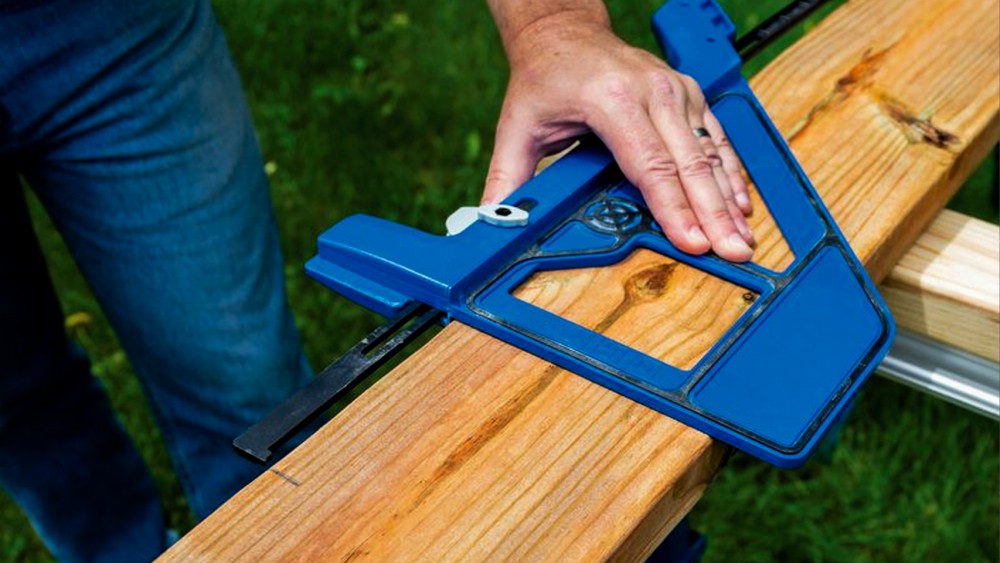
- Place a combination square against the cut angle. If the inside or outside angle deviates from the line even slightly, it means it's off and needs a bit of sanding.
- Join two pieces of wood together. If the combined angle forms a perfect 90°, it means both sides have an equal 45° bevel.
- Fold an A4 paper diagonally into a 45° triangle and hold it against the cut; it serves as a simple check as well.
- If you have a digital angle gauge or a woodworking protractor, try placing it on the cut. You will see the angle reading clearly—ideal for detailed work requiring precision down to half a degree.
- Another method some woodworkers use is measuring equal distances from both edges of the wood—for example, measuring 10 cm and drawing a diagonal line to meet at the edge. If the bevel follows the 1:1 right-triangle formula, it will result in exactly 45°.
These techniques not only help verify angles, but they also train you to develop a "woodworker's eye" and a more accurate sense of angles every time you practice.
From a craftsman's real-life experience
Once, we helped a friend build a small wooden table for a coffee shop. He cut the wood with a 45° miter saw—every angle was so precise it looked factory-made. But as luck would have it, the machine broke down, so we had to switch to a hand saw. It turned out every single angle came out crooked! We ended up spending the entire night sanding and fixing them.
At that moment, we noticed he was rushing the cuts and using a coarse-toothed saw on hardwood like parawood (rubberwood), which created a lot of kickback and vibration. So I suggested switching to a fine-toothed saw, using a miter box to help guide the line, and starting with gentle strokes first. The result was a cut that was much straighter than before—almost as if we were using a machine again.
How to practice using a hand saw for straight miter cuts?
Start with small pieces of wood
Smaller wood is easier to control, lightweight, and great for training your sight angles. Practice cutting several times to get a straight line before moving on to larger pieces. Try changing the size and thickness of the wood, such as balsa, pine, or MDF, to learn the differences in resistance and sawing feel. This will help you gain a deeper understanding of angle control and gradually develop accuracy without fear of mistakes, because small pieces of wood are the best training ground for beginners.
Practice sawing without measuring
Yes, it sounds strange, but it's true! Try practicing miter cuts by eye, then measure afterward to see how straight they are. This will help develop your "angle sense" more accurately without relying heavily on tools. It is like training your brain and hands to work in coordination without relying on guideline marks. You might start by sawing about 10 small pieces of wood and keeping notes on which direction the angle deviates each time. As you keep practicing, you'll begin to see the specific characteristics of your own hand pressure, such as a tendency to lean slightly to the right or accidentally pushing too hard at the end. This kind of observation truly helps correct crooked sawing habits and intuitively improves future sawing accuracy.
Practice a steady rhythm
Good sawing doesn't depend on force, but on "rhythm." Try to saw with a consistent sound; just by listening, you'll know right away whether it's straight or not. A good sawing sound has a continuous rhythm, without stuttering or frequent pitch changes. If you hear a high-pitched or sputtering sound, it means the pressure or angle is starting to go wrong; ease up on the force and realign. This technique requires no tools at all—just listening to the sound and feeling it in your hands is enough. Like a musician who can tell an off-key note from a single sound, sawing is the same. Once you can hear it, you'll be able to cut accurately without having to look at the line as much.
Conclusion
Finally, we'd like to say that making a precise 45° miter cut isn't about how much your handsaw costs, but rather about "understanding angle control." As long as you take your time, keep a steady rhythm, use guide aids only as needed, and always keep your saw sharp, your miter cuts will definitely turn out as good as anyone's.


 EN
 ไทย