


 EN
 ไทย


Customers Also Purchased


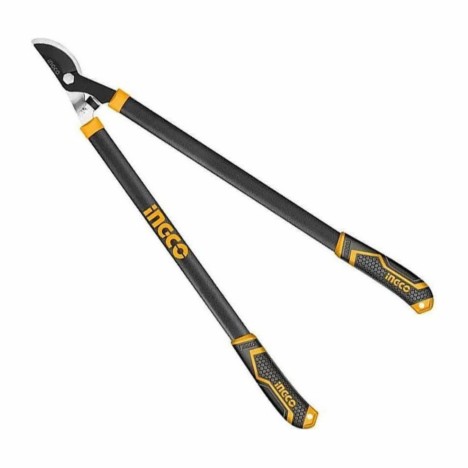
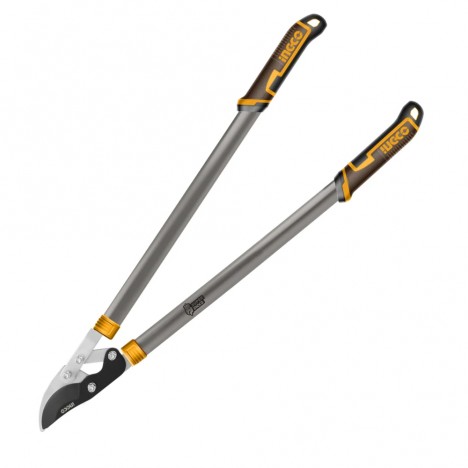

Picture this: the morning sun, a cool breeze rustling through leaves glittering with morning dew drops. You pick up your trusty pruning shears, intending to trim the bushes neatly. But as soon as you cut... a "crunch" sounds out. The blade feels stiff, requiring more effort than usual, and the cut isn't as clean as before. That, right there, is the first warning sign that "your pruning shears are starting to act up."
And don't dismiss it as a small issue just yet! Because Pruning Shears stiff pruning shears don't just tire out your hands or require more force; they can also "bruise" or "tear" the branches instead of making a clean, sharp cut. That means the plants you love might take longer to recover than they should.
People in the trade often have a saying: "Pruning shears that are stiff are like an unlubricated heart—using them only brings fatigue."
It sounds like wordplay, but it's very true. Keeping your pruning shears sharp and smooth-operating is at the heart of keeping your plants healthy, just as much as watering or fertilizing them.
In this article, we'll discuss why pruning shears start to feel stiff even when they still look brand new, and whether the best solution is really to "sharpen" or "replace" them.

The root cause of stiffness in pruning shears isn't just about blade sharpness!
Many people quickly assume that stiff pruning shears must be due to a dull blade. But in reality, the plant lover's world isn't that simple. Stiffness in pruning shears has many hidden causes, ranging from small things like dried sap buildup to bigger issues like a loose pivot bolt that makes the whole handle wobble and feel strange in your hand! Most importantly... pruning shears don't break in a single day. They tell you bit by bit that they are getting tired and need some care.
Sap buildup and accumulated soil: The number one culprit behind stiffness
Every time you prune branches, whether it's a banyan tree or bougainvillea, a thin layer of sap oozes from the wood and coats the blade almost unnoticed. The more frequently you use them without wiping them down, the more this residue hardens into a sticky film over the cutting edge, preventing the pruning shears from opening and closing smoothly. Over time, the sap also traps dust, turning into a sticky "glue" that becomes stiffer and stiffer—sometimes offering resistance even when just opening and closing without cutting.
"At first I thought the blade was dull, but after soaking it in warm soapy water and scrubbing gently, it became as smooth as new!"
If you encounter this symptom, don't rush to sharpen the blade just yet. Try wiping away the residue first; you might just get your pruning shears back to their sharp, crisp performance without having to do anything else!
A dry pivot with no lubricant: Just a single drop changes everything
The pivot point of pruning shears works the hardest every time you make a cut, constantly enduring torsion, pressure, and friction. If there is no lubricating oil here, or if it has been washed completely dry, the movement will become noticeably "stiff."
Some professional gardeners even carry "sewing machine oil" with them to add a drop to the pivot point after every job, knowing full well that it truly extends tool life. Certain models of pruning shears, like Felco, feature a center bolt that allows you to adjust the tension of the pivot. If you know the sweet spot for tightening and loosening it, it will immediately feel as smooth as when you first bought it.
"Some people rush to spray WD-40 all over the handle as soon as it gets stiff, which is actually unnecessary. Just apply a light drop to the pivot point and that's enough."
Rust and improper storage of pruning shears: the silent enemy that corrodes every day
Rust isn't just about appearance; it's a silent threat that slowly eats away at the steel. Especially if you inadvertently leave your pruning shears in damp places, such as under a tree or in a toolbox exposed to morning dew, you might one day find that the shears "won't open," or worse, they could "cut your hand" on rusted edges. Sometimes just dew or hand sweat is enough to cause rust if they aren't wiped down and stored in a sufficiently dry place.
TIP: After use, wipe the blades with a dry cloth and apply a thin coat of oil before storing every time. This method is simple, but it can extend the lifespan of your pruning shears by years!
Worn pivot bolt or screw: sharpening won't help if the frame is loose
This symptom often occurs with pruning shears that have been through heavy battles for many seasons, or used by professional gardeners for several hours a day. The steel pivot may start to get "loose" or "worn," causing the blades to no longer align tightly together as before.
Many people mistakenly think the blade is dull and take it to be sharpened, but it still doesn't work well when used again because the problem lies in the "loose structure," not the sharpness. Here's an easy way to check: when you close the pruning shears, if the blades "glance off" each other or make a slight clinking noise as if the blades aren't flush, it means the pivot is starting to loosen. No matter how much you sharpen it, it won't cut smoothly anymore.
"Sometimes simply tightening the center bolt is enough, but if the threads are stripped, it must be replaced."

So how do you know if "just sharpening" is enough, or if it "needs to be replaced"?
This question is a major consideration because good pruning shears can cost several thousand baht. If sharpening them brings them back to life, it's definitely worthwhile. But if the structure is broken or the pivot is loose, sharpening won't do much good. We need to know the severity of the issue first.
Sharpening is enough
- The cut is still straight, but it feels like it takes more effort than usual
- The blade has minor nicks, but not deep into the steel body
- The pivot point is still tight, not loose, and is stiff only due to residue buildup
- No deep rust eating into the steel body
Should be replaced
- The pivot wobbles or is loose to the point where the blades do not meet flush
- The blade is deeply chipped to the point of being deformed
- The handle is cracked or the rubber grip is deteriorated and slippery
- You have tried sharpening them multiple times, but they are still stiff or not as sharp as before.
Simply put, if the "frame is still good," sharpen it; but if the "frame is gone," replace it. It saves effort, saves time, and reduces the risk of cutting your hands.
Simple Way to Sharpen Pruning Shears You Can Do at Home
Many people sigh heavily when they see the words "sharpen pruning shears" because they think they need an expensive knife sharpener or special equipment like a professional tradesperson to do it. But let me tell you... not at all! Items already in your home are enough to make your pruning shears razor-sharp like new again.
And what we love most is the feeling after sharpening: when you test cutting a branch and it goes "snip!" with a soft sound without having to exert much force. It feels even more satisfying than getting a new tool, because you know it's entirely your own handiwork.
What You Need: Everyday Sharpening Supplies
No need to invest heavily; just these simple items will do the trick.
- Whetstone or fine-grit sandpaper (#600–#1000) – You can use either sheets or rolls. If you really don't have a whetstone, good-quality sandpaper is sufficient.
- Soapy water or lubricating oil – Helps smooth the friction between the blade and the whetstone, allowing for an even grind without eating away the steel.
- Clean wiping cloth – For wiping away stains and oil before storing. A microfiber cloth works best.
Steps to Sharpen Pruning Shears Like a Pro
- Clean before sharpening: Start by completely wiping off sap residue or dirt debris. If you leave these residues on during sharpening, they will scratch the steel surface. Washing with warm soapy water helps sap residue come off much more easily. TIP: If there are stubborn, sticky residues, gently scrub with a sponge soaked in very hot soapy water, then wipe dry before starting to sharpen.
- Disassemble the blade (if possible): Some pruning shear models, such as Felco, ARS, Bahco, or Gardena, have a center bolt that can be removed. Disassembling makes sharpening much easier because you can access the edge from every angle, sharpen more precisely, and avoid scratching other parts. For non-detachable models, sharpen while paying close attention to your fingers; you can use a cloth to protect your hands from cuts.
- Rub along the beveled edge, on one side only! This is the most crucial part. Many people make the mistake of "rubbing back and forth" thinking it will sharpen faster, but in reality, that rounds the edge and easily ruins its profile.
- Sharpen only on the beveled edge by rubbing along the original angle of the blade (from base to tip). Repeat gently about 10–20 times. A good sound is a soft, continuous "shhh... shhh...", which means the sharpening angle is correct.
- Wipe clean and apply a thin coat of oil: After sharpening, wipe the blade completely dry. Then apply a thin coat of oil to prevent rust and improve smoothness for the next use. Sewing machine oil, motor oil, or even olive oil can be used (if not pruning fruit trees for consumption).

The Charm of Sharpening Pruning Shears Yourself
Sharpening pruning shears by hand is not just about saving money; it is about building a connection with your own tools. Just like when a carpenter sharpens a saw blade or a blacksmith dresses a hammer, every time you sharpen, you get to know that pair of tools better — where the bevel is, which spots to watch out for, or even the subtle sound that tells you it's ready to go back to work.
"I have always sharpened my own shears because it feels like taking care of a friend who stays by my side every day."
Finally, if you have never tried sharpening them yourself, we encourage you to give it a try. Just once and you will truly understand why a "trusted pair of pruning shears" can stay with some gardeners for decades. Because it's not just a tool, but a true companion that has weathered summer, rain, and cold together.
How to Prevent Pruning Shears from Getting Stiff Again
- Wipe them down immediately after every use. Plant sap and moisture cause rust. Wiping them dry every time after pruning branches will greatly extend their lifespan. Just using a soft cloth or dry tissue paper is enough; there's no need for special solutions. Simply wiping them dry after each cut gives your shears room to breathe.
- Apply oil to the pivot point once a month. Use sewing machine oil or general lubricant. Just a small drop is enough; no need to soak it in oil. Simply dab a little and pivot the shears two or three times, and they'll be as smooth as new.
- Store them in a dry place away from sunlight and rain. Especially for genuine steel shears, always keep them in a sheath or wrapped in cloth. Having a pouch is even better; when you open the cabinet and see clean, shiny shears, it makes you feel ready to tackle the garden every day.
- Don't use them for the wrong job! Pruning shears should not be used to cut wire, steel, or other hard materials, as this will quickly chip the blade. Remember, they were made for wood, not steel.