


 EN
 ไทย


Customers Also Purchased
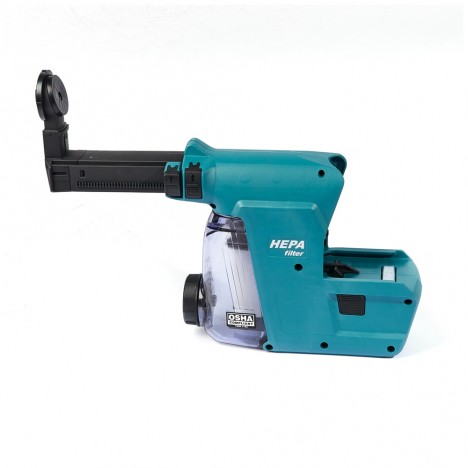
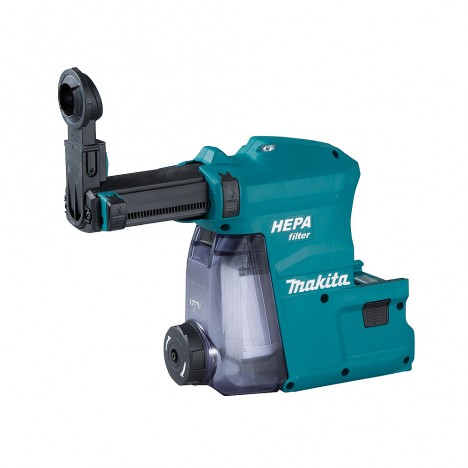
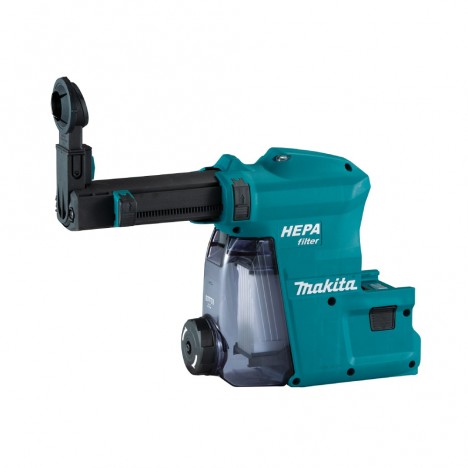


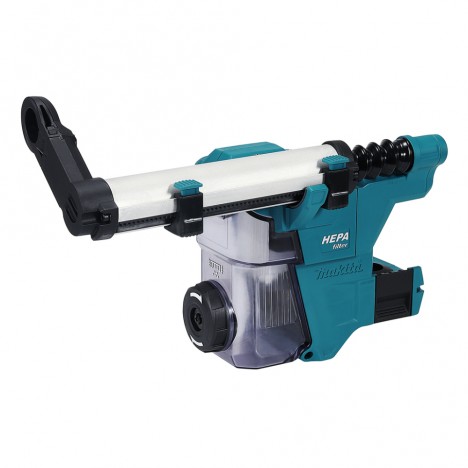
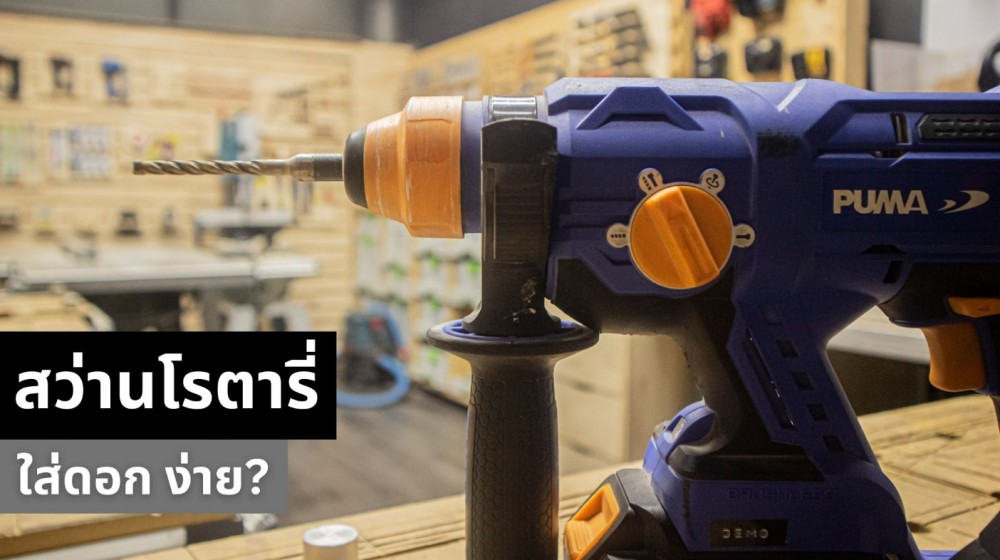
Rotary hammer It's safe to say this is one of the most popular power tools among tradesmen. Nowadays, concrete wall drilling is frequently required, and as everyone probably knows, to drill neatly, quickly, and preserve the tool, special equipment is needed. A rotary hammer perfectly fits this need.
In addition to a well-designed tool, there are also drill bits specifically engineered for rotary hammers. This led to a question I wondered about: "Wait, is inserting a drill bit that has to be this strong and durable really that easy? And how can we be sure the bit is secure?" This might seem trivial at first glance, but I can tell you that many people make mistakes here.
In this article, I'd like to take you through an in-depth look from the chuck structure of a rotary hammer, the correct way to insert a bit, and techniques to check if the bit is locked tight, to small tips that make operation safer and more confident.
Get to Know the Rotary Hammer Chuck Before Inserting a Bit
Before moving on to the insertion steps, let's understand this rotary hammer first, especially its key component: the chuck. Knowing how it works will give you a better understanding of how a rotary hammer differs from a regular drill, and how to insert the bit so it's truly tight, safe, and ready for work.
What is an SDS Chuck?
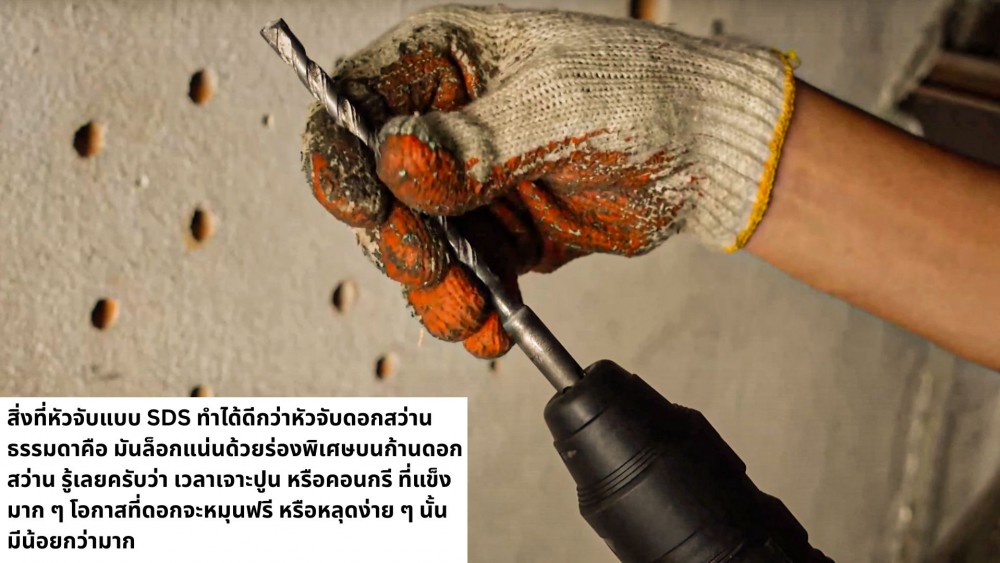
One feature that distinguishes a rotary hammer from a standard power drill is the SDS (Special Direct System) chuck mechanism, designed to lock bits exceptionally securely. Beyond its design, users don't need to turn a threaded collar like on regular power drills or impact drills; simply insert it straight, wait for the "click" sound, and it's ready to use.
The SDS chuck itself comes in several types, such as SDS Plus for small to medium rotary hammers—ideal for general masonry drilling—and SDS Max for high-powered, large rotary hammers used for heavy-duty drilling or chiseling work, as well as SDS Top and SDS Quick, which are model-specific and less common.
The Correct Way to Insert Bits for a Rotary Hammer
Alright, let's take a look at how to insert a rotary hammer bit, and whether it's difficult or easy. I’ve checked specs and read manuals from various sources, consulted experienced tradesmen who use them daily, and tested it myself. Whenever there's an issue or it won't go in, you'll know how it differs from a proper fit, gaining a better appreciation of how crucial these small steps are to overall operation.
1. Check the drill bit first
The first thing to know before using a rotary hammer is checking what type of SDS shank the bit has and matching it correctly with the tool's chuck. Using the wrong bit type means it won't fit at all, or even if it goes in, it won't be secure and risks slipping out during use.
I've gone through some trial and error myself, but my fellow tradesmen emphasized that choosing the correct shank type is the most critical first step, as it determines whether drilling goes smoothly or runs into problems.
2. Check the chuck sleeve (to be sure)
Use your fingers to pull the rotary hammer chuck sleeve backward, similar to unlocking the mechanism, to check if the clamping mechanism is working properly. The locking system acts like a key that allows the bit to be released smoothly.
3. Insert the bit straight in
Align the bit shank with the chuck grooves and push it all the way in. There is no need to pull or hold back the chuck sleeve, as the sleeve is the release mechanism; releasing it prematurely could cause the bit to shift and not seat deeply enough.
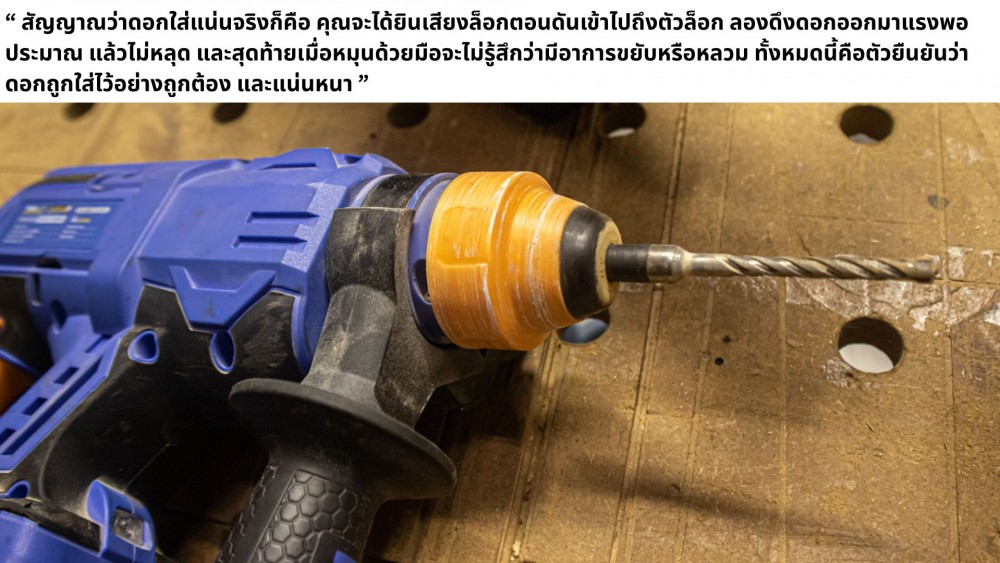
If it won't lock, try rotating the bit slightly. Don't forget to push firmly until you feel the bit go truly deep. When I tried it the first time, I hesitated, afraid the bit would break, or the chuck would get damaged, or it was too stiff, but pushing it all the way in is crucial.
Concrete dust or metal debris clinging to the rotary hammer drill bit shank can prevent the chuck from fully locking into the grooves. This can be easily resolved by wiping the bit shank clean before every insertion.
4. Release your hand
If the rotary hammer has been used for a long time, the chuck may wear out and fail to lock tightly. You might notice symptoms such as no clicking sound upon insertion or a loose drill bit. If this happens, replacing the chuck is the best solution.
5. Try pulling gently
Before you actually start drilling, many people might only focus on securing the bit tightly, but there are also small details that can make operating a rotary hammer much safer.
Use grease on the bit chuck:
Many rotary hammer manufacturers recommend applying a thin layer of grease to the bit shank before inserting it to reduce friction and extend the chuck's lifespan.
- Check every time before drilling:No matter how rushed you are, you should always gently tug on the bit after inserting it to verify that it is truly secure.
- Dirty drill bit: Rotary hammer drill bit shanks with concrete dust or metal shavings attached may prevent the chuck from fully locking into the grooves. This can be easily fixed by wiping the bit shank clean every time before inserting it.
- Worn-out chuck: If it's a rotary hammer drill that has been used for a long time, the chuck may wear out and fail to lock tightly. You might notice symptoms like no clicking sound upon insertion or a loose bit. If this happens, replacing the chuck is the best solution.
Additional tips for safe operation
Before you actually start drilling, many people might only focus on inserting the bit tightly, but there are still small details that make using a rotary hammer much safer.
- Use grease with the chuck: Many rotary hammer manufacturers recommend applying a thin layer of grease to the bit shank before inserting it to reduce friction and extend chuck life.
- Check every time before drilling: No matter how rushed you are, always pull the bit gently after inserting it to make sure it is truly secure.
- Choose quality drill bits: Extremely cheap rotary hammer drill bits may not be manufactured to standard specifications; the shank dimensions might be off, preventing the chuck from locking properly.
Insights from real-world experience
I once experienced a bit not being inserted tightly while drilling into a concrete wall. The result was that the bit came loose halfway through, dropped, and hit the floor, scratching the tiles. Ever since then, I never fail to check every single time.
When using a rotary hammer to drill into large concrete pillars with a bit nearly half a meter long, if it isn't inserted securely, I can tell you that it can fly out and become dangerous. This is precisely why inserting the bit correctly is so important.
Additionally, a customer once came into the store having just bought a rotary hammer along with drill bits, complaining that it felt like the bit wasn't seated tightly because every time they pulled the trigger, the bit would vibrate back and forth, making them worry it would come loose. In reality, there's no need to panic if this happens. That is the normal operating mechanism of a rotary hammer, which delivers linear impact blows. When running the tool without drilling, you'll see the bit moving back and forth, appearing to wobble as if it isn't properly locked, which is simply due to the internal piston mechanism at work.
Frequently asked questions
Throughout my conversations with tradespeople and customers who are new to rotary hammers, I have found that the same questions often come up repeatedly, reflecting that many things aren't quite clear to beginners. So, let's take a look at the most common questions and simple answers.
Can rotary hammer drill bits be used with standard drills?
No, because the SDS shank requires a dedicated chuck. If forced, a standard drill chuck cannot grip an SDS shank securely. The drill bit will wobble due to being off-center and may even fly out.
Conversely, if you want to use standard drill bits on a rotary hammer, that won't work either. However, there are some drill bits specifically designed with SDS shanks for drilling wood or steel that can be used. You simply need to switch the rotary hammer to rotation-only mode (without hammer action), allowing you to drill wood and metal without damaging the bit or workpiece.
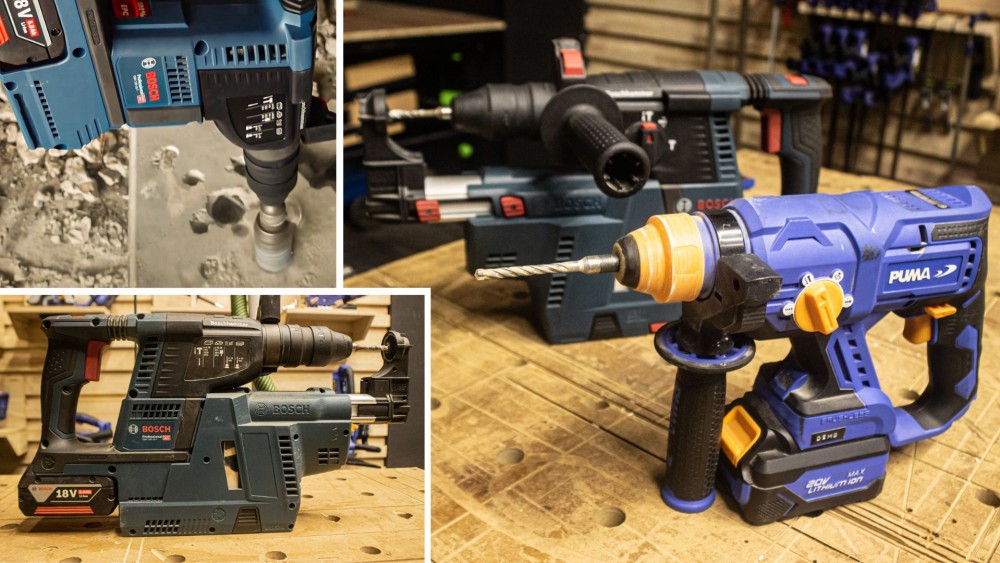
Another alternative is using an adapter chuck available on the market. For instance, Bosch offers models that attach to a rotary hammer, allowing the use of standard round-shank drill bits. This is suitable for light-duty tasks like drilling wood or thin sheet metal, helping make your rotary hammer more versatile.
Do you need to twist the bit while inserting it?
It's not necessary; just push it straight in until the grooves align, and the chuck will lock automatically. Or, if you insert it and feel it hasn't fully seated into the grooves, you can give the bit a slight twist to align them. This slight twist helps the shank grooves engage properly with the chuck, solving the issue where many people think the bit won't fit when it's simply not aligned properly.
Summary
Inserting a rotary hammer bit is not as complicated as many people think. The important things are to insert it correctly, check that it's secure every time, and keep both the bit and chuck in good condition. Just not overlooking small details like this makes drilling concrete, drilling walls, or construction work much safer and smoother.