


 EN
 ไทย


Customers Also Purchased


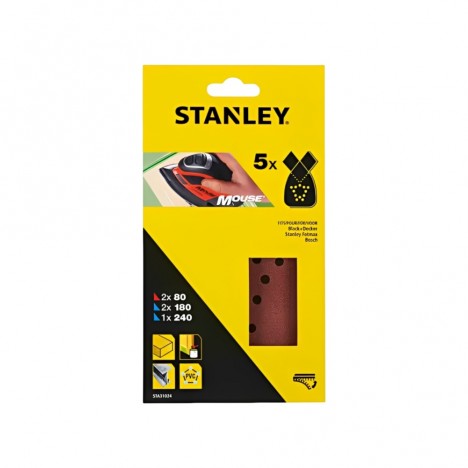
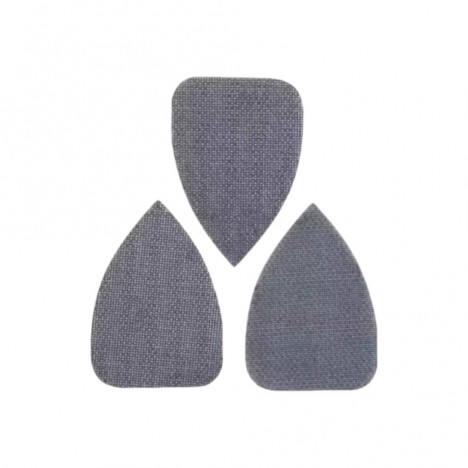


Have you ever picked up Sandpaper the same sanding sheet to use and felt, "Why isn't it sanding much anymore?" When you first used it, it felt sharp and worked great, but after using it for a while, it started to drag and stop removing material. Whether round, square, or belt sandpaper, all encounter the same issue. Some people force themselves to keep using it to save money, wasting time sanding endlessly without getting the results they once did.
Anyone who has used it probably already knows that sandpaper has an expiration date and a time when it must be replaced. But the question that follows is: how do you know when the sandpaper attached to your sander has started to wear out, no longer sands properly, and should be replaced with a new sheet?
This may seem like a simple question that anyone could answer without being an expert, just by relying on feeling and observation. But did you know that many people throw away sandpaper when it could still be reused, or conversely, keep using it for too long until they realize there's no grit left?
Today, I’d like to share simple tips to help you get more value out of your tools and accessories without overthinking it: how to tell when it's time to stop using that sanding sheet, plus useful tips on reusing sandpaper after you finish.
Signs that sandpaper should no longer be used
Imagine you are in your garage or a small home workshop. The sander is running with a steady hum, and your hand is gliding the sandpaper over a piece of wood meant for a new table, or smoothing a steel surface to prep for painting. The work is going smoothly, feeling both enjoyable and satisfying. But then, out of nowhere, your hand feels heavier, requiring more pressure than before. The once-crisp sanding sound turns into a dull, sluggish dragging noise, like rubbing against plain paper.
This feeling often isn't because your technique has slipped, but because the sandpaper you've been using has gradually lost its grit and degraded without you noticing. Let's look at the signs telling us it's time to replace our sandpaper—whether round, rectangular, or belt.
1. The sound changes, sanding feels more "sluggish" than usual
When sandpaper is new, sanding produces a gentle, crisp "swishing" sound with each stroke, sounding sharp like a brand-new blade. But after prolonged use, you'll start to notice that sound gradually turning deeper or muffled, as if rubbing against a smooth surface with no sharpness left. The feeling while sanding also changes: you have to exert more effort while getting fewer results. This is a clear sign that it has lost its sharpness and sanding efficiency has decreased.

2. The workpiece surface doesn't change, even with harder pressure
If you are sanding and the workpiece surface still looks the same or changes very slowly even when applying more pressure, it means the sharpness of the abrasive grains is almost completely gone, even if it's not visible to the naked eye. Forcing yourself to keep using it like this is simply not worth it. Beyond wasting time, it also risks burning the workpiece surface or leaving deep scratches.
For sanding belts: If sanding wood produces a burning smell quickly, or sanding metal feels unusually hot, that is because the grains are dull, causing high heat buildup.
3. Abrasive grains shedding or worn down to the backing
Examine the surface of the sandpaper. If you see bare patches or the color of the backing showing through, it indicates that the abrasive grains are worn down or have fallen off to the point where they lack enough sharpness to cut into the material. Continuing to sand in this condition results in an uneven surface finish, wastes time, and can generate excessive heat buildup that may damage the workpiece.
- Round/rectangular sandpaper sheets: Shows circular wear patterns or shedding around the edges/corners, because the sanding forces from random orbit and orbital vibrating motions are unevenly concentrated in different spots, such as where the machine edges press repeatedly.
- Belts: Wears linearly along the center channel or edges because these areas are constantly in contact with the workpiece and endure more friction.
4. Backing is torn, broken, or loose
With sanding belts, if the backing begins to tear or the adhesive seam loosens, never risk using it further. At high rotation speeds, centrifugal force can cause it to snap apart, posing immediate risks of damaging the workpiece and injuring the operator or nearby bystanders. I have seen cases where a belt snapped and shot into a wall with great force—it is clearly no small matter.
Tip: Store sandpaper in a dry place without moisture. If you must store it in high-humidity areas, use desiccant pouches or sealed containers for protection, as moisture causes the glue and cloth backing to deteriorate quickly, significantly reducing durability and lifespan.
5. Clogged with dust that cannot be cleaned out
Certain types of dust, such as from damp wood or wood sap/resin, stick firmly to the abrasive grain surface, greatly reducing the effective cutting area. This is especially true when working with hardwoods or naturally oily woods like teak or makha, which cause sandpaper to clog much faster because wood fibers and resin agglomerate into small clusters deeply embedded in the grain pores. As clogging increases,
the sharp contact area diminishes until only a few tiny spots are actually working. As a result, you have to apply more force, progress slows down, and the workpiece surface can develop burn marks or stains from accumulated heat.
Tip: Before throwing it away, try using an abrasive cleaning rubber stick to rub across the surface to pull out dust; sometimes this restores enough sharpness to keep using it a bit longer.
6. Abrasive grain color looks abnormally dull
New abrasive grains have a vibrant or glossy color depending on the type (reddish-brown, black, green), giving an impression of sparkle and inherent sharpness. However, as it is continually used, the grain surfaces wear down and lose the sharp edges that cut the material. The color gradually dulls, looking matte or faded like an old item that has undergone long, heavy use. Sometimes you may notice minor scuffs or uneven colored patches, all of which are signs that the sandpaper has lost its effectiveness.

7. Wrong application causing rapid deformation
Using fine-grit sandpaper for heavy stock removal on rough surfaces causes the abrasive grains to wear down rapidly because it is being subjected to heavier use than it was designed for. Another case is using dry sandpaper for wet sanding until the backing swells and the adhesive deteriorates.
Even if the sandpaper has not reached the end of its typical lifespan, once this type of damage occurs, it should no longer be used. Its performance drops significantly, and it can cause workpiece issues such as uneven scratches or uneven sanding results, along with the risk of tearing or detaching from the machine during use.
What happens if you keep forcing the use of worn sandpaper?
When sandpaper has deteriorated or exhibits the issues mentioned above, the consequences are not as minor as you might think. It affects work quality, working time, and your own safety. Imagine rushing a job for a customer, but dull sandpaper requires more force, the machine sounds different, a burning smell arises, or the workpiece starts showing uneven scratches—all of this can happen if you force its continued use.
- Poor finish: Uneven surface and hard-to-fix scratches.
- Wasted time and effort: Takes longer to sand and achieve the desired finish.
- Risk of workpiece damage: Burn marks, deep gouges, or uneven surfaces.
- Increased safety risks: Especially with sanding belts where loose glued joints can snap at high RPMs.
- Indirect extra costs: Needing rework or consuming more materials.
Cases where sandpaper can still be used
At this point, you might wonder, "What about the other way around?" Sometimes used sandpaper can still do the job. I encourage you to check these small details, as they will keep you from throwing away perfectly good sandpaper and help you save money.
You can lightly touch the abrasive grit surface with your hand. If it still feels rough or sharp, it is still usable. Then, tilt the sandpaper toward the light to inspect the grains; if there is still a clear sparkle reflecting, it indicates the abrasive edges are not yet worn down.
For round and rectangular sanding sheets, you can rotate or reposition them so that the less-worn sections engage first. For sanding belts, some types can be reversed to utilize the abrasive surface evenly.
Don't forget to clean the grit surface with a brush or a rubber cleaning stick to clear dust clogging before deciding to replace it.

Sandpaper is like a great helper: if properly cared for and used correctly, it will last long and work at full efficiency. Imagine you are sanding a wooden workpiece with great care for a customer, but the sandpaper goes dull midway through and halts your work, disrupting both your rhythm and schedule. Therefore, knowing how to preserve and care for sandpaper is just as important as maintaining your tools.
Conclusion
Whether round, rectangular, or belt sandpaper, all have an operating lifespan. Once it is time to replace them, do not force continued use, as doing so leads to poor finishes, uneven sanding, and potential damage to the workpiece that requires time-consuming rework from scratch.
In addition, it increases safety hazards, such as fragments flying off or a sanding belt snapping at high RPMs, which can easily injure the operator.
Recognizing the signs and replacing sandpaper at the right time prevents problems and maintains proud quality standards. It also makes work faster, saves unnecessary effort, and cuts down on both time and material costs in the long run. Most importantly, it helps you work with greater confidence and safety.
Select Sandpaper Choose the right type and use it properly, and you are guaranteed great results and long-lasting durability.