


 EN
 ไทย


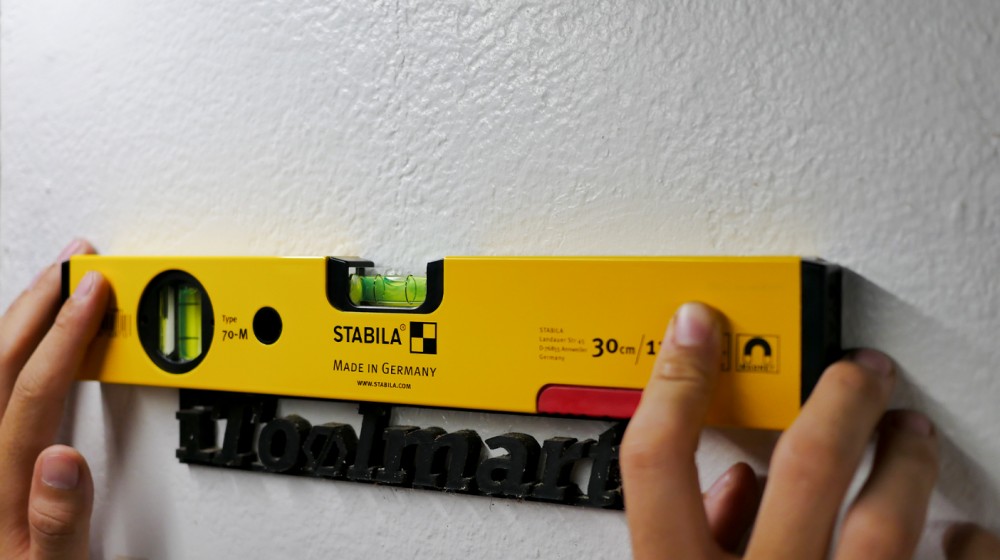
Customers Also Purchased


If you are a beginner choosing Water level one to use, and suddenly you notice: "Wait! Why does a spirit level have multiple bubble vials?" Your eyes aren't playing tricks on you—there really are multiple vials. And did you know? Each vial has its own specific purpose; they aren't just put there to look cool or professional! I think some people might wonder: "Hey, so how are they different? How do you use them correctly?" Let me tell you right here: if you're someone who loves DIY or frequently tackles handyman projects, understanding this will make your work much more precise.
In this article, I'd like to invite you to get to know what those greenish bubble vials in a spirit level actually are. I guarantee that once you finish reading, you'll be reading a spirit level like a true pro!
What Is a Spirit Level?
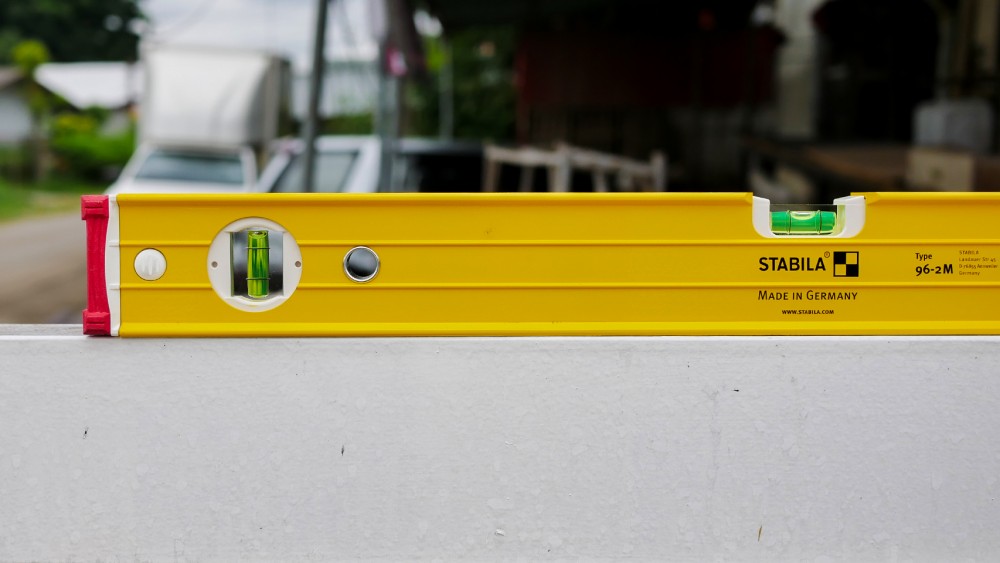
How Many Types of Bubble Vials Are There in a Spirit Level?
Horizontal vial
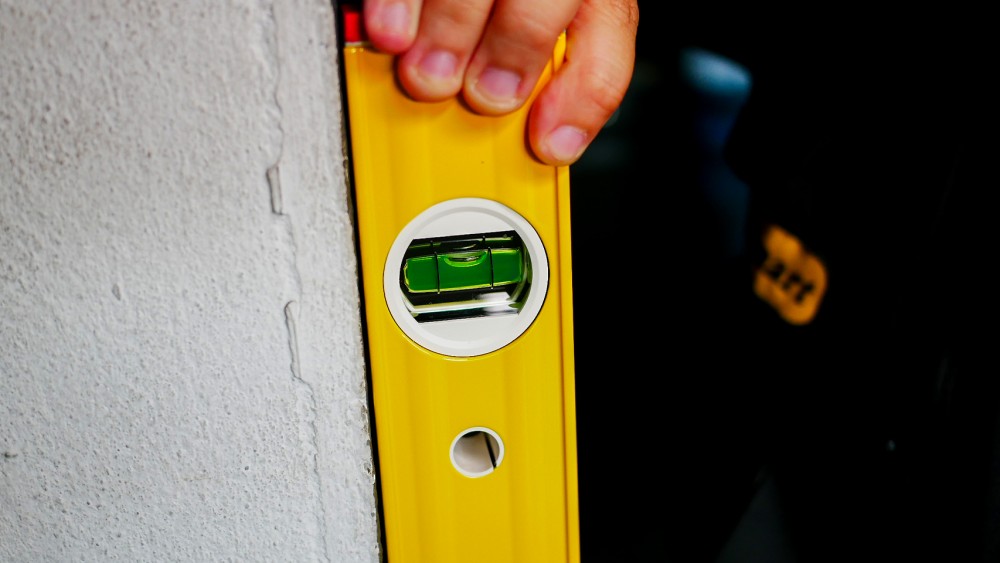
Vertical or Plumb vial
45-degree vial
Why Does a Spirit Level Need Multiple Vials in One Tool?
Because the real world isn't just one-dimensional
Reduces Errors from Flipping the Tool
Convenient to use in confined spaces
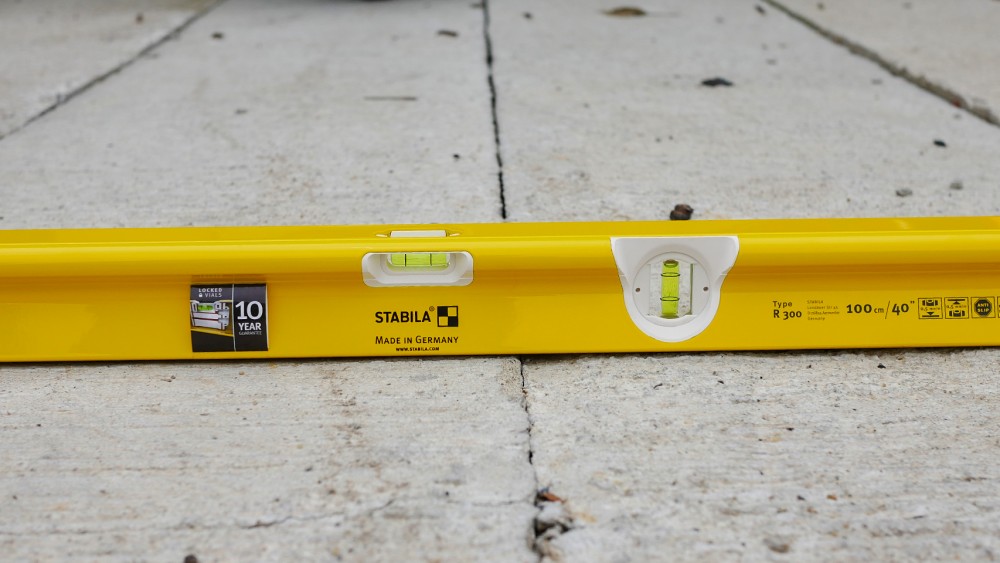
How to read the bubble in a spirit level correctly?
Easy observation points
- Every vial has 2 indicator lines in the center—think of them as target markers for the bubble! When you place the spirit level on a floor or against a wall, and the bubble rests right between these 2 lines, it means the surface is perfectly level or plumb! It's an easy technique to know if the floor or wall you're working on is truly flat, without straining your eyes trying to guess.
- If the bubble sits centered between the lines, it's like the tool is telling you, "Spot on!" To put it simply, it's just like centering a shot in your camera frame: you can be completely confident that the work isn't crooked!
- However, if the bubble drifts to one side, it indicates your work is still slightly off-level. It might not look like much, but if left uncorrected, a project you thought was neat could turn out crooked without you realizing it. Therefore, just a slight adjustment to bring the bubble back to the center will make your work much more precise.
Watch your viewing angle
- Don't look at it from an angle! If you look at it tilted or from the side, the bubble might appear centered even when it's actually still off. The best way is to look straight on, keeping your line of sight parallel to the vial, so you can see the bubble's position clearly. That's how you get the highest accuracy!
- If your line of sight isn't level with the surface, you run a real risk of misreading it unintentionally. The bubble may look centered even though it's slightly off, and in precision work, this can lead to unexpected errors! So, when reading the vial, always align your view directly with the tool.
Choose a spirit level with a vial suited to the orientation you are measuring
- Never use a horizontal vial to check plumb/vertical alignment, or vice versa, because the reading won't be accurate. For example, if you use a horizontal vial to check a post, you might think it's perfectly upright when it's actually tilted! Always use the correct vial for the orientation you want to measure to ensure pinpoint accuracy.
How does bubble sensitivity differ?
Different spirit level models have different levels of sensitivity, which many people might not have noticed before. The basic principle is simple: the faster the bubble moves when you tilt the tool slightly, the higher its sensitivity. Conversely, if you have to tilt it significantly before the bubble starts moving, it has lower sensitivity.
Simply put, it's like people's sensitivity: some models react instantly to the slightest tilt, warning you that "it's off!", while others remain steady and require a noticeable tilt before the bubble moves.
High Sensitivity
The bubble moves with the slightest tilt. A tiny hand movement or accidental nudge is enough to send the bubble drifting! It's ultra-sensitive, immediately alerting you whenever "this isn't straight!" without letting anything slide.
Ideal for tasks demanding high precision and flatness, such as furniture making, door frames, or shelving where exact measurements are essential—otherwise doors won't close properly or edges won't align. Even the slightest deviation becomes immediately visible, making this type of spirit level an indispensable precision helper!
Low Sensitivity
The bubble won't move much with a slight tilt. Simply put, it needs to be tilted significantly before you see the bubble start to move. This makes it ideal for work that doesn't demand millimeter precision—acting like a chill assistant that won't alert you unless there's a real tilt.
It is suitable for rough work, such as structural framing or outdoor tasks that don't demand extreme precision—like installing steel frames, running pipe lines, or certain types of bricklaying where a slight tilt is acceptable. In these cases, a less sensitive spirit level prevents you from constantly worrying about a twitching bubble, allowing you to work faster without having to stare at it every second.
Select Water level More