


 EN
 ไทย


Customers Also Purchased
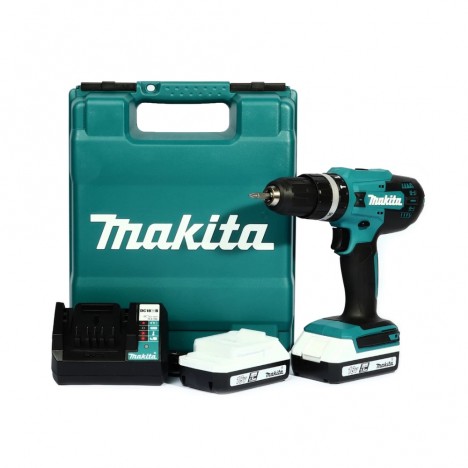
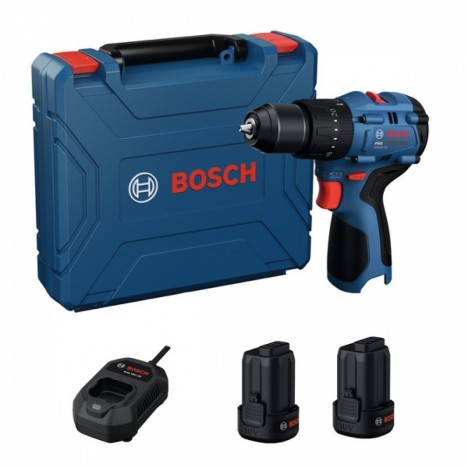


Some people finish using their cordless drill and simply put it back in the box without realizing what it went through during use—wood dust, masonry debris, oil stains, moisture from the weather, or even our own sweat. Over time, the tool starts to become sluggish, the battery drains quickly even after a full charge, or it fails to turn on altogether. Some might think the tool is broken, when in fact, it might just need a proper cleaning.
In this article, I want to show everyone that cleaning a cordless drill is not just about looks, or something to do only when reselling or displaying it in a shop. It is truly a maintenance method that covers performance, safety, and the tool's lifespan. Let's see how to clean it properly so that it performs well and stays with us for a long time without breaking easily.
Why care about cleanliness more than just appearance?
Many people might be used to finishing drilling with a cordless drill and tossing it into a box, forgetting that during use, dust from wood, steel, concrete debris, or atmospheric moisture accumulates inside the tool. Especially for those who use cordless drills outdoors or frequently handle heavy-duty jobs, the risk of dust clogs or moisture accumulating into mold in certain spots becomes even higher. The resulting problems are no small matter: the tool may become sluggish, rotate slowly, drain the battery quickly, or, in the worst case, burn out the motor for no apparent reason. All of this often stems from a lack of proper cleaning.
Simply put, if you want your cordless drill to last for a long time and maintain peak, like-new performance, regular cleaning is the best answer.
Potential downsides of not cleaning your cordless drill regularly:
- The tool runs sluggishly, slows down, or drills less smoothly than before
- The battery drains faster than usual, even when fully charged
- High heat buildup that damages internal components
- A burning smell or abnormal noises during operation
- Risk of short circuits or electric shocks when moisture accumulates

Preparation before cleaning
Before we grab a cloth or a brush to clean a cordless drill, many people may not know that the prep work before starting is just as important as the wiping itself. If we start carelessly or use improper tools, we could inadvertently damage the machine.
Starting to clean without prior preparation can inadvertently be the beginning of damage. Many people get impatient and want the tool to look clean quickly, forgetting about safety or using whatever is at hand without considering whether it's suitable for cordless drill maintenance. So if you're about to dive in, don't rush. Take a moment to read this section first—it will certainly help you do it safely and with confidence.
1. Always remove the battery first
The number one priority before picking up a cloth or brush to dust the tool is to always remove the battery from the cordless drill. Don't think, "It's fine, I haven't pressed the trigger or switched it on." Remember that accidentally hitting a button or letting moisture seep in while wiping can cause an internal short circuit. Removing the battery protects both the tool and yourself from accidents.
2. Prepare the right cleaning supplies
You don't need to invest in expensive equipment or use special chemicals. Keeping your cordless drill clean and ready to use can easily be done with everyday items found around the house or in local stores.
Many people might wonder what is actually needed to clean a cordless drill properly without causing any damage. Don't worry—I've put together a list of essential and practical items right here:
- Dry microfiber cloth: For wiping the exterior of the tool body
- Soft-bristled brush (such as a small paintbrush): Used to dust off grooves or deep crevices
- Toothpicks or cotton swabs: Poking into narrow gaps such as ventilation slots and the chuck
- Canned compressed air (air duster): For blowing dust out of crevices that brushes cannot reach
- Electronic equipment cleaner (if available): Gently wipe around the battery contacts
3. Choose a well-ventilated cleaning area
Before you start cleaning your cordless drill every time, always remember to do it in a ventilated area or outdoors where there is no additional dust. This is because blowing out dust can sometimes scatter small particles, which may stick back onto the tool body if the surrounding area is not clean enough and air does not circulate adequately.
Comprehensive Steps for Cleaning a Cordless Drill
To properly clean a cordless drill, it isn't just about giving it a quick wipe and calling it a day. Several areas should be maintained—both exterior, interior, ventilation system, and battery terminals. Many people tend to overlook these, thinking that as long as the tool still works, it's enough. However, a cordless drill has many points requiring attention if you want it to perform at its best and last for a long time.
So, let's walk through every step comprehensively, from where to start to the little details you shouldn't overlook, ensuring that the cordless drill you rely on every day is properly cared for.
1. Wipe away exterior dust
Start by using a microfiber cloth to give the cordless drill body a preliminary wipe. High-touch areas like the handle, switch, and battery housing often collect dust, sweat stains, or grease. If the tool body has stubborn stains or heavy grease from job site use, you can wipe it again using a clean cloth that has been dampened with water and wrung out tightly.
However, it must be emphasized: never wipe it soaking wet or allow water to drip, as moisture can seep into the ventilation vents or circuit crevices, damaging the motor. After wiping with a damp cloth, immediately dry it thoroughly with a dry cloth.
Areas you should not forget to wipe during exterior cleaning:
- Handle and buttons: Often accumulate grime from use
- Battery cover: Tends to collect a lot of dust
- Area around the chuck: May contain trapped wood dust or metal shavings
- Vents: Do not let dust accumulate here until clogged
2. Brush dust out of grooves and tight crevices
Even if we wipe down the outside until the cordless drill looks spotless, some dust may still hide in narrow grooves and tiny crevices that we might not notice right away, such as vents, button recesses, or around the chuck. If allowed to accumulate, this dust can cause the tool to overheat or stutter during operation.
Use a soft-bristled brush to gently sweep dust out of various crevices, such as vents, battery rails, or the chuck mechanism. For deep-seated dust, gently dislodge it with a toothpick or cotton bud, but be careful not to press too hard to avoid damaging the plastic or the tool's housing.
Areas where you should use a brush or gently probe:
- Ventilation Openings
- Crevices between switches/buttons and the housing
- Around the edge of the drill chuck
- Joints between the battery and the tool body
3. Blow out dust with compressed air
Compressed air, such as a blower or canned air, is a great helper for cleaning cordless drills. It thoroughly clears out deeply embedded dust in tiny crevices that brushes cannot reach—and best of all, without the hassle of prying or disassembling the tool.
Locations to apply compressed air:
- Side and rear air vents
- Chuck gear mechanism area
- Battery mounting slot / recess
- Gear selector switch or forward/reverse switch openings
Caution: Keep the air nozzle a slight distance away from the tool and avoid blowing at angles that might force dust further back inside the housing.
4. Clean the battery terminals
Battery terminals are the connection point between the battery and the tool. If they are dirty or have accumulated oxidation, it can cause unstable power delivery, causing the cordless drill to stutter or fail to turn on altogether.
Recommended steps for cleaning battery terminals:
- Use a microfiber cloth or a cotton bud to gently wipe the metal contacts.
- Never scrape or scrub with hard objects, as this may damage the contact surfaces.
- If there is heavy buildup, use an electronic contact cleaner spray to help.
- After wiping, let it dry completely before using it again.

5. Check the drill chuck
Rotate the chuck to see if it feels stiff or has dust inside. If there is a lot of dust, you can use a soft-bristled brush to brush it off or use gentle compressed air to blow the dust out. If the chuck still feels stiff, you can apply a small amount of machine lubricant to the thread grooves so that it turns more smoothly and grips bits more securely (do not apply too much, as it might attract more dust).
Things to Avoid When Cleaning a Cordless Drill
Many people might inadvertently do things that unintentionally shorten their cordless drill's lifespan. Behaviors we dismiss as "just a small thing" or "it should be fine" can easily become the root cause of long-term damage. Let's see what you should strictly avoid.
- Never wash with water: Even when the tool is turned off, water can penetrate and damage the circuitry, and water is also a major cause of short circuits in cordless drills.
- Do not apply alcohol directly to plastic surfaces: Using alcohol can make the outer plastic brittle, crack, or cause paint peeling, especially on cordless drill models with glossy finishes that are sensitive to chemicals.
- Do not use excessive air pressure near electronic circuits: Too much air pressure can push dust deeper inside and inadvertently force debris into openings or delicate components of the tool.
- Do not use coarse cloths or stiff-bristled brushes: These can scratch the tool's body or the chuck to the point of rendering it unusable, and also risk damaging dust-resistant or anti-rust coatings.

Conclusion
Taking care of a cordless drill isn't just about wiping it shiny or keeping it neatly in a box; it means paying attention to every aspect—maintaining performance, ensuring operational safety, and extending its lifespan as much as possible. You don't need expensive equipment or complicated techniques. Just taking a little time once or twice a month, along with some mindful care, will help your cordless drill last longer and provide much more value than you think.
Always remember that Cordless drill Clean tools don't just look good; they reflect the user's habit of taking good care of their gear and genuinely extend the tool's lifespan.