


 EN
 ไทย


Customers Also Purchased
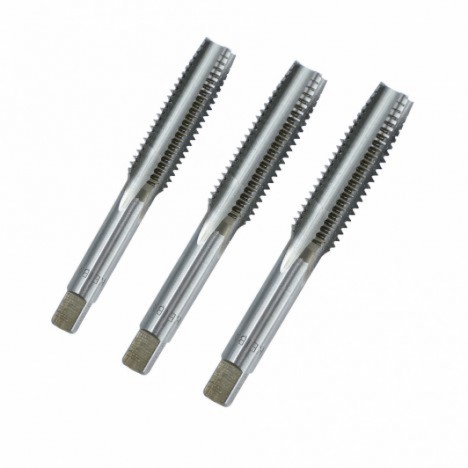
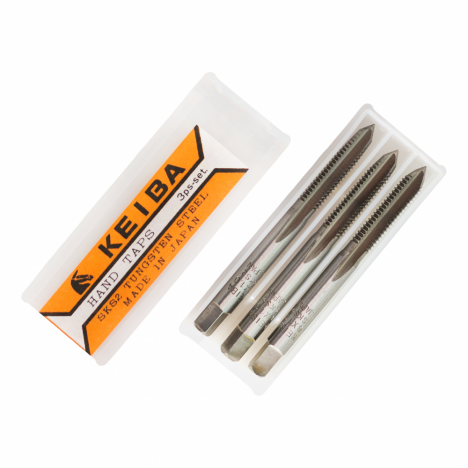
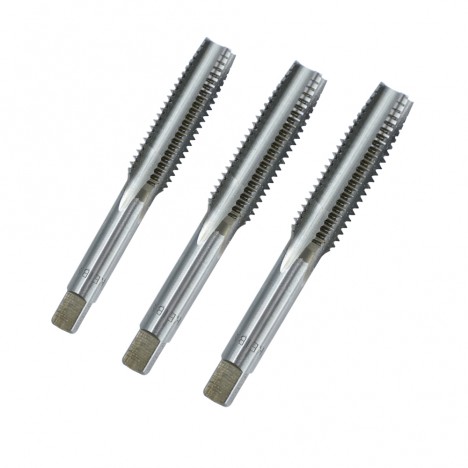
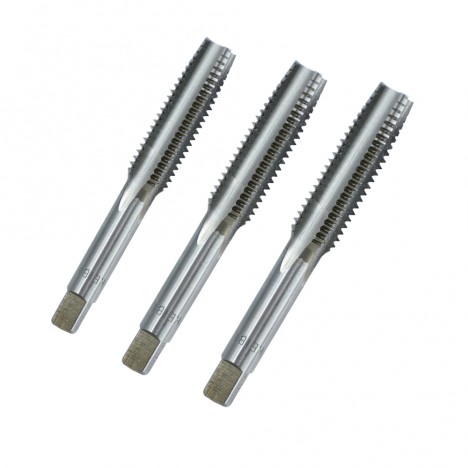
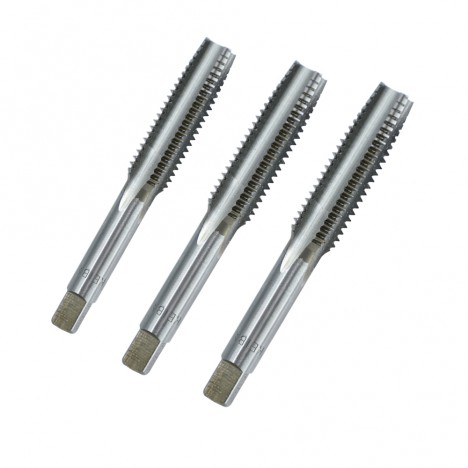
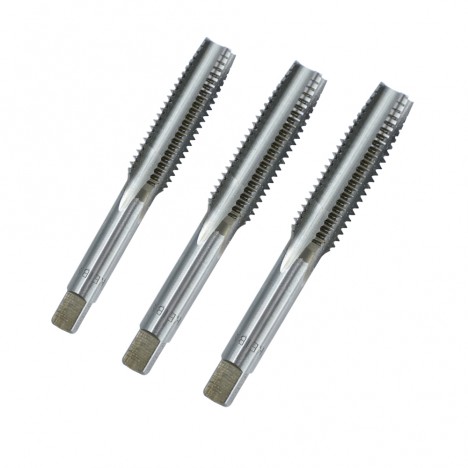
Thread tapping is nothing new for professional craftsmen, but for newcomers entering the trade or trying DIY work at home, the term "thread tap" might sound intimidating, right? Don't worry at all. In this article, I will gradually introduce you to Tap threading in a friendly, easy-to-understand way. Most importantly, it will help you choose the right thread tap for your actual application, achieving clean and precise threads without ruining materials or frustrating you midway!
What is a thread tap? What is it used for?
A thread tap (Tap) is a small tool with the power to turn an ordinary drilled hole into a threaded hole ready to securely accept a bolt or screw. It sounds simple, but choosing or using the wrong type can ruin your work just as easily. Taps are suitable for various materials such as metal, plastic, hardwood, or even plastwood, and they can be used with either a drill or a hand tap wrench as convenient. For anyone who enjoys DIY work at home, having a set handy never hurts.
Components of a Thread Tap
- Chamfer: This part acts like a guide lead. It helps the tap enter the drilled hole more easily without forcing it—like having a guide showing the way. Without this chamfered end, turning it in initially could easily cause it to catch or go crooked.
- Threads: This part is the heart of tapping. These are the cutting teeth responsible for cutting into the drilled hole to form the thread grooves. If the teeth are sharp, the finished thread will be neat and clean, holding bolts securely. But once the teeth become dull, tapping becomes stiff, fails to cut effectively, and risks breaking halfway through. So be sure to take good care of the tap teeth.
- Flutes: These grooves act like emergency exits. They channel swarf and chips generated during thread cutting out of the hole smoothly so it doesn't get clogged inside. Without these flutes, chips would remain trapped in the hole, making the tap bind or snap easily. Therefore, never overlook these small chip flutes!
- Shank: This part acts just like a handle, allowing a power tool or tap wrench to clamp firmly onto the tap. A good shank ensures stability, preventing slipping or spinning free mid-job. Some models even feature flats on the shank to prevent slipping. Anyone who frequently uses hand taps knows this is what keeps work running truly smoothly.
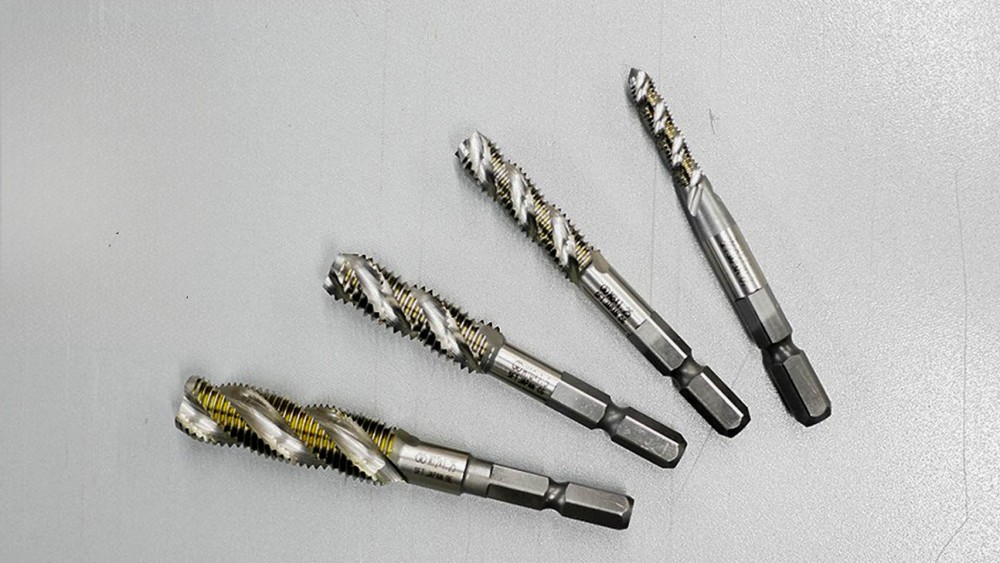
How many types of thread taps are there? When should each type be used?
Straight flute tap
Features a steel bar with straight flutes running parallel to the central axis of the tap. These flutes serve as passages to evacuate chips sheared away during tapping. Versatile for use across various materials such as steel, aluminum, and plastic; ideal for tapping blind holes that are not very deep.
Pipe tap
Specifically designed to create threads for pipe fittings. Pipe threads differ from standard threads as they are tapered, gradually narrowing along their length so that when pipe fittings are screwed in, they form a tight, leak-proof seal. It features a tapered profile with cutting edges designed to produce this taper, commonly used in plumbing applications.
Spiral flute tap
Designed with spiral flutes twisted along the length of the tap. The primary benefit of spiral flute taps is superior chip evacuation efficiency, especially in deep-hole tapping. Chips are pushed forward ahead of the tap, minimizing clogging issues and delivering clean, well-formed threads.
Thread forming tap
A specialized tap that does not cut material to form threads, but rather compresses and rolls the material to conform to the tap's thread profile. The advantage is that no chips are produced, eliminating chip evacuation concerns, while the resulting threads offer greater strength and a smoother finish than cut threads.
Spiral point tap
Features predominantly straight flutes, but with angular ground grooves at the cutting tip. This spiral point design helps drive chips forward ahead of the drilled hole during tapping, keeping chips from packing into the thread grooves and allowing tapping to proceed quickly and efficiently.
How to choose the right thread tap for the job?
- Metal (Steel, Stainless Steel): If your job requires tapping threads into tough steel or ultra-resilient stainless steel, don't just grab an ordinary tap—it might not survive! Opt for HSS-Co or carbide taps instead to withstand high heat, ensure smooth operation, and avoid heartbreaking mid-job tool breakage.
- Aluminum / Brass: These materials fall under the soft category and are much easier to tap than others. If you're a beginner at tapping, starting with these materials is a great way to avoid heavy resistance. A roll form tap or standard HSS tap is more than adequate, producing a smooth finish with little effort and minimal annoying chips.
- Plastic: While plastic seems easy to work with, using an overly sharp or aggressive tap can easily crack or shatter the piece, as plastic does not withstand intense shear forces well. We recommend using a tap with moderate sharpness—not overly aggressive—to keep your workpiece looking great without ruining the material or your mood.
How do thread tap materials differ?
HSS (High Speed Steel)
- Ideal for general work. For beginners or occasional tapping, an HSS tap offers great value, affordable pricing, and versatile capability. You get great performance without overpaying, and with proper care, it will last a long time.
HSS-Co (Cobalt)
- HSS-Co taps, or those containing cobalt alloy, are the true workhorses for heavy-duty jobs. They deliver exceptional heat resistance, making them ideal for hard metals like tough-to-machine stainless steel while resisting rapid tooth wear. Anyone working frequently with hard metals should definitely keep one in their toolbox.
Carbide
- Carbide is considered the champion of hardness—truly the solidest among taps. It is ideal for high-precision jobs, CNC machines, or continuous production that demands professional speed and quality. However, if you plan to use it for general hand tapping, think twice; although extremely hard, it is also quite brittle.
- Despite being extremely hard, carbide's weakness is its brittleness. Used improperly, it can break easily. Using it for hand tapping where pressure may be uneven is strongly discouraged, as the risk of breaking mid-job is very high. Using it with CNC machines or precisely controlled equipment is much safer and more cost-effective.
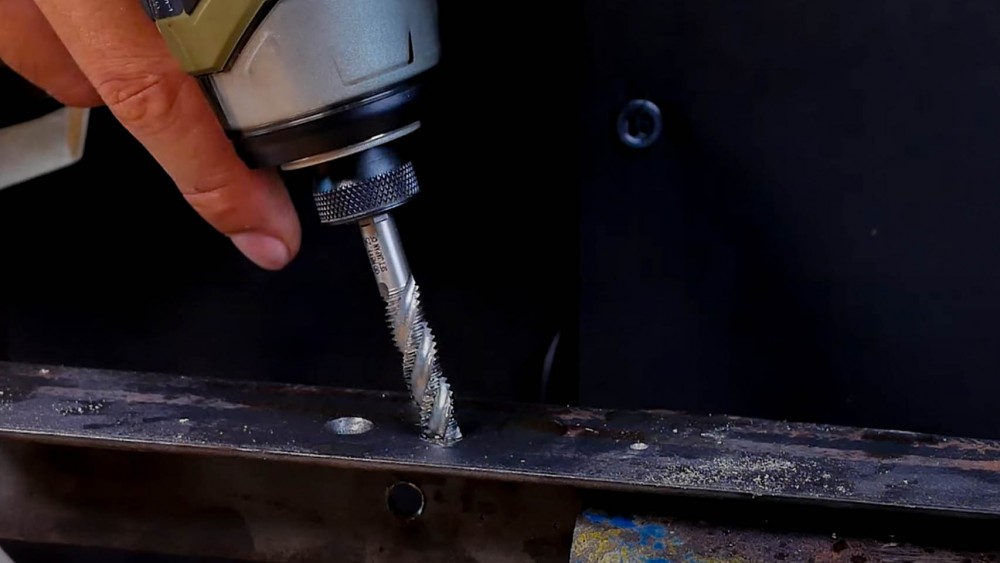
How to Use Thread Taps Without Breaking Them Mid-Job
Prepare the Right Hole Size
- Before tapping threads, you must drill a pilot hole first—do not rush into inserting the tap right away. If the hole is too small, the tap can bind or break midway easily. The safe method is to drill a pilot hole matching the required thread size first; this guarantees smoother work and much more precise results!
- Always check sizes using a Tap Drill Chart. This chart tells you the exact hole diameter needed for your intended thread size—neither too tight nor too loose causing stripped threads. If you do not have this chart yet, print it out or keep it on your phone so you won't have to take risky guesses.
Use Lubricant
- Using lubricant is like adding oil to an engine; it significantly reduces friction between the tap and the workpiece. It ensures smooth, jam-free tapping, reduces the risk of disappointing mid-job breakages, and yields ultra-smooth threads.
- Using dedicated tapping oil is best, but if unavailable, standard sewing machine oil works too. Don't stress too much—just make sure you have some lubricant on hand. It makes the work vastly smoother and avoids the risks of dry tapping that leads to breakage.
Don't Force It! Forward and Reverse
- Tap in about 1–2 threads first, then turn it back about 1/4 to 1/2 a turn to break off metal chips trapped in the flutes. This technique prevents the tap teeth from snapping midway and makes the operation much smoother—clearing the path so the tap can advance without binding.
- It prevents tap teeth from breaking midway and stops metal chips from getting jammed in the flutes, which could stall the work or damage the threads. Just a slight turn back makes tapping run far more smoothly.
Use the Appropriate Speed
- If using a drill: Do not run it at full speed! High RPMs—especially when tapping blind holes—cause rapid heat buildup, heavy friction, and easy breakage. Feather the trigger and turn slowly; a lower speed delivers better results and saves you from costly rework.
- If hand tapping: Turn slowly and steadily, feeling the tap advance smoothly without excessive resistance. If it begins to feel tight or bind, stop and reverse immediately. Never force it, as it can snap easily. Tapping is like navigating a corner—patience ensures quality and safety.
Always Inspect the Tap Teeth
- If teeth are chipped, cracked, or noticeably dull, do not keep using the tap. The risk of breaking mid-job is very high. Replacing it with a new one costs very little compared to wasting time fixing broken tools or ruining an entire workpiece.
Safety Precautions During Actual Use
Beware of Sharp Swarf Cuts
Metal shavings from tapping are extremely sharp—sharp enough to definitely cut you and draw blood. So don't be careless. You should always wear sufficiently thick gloves and safety glasses to protect against flying debris entering your eyes. This ensures you can work safely without having to stop and dress a wound mid-job, ruining your mood.
Do not use excessive force
Tapping isn't about brute force like tightening a bolt; it's the art of control. If you turn and start to feel tightness or stiffness, never force it! Back it off a little to relieve the pressure and clear the metal chips. This helps the tap continue smoothly without risking it snapping midway.
Clean the tap bit after every use
Don't forget to clean the tap bit after every use. Metal shavings left trapped in the flutes or cutting edges will become embedded if neglected, causing the cutting edges to wear down much faster. Sometimes it even prevents you from getting smooth results on your next job. Simply wiping them off gently with a brush or dry cloth will significantly extend their lifespan.
Conclusion
Threading isn't difficult if you choose Tap threading the right type for the job, know proper usage techniques, and regularly maintain your tools. Thread taps will be the tool that helps your work come out neat, smooth, and without ruining materials along the way.