


 EN
 ไทย


Customers Also Purchased
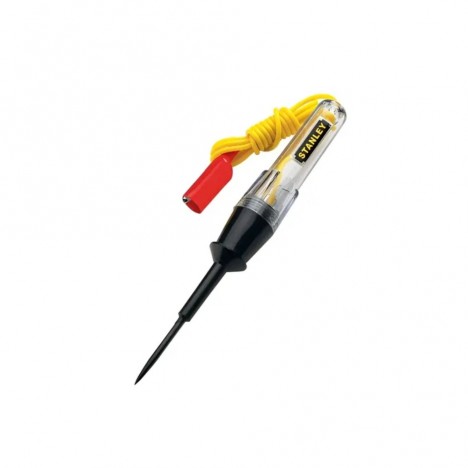
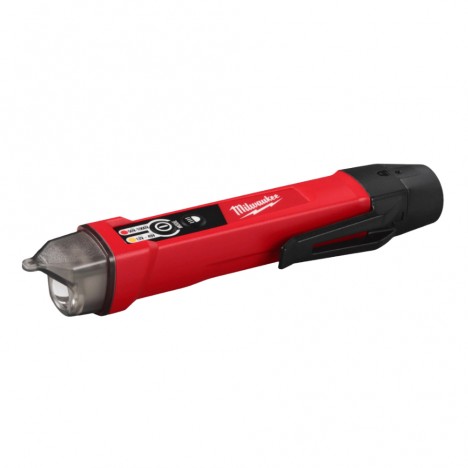


Voltage Tester Screwdrivers It is a simple tool you can use to check whether a circuit is live. These functions fulfill practical needs: if you are preparing to work on a circuit, you can check whether current is flowing to that circuit. And if you are trying to diagnose an electrical problem, you can use a voltage tester screwdriver to see whether power is actually reaching a non-functioning device.

What is a Voltage Tester Screwdriver?
Voltage tester screwdrivers mainly come in 2 types: standard voltage tester screwdrivers and digital voltage tester screwdrivers. However, the most popular and familiar type is the standard voltage tester screwdriver with a light bulb inside the handle. Voltage tester screwdrivers are usually compact, with a flat metal tip and a handle typically made of non-conductive glass or plastic. There is a metal contact at the base of the handle. Inside the handle, a neon bulb and a resistor are connected in series from the screwdriver tip to the metal contact at the base, serving to indicate the presence of voltage.

Components of a Voltage Tester Screwdriver
• Metal shaft: This is the conductive part of the voltage tester screwdriver that contacts the wire or the area to be tested
• Plastic Insulation Sheathing: An insulator covering part of the metal shaft and the entire voltage tester screwdriver. The insulation protects you from accidental electric shocks.
• Metal Screw Cap: This is where you place your thumb to complete the circuit when checking voltage with a voltage tester screwdriver. It serves as the path to ground through your body.
• Neon Lamp: The neon lamp is an indicator inside the voltage tester screwdriver that glows when electrical current or voltage is detected.
• Metal Spring: The metal spring acts as a ground wire, connecting the metal shaft to the metal screw cap.
• Resistor: An electrical component that resists the flow of electric current by allowing only a specified current to pass. In a voltage tester screwdriver, the resistor reduces the current flowing through your body to complete the circuit, which is why you do not get an electric shock during use.

Steps for Using a Voltage Tester Screwdriver
Step 1
Remove any cover that may restrict access to the circuit you want to test. For example, if you are testing a home electrical outlet, unscrew the outlet cover plate and remove it to gain access to the circuit. There is no single method here, as you may be working with many different electrical applications.
Step 2
Identify the contact point for the voltage tester screwdriver. It is essential that the screwdriver tip touches the bare wire or exposed metal connected to the wire, not the insulated portion. For example, when testing an electrical outlet, touching the test screwdriver tip to the screw securing the wire is a good approach.
Step 3
Touch the tip of the voltage tester screwdriver to the wire you are testing. Make sure to hold the insulated handle of the test screwdriver. Look at the handle; if the small neon light inside lights up, it indicates that current is present in the circuit. Otherwise, the circuit is dead.

When to Use a Voltage Tester Screwdriver
A voltage tester screwdriver is not a tool to measure the exact voltage or current flowing in a circuit. A voltage tester screwdriver with a neon lamp is useful when you simply want to know if voltage is present. It only indicates the presence of voltage; it cannot tell you how much voltage there is. In the case of low voltage, the neon tester will not indicate anything. When you need to know the specific value of current or voltage, use a multimeter. A multimeter provides actual voltage and current readings. Therefore, if you suspect low voltage, you must use a multimeter.
