


 EN
 ไทย


Customers Also Purchased
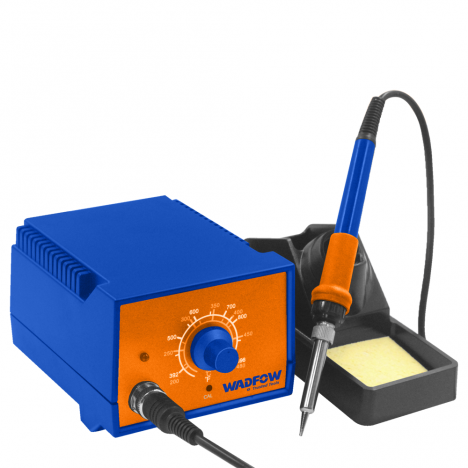
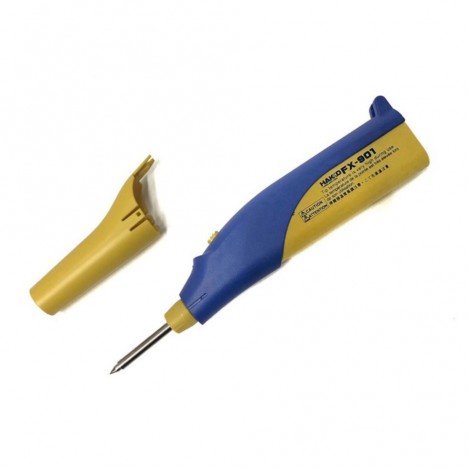
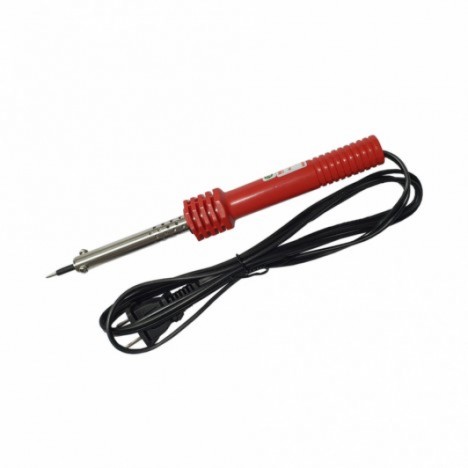
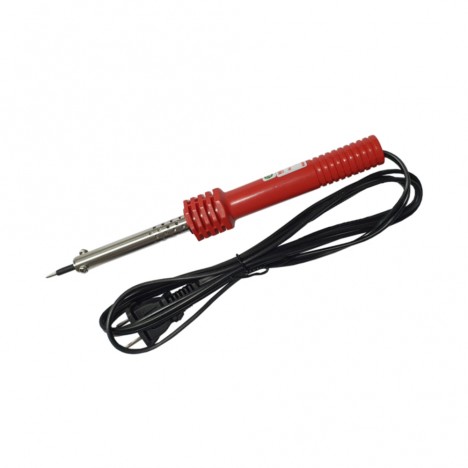
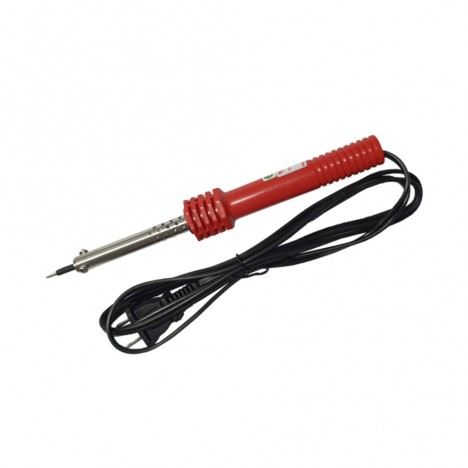
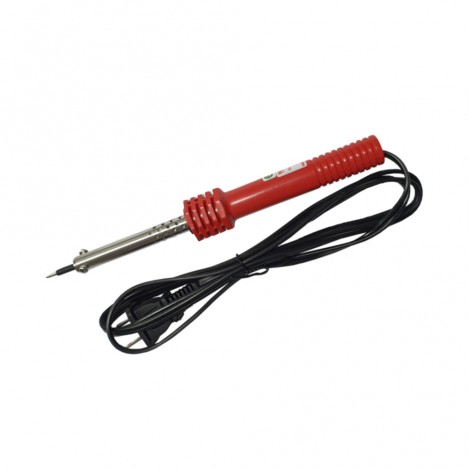
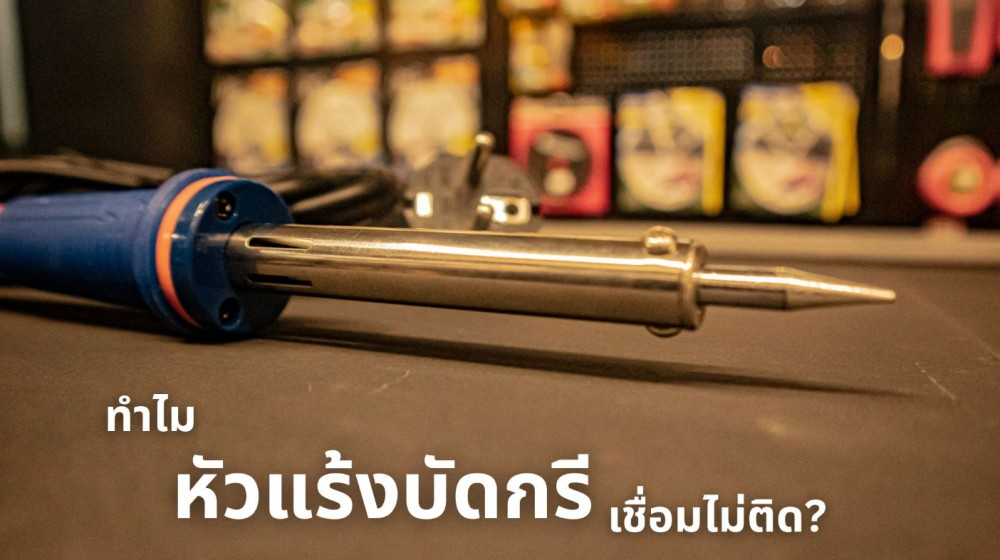
Whenever I walk into a hardware store or a supplier of tools, electrical supplies, or DIY gear, one thing I always see lined up in rows on the shelves is Soldering iron soldering irons, and they're constantly being picked up. It made me realize just how widely used this tool is. And indeed it is—on the benches of electricians, appliance repair technicians, plumbers, and even jewelers working with silver and various metals, the soldering iron is truly indispensable. What is a soldering iron, and what is it used for?
A soldering iron isn't just a heated metal rod; it reflects the precision and care of the user. Often, a technician will pick it up, touch it to the solder, only to find that it won't melt—or press it onto the workpiece and it won't stick. Sometimes they crank up the heat to the max, resulting in a messy joint that flows poorly. It's little issues like these that make many wonder whether the problem lies in their technique or in the tool itself.
The truth is, the problem rarely stems from a single factor alone; it hides in the small details we often overlook. Sometimes it's a poorly maintained soldering iron, and other times it's our own technique. But one thing is certain: the true cause lies hidden in the fine details.
In this article, I'll walk you through and break down each point to explain why a soldering iron won't stick or form a bond. Is it us, or is it the tool? And what solutions are there to keep your work from being ruined, damaged, or forcing you to throw it away and buy a new one?
Soldering iron not sticking: Is it the tool or is it us?
Many people always ask whether solder failing to stick is due to poor tools or their own habits. In reality, both play a part. There are factors originating from the tool itself, like the soldering iron, and factors from the user.
Tool-related factors For example, non-standard soldering irons, insufficient or unstable heat, and dirty or worn-out iron tips are all major factors leading to poor heat transfer to the workpiece, resulting in solder failing to adhere as desired.
User-related factors For example, failing to clean the tip, continuous use without breaks, leaving the iron powered on, and choosing unsuitable flux for the job are all factors that can result in incomplete or poor solder joints.
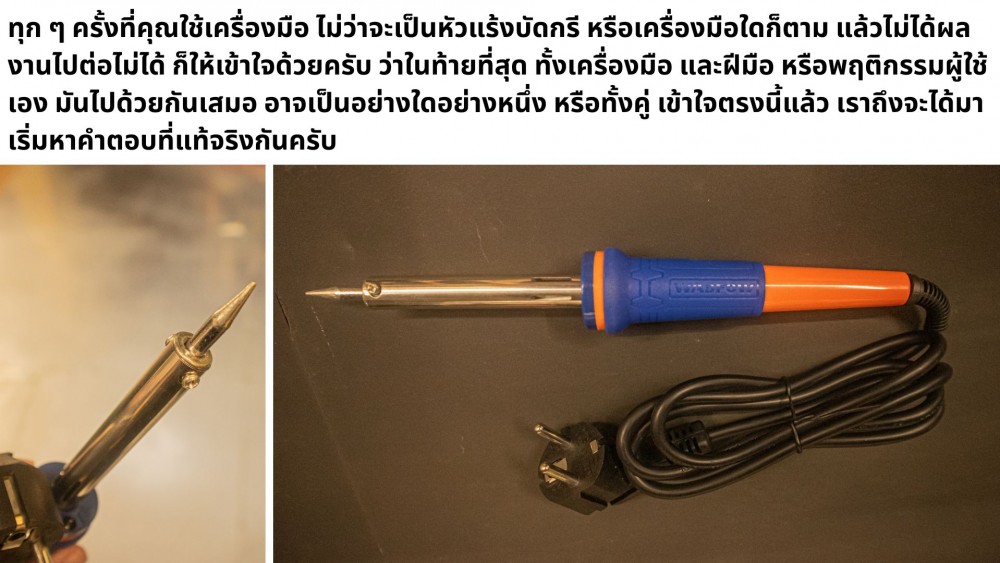
Main problems that prevent a soldering iron from joining
Novice soldering iron users are often puzzled as to why the solder won't adhere even though the iron appears hot. Or, after extended use, experienced users might suddenly find it doesn't bond as well as before—and the harder they try, the worse it gets. These issues aren't just about heat; they also involve the cleanliness of the soldering iron tip, the choice of flux, the quality of the solder, and how the user operates the tool. Let's look at what the causes are.
1. Blackened or dirty soldering iron tip
Why does a soldering iron tip turn black and lose its shiny, like-new look after some use? In fact, this is one of the top reasons why solder won't stick. When the soldering iron tip is dirty or covered in oxide layers, heat transfer to the workpiece becomes difficult, and the solder won't melt properly—even if the tip is fully heated. The root cause here lies mainly in user habits.
Solution:
- Regularly wipe the soldering iron tip with a damp sponge or a brass wire tip cleaner.
- Avoid leaving the soldering iron heated for extended periods without use, as high heat accelerates tip oxidation.
- Apply a little solder to tin the tip after every use to help prolong its life and maintain better heat transfer.
2. Fluctuating heat, inconsistent soldering iron temperature
Have you ever experienced this? When newly used, the soldering iron heats up very well, but after working for a while, the heat drops significantly or plummets. Sometimes when you try to solder again, it doesn't stick or the joint looks messy. This issue is often caused by using cheap soldering irons that cannot regulate temperature, or internal components degrading so heat is not delivered consistently. This problem mainly lies with the tool itself.
Solution:
- If budget allows, it is recommended to use an adjustable temperature soldering iron or a soldering station, as these types provide more stable heat or temperature control.
- Choose an iron with the right wattage for your work, such as 30-40W for electronics work and 60W or higher for large wire connections.
- Regularly rest the soldering iron during prolonged continuous use, as heavy usage can cause the temperature to drop rapidly.
3. Improper flux usage
Another common problem—and a major reason why solder won't stick—is not using flux at all or using the wrong type.
Beginners may not know what flux is, so I'll briefly explain: flux, the soldering iron, and solder wire are the three essential components of soldering. Flux is a chemical agent that cleans metal surfaces before soldering and helps solder flow and adhere to the workpiece surface better. There are several types of flux; some types of arc welding also require flux.
For soldering work, however, the flux used is typically a liquid, paste, or grease. Some solder wires come with a flux core or are pre-coated with flux, saving the trouble of buying it separately. It is readily available in general stores and not very expensive.
However, if you do not use flux or use an inappropriate flux for the job—such as using soldering paste/grease flux on electronics—it may cause the solder not to adhere, or the chemicals could corrode delicate materials like circuit boards in the long run. Therefore, it is best to understand flux properly, read the manual, and consult experts.
Solution:
- Use Rosin-based flux for electronics work.
- Use paste/oil-based flux for pipe soldering or general metalwork.
- Don't forget to clean off excess flux after soldering to prevent corrosion.
Other Commonly Overlooked Causes
Besides the three main things I have mentioned, there are other aspects of the soldering iron that directly affect soldering work, but many technicians overlook them, even though in reality, these problems are very easy to solve.
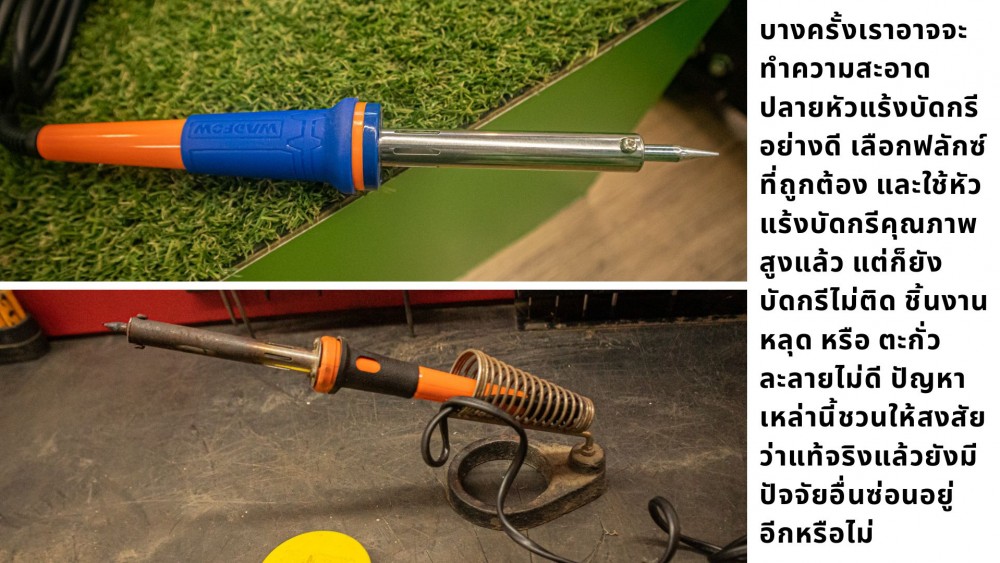
Therefore, let's continue with the small details of using a soldering iron and choosing equipment that are often overlooked.
- Soldering Iron Wattage Not Suitable for the Job Some people use a 30W soldering iron to solder thick, heavy wires; in the end, the solder won't melt or stick to the workpiece because the power isn't sufficient to transfer heat to the metal being soldered. Conversely, using a 100W soldering iron on small circuit boards can easily burn the PCB.
- Loose Soldering Tip For some soldering irons with replaceable tips, if not tightened securely or if the tip is worn out, it will cause poor heat transfer to the soldering tip. The solder will melt with difficulty, making it hard or impossible for the solder to adhere.
- Low-Quality Solder Substandard solder or old solder contaminated with impurities can also cause soldering to fail, even when the soldering iron is fully heated.
Professional Solutions
Up to this point, many people might think that soldering iron problems are inevitable, right? That's really not the case, because every problem has a solution. Just by understanding the principles and using the right techniques, you can make your work look neat and strong again.
Solving the problem isn't just about the tools, but also about adjusting our mindset and work approach. Soldering is like a fine art that requires knowledge, observation, and patience. When you combine all of these, a soldering iron that once caused problems will become a tool that produces neat, durable, and satisfying work. So, let's look at and reinforce some basic techniques for seamless soldering.
Choose the Right Soldering Iron for the Job
What Should You Check Before Using a Soldering Iron? The answer to this question directly determines whether your soldering job will succeed or not.
- Small Circuit Work: 25-40W soldering iron with a fine pointed tip
- Wiring or Thick Metal Work: 60-100W soldering iron with a flat or large tip
- Continuous Professional Work: A temperature-controlled soldering station is best
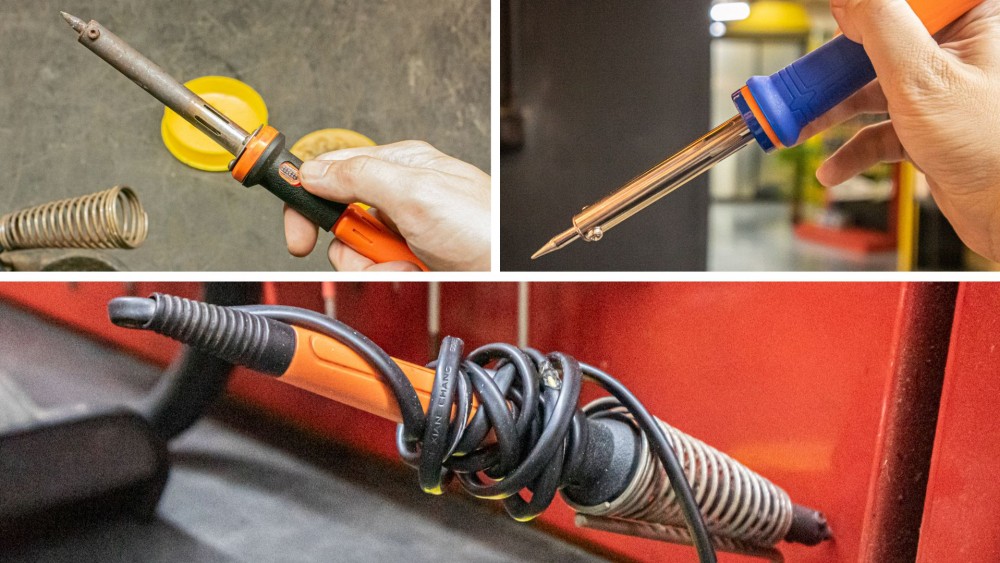
Properly Maintain the Soldering Iron
- Tin the soldering tip with solder after use
- Use a damp sponge or brass wire cleaner to wipe the tip.
- Store the soldering iron in a dry place, far away from water and moisture.
Techniques for easy soldering adhesion
- Touch the soldering iron to the workpiece first before feeding the solder.
- Use the right flux for the job.
- Do not leave or hold the soldering iron on the workpiece for too long, as it may damage the workpiece.
Summary
Many times when we encounter the problem of solder not adhering, it's not just due to usage habits, but from small details we overlook—whether it's a blackened tip, inconsistent heat, improper flux selection, or using the wrong type of soldering iron for the job. However, solving the problem is not difficult at all; just understand and take better care of your tools, and your soldering work will definitely come out neat, firm, and durable.
I think everyone who has ever used Soldering iron must have felt frustrated by solder not sticking at some point. But once you know the real causes and solutions, I can tell you that soldering will no longer be difficult.