


 EN
 ไทย


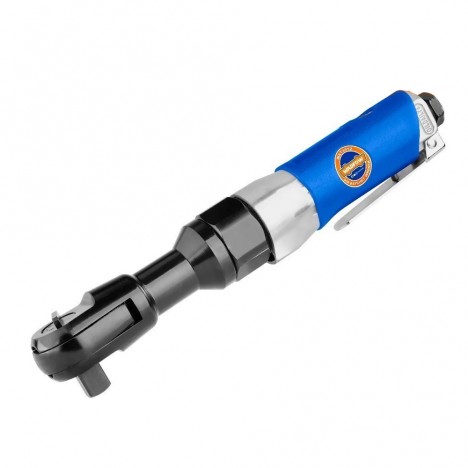
Customers Also Purchased



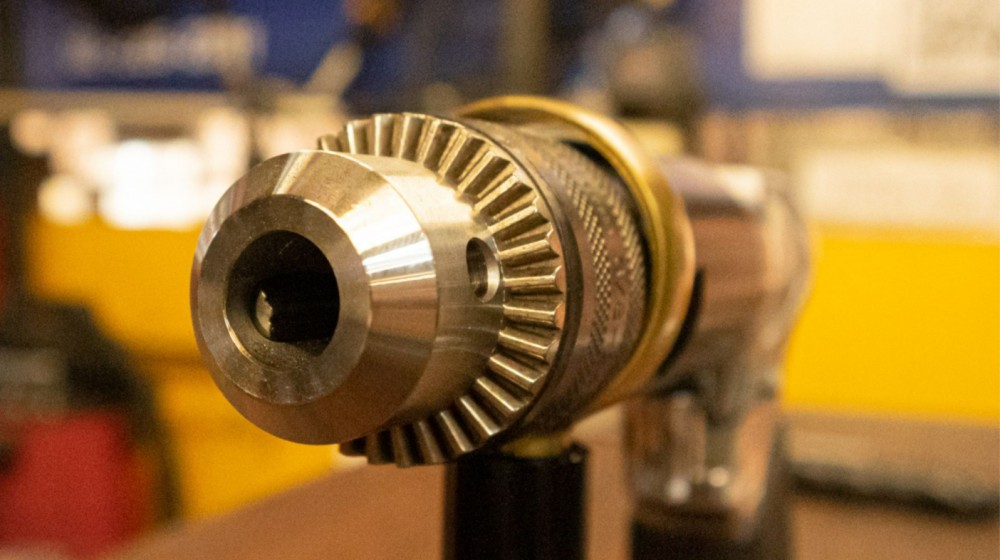
Some might think it's as simple as plugging in the air line, pulling the trigger, and you're done. In truth, using an air drill safely and at maximum efficiency requires proper understanding, preparation, and minor techniques that are rarely shared. Neglecting these key points can lead to tool damage, ruined work, or even injuries from careless operation.
In this article, I will walk you through 5 essential techniques for using an air drill safely inside and out! Don't wait until the tool breaks down or a missed hole ruins your work to regret it later—you'll be fully prepared. Whether you're a novice technician or an industrial pro, you'll definitely benefit from this guide.
First, Understand the Basics: What Is an Air Drill and How Does It Differ from an Electric Drill?
Before diving into the techniques, let's get acquainted with this tool. Believe it or not, many people who use an air drill every day still don't know how the tool in their hands actually works or what its pros and cons are. This fundamental understanding is the key to operating it safely and getting the most value out of it.
What Is an Air Drill?
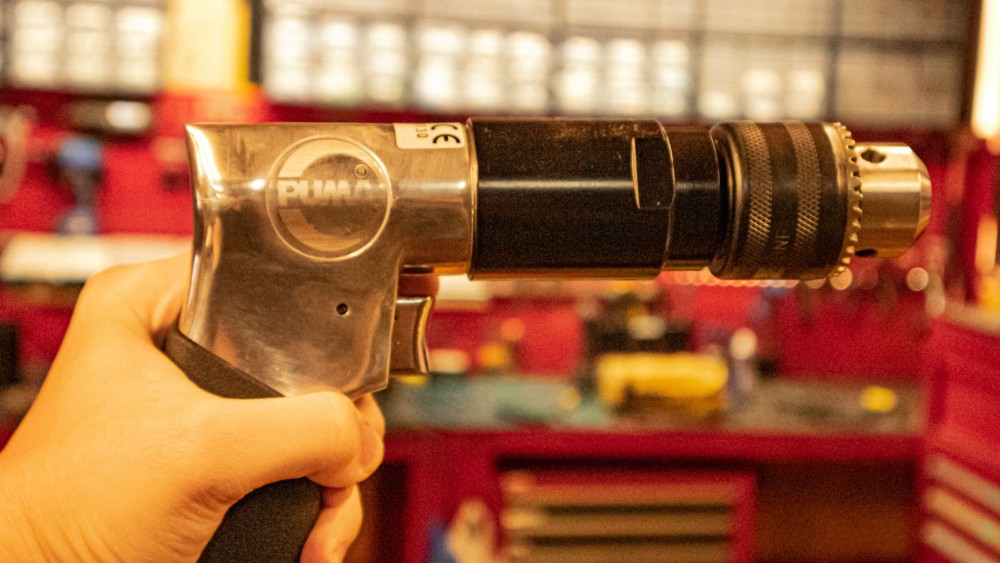
An air drill (or pneumatic drill) is a drilling tool powered by compressed air instead of electricity. Its operating principle is similar to an electric drill, except it uses air pressure supplied by an air compressor to rotate the chuck. This gives it several distinctive advantages, such as:
- Lighter than electric drills, as it has no electric motor
- No risk of electrical leakage or electric shocks
- Can run continuously without overheating easily
- Ideal for production lines or all-day continuous use
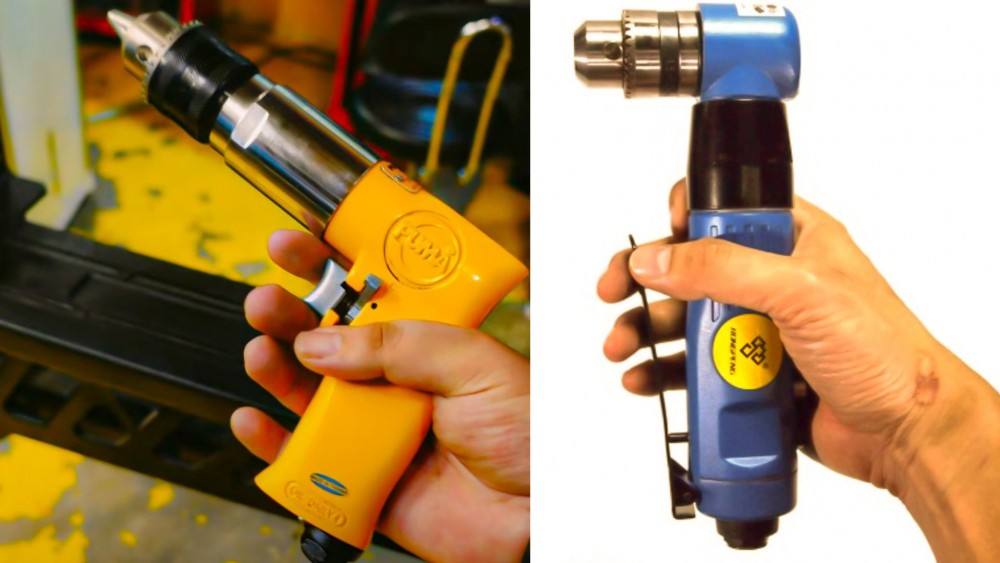
Air drills come in various configurations, including pistol grip, straight type, and even angle type designed specifically for tight spaces. Knowing which type suits your specific job will greatly help minimize selection errors and reduce the risk of accidents or tool breakdown during operation.
And remember, even though an air drill has no electricity to cause shocks, hazards can still arise if the pneumatic system or operation is faulty. Therefore, the better you understand your tool, the more safely and efficiently you can use it.
Drawbacks to Keep in Mind
While operating without direct electricity offers numerous benefits, air drills are not without their flaws. They rely on an air compressor and air hoses, making mobility difficult in certain areas. They are also relatively noisy and require regular maintenance of the pneumatic system.
Now, let's take a look at professional air drill techniques that will keep you from regretting mistakes later on.
1. Choose the right air drill size for the job
Not just any air drill can be used for any task. Many people make a mistake right from choosing the tool—using a high-speed drill on thick steel, or a low-speed drill on light wood, resulting in poor-quality holes that waste both time and materials.
Often, we choose tools based solely on torque or speed figures, forgetting to consider the actual material and nature of the work. This is very risky because using the wrong tool for the job can lead not only to misaligned or rough holes, but also broken drill bits or accelerated wear on the air drill itself.
In addition, selecting the right chuck size also makes a difference. For example, delicate work requires a small chuck for precision, while heavy-duty work calls for a larger chuck capable of handling more force. Understanding and considering these factors will help you drill with confidence and safety every time.
Recommendation:
- If your work involves drilling wood, plastic, or acrylic, choose a high-speed air drill. Typically, high-speed air drills on the market run at around 700–1,000 RPM, which may not seem very high compared to electric drills.
- For drilling thick metal, opt for a low-speed model in 3/8-inch or 1/2-inch size, equipped with a clutch system to prevent kickback.
- For industrial or production line work, use a model with speed control or a progressive trigger to precisely control drilling force.
Ask yourself, "What am I using this air drill for?" before choosing a tool. Don't just assume that the most powerful one is the best.
2. Always check the air system before use
One of the most overlooked yet critical steps is checking the air system before starting work. Every air drill relies on air pressure as its primary power source. Even a minor issue in the air system—such as low pressure, uneven airflow, or contaminated oil in the air line—can cause the tool to stutter or stop running altogether.
Checking the air system isn't just wasting 2-3 minutes; it is an investment in safety and operational continuity. If you use an air drill on a production line or for high-precision workpieces, a stutter lasting just a fraction of a second can ruin the entire piece instantly.
Sometimes simply forgetting to check the air pressure or refill the oil can cause internal bearings to overheat, wear out prematurely, and fail within a few months. Therefore, if you don't want to replace tools frequently or waste time claiming warranties, inspecting the air system before every use is an essential step you should never overlook.
Key points to check:
- Air pressure: Most air drills require around 90 PSI (6.2 Bar). If it's too low, the drill won't run at full power; if too high, internal parts may wear out quickly.
- Air hose: Ensure there are no leaks, kinks, or loose connections, as these can cause pressure drops or disconnect during use.
- Air filter: Make sure there is no accumulated water or oil, which could enter the drill and cause damage.
- Lubricating oil: Air drills need a small amount of oil for internal lubrication. Don't forget to add oil before every use, or install an oil feeder.
Remember: "Good air means a good tool." If you maintain your air system well, your air drill will deliver long, trouble-free service.
3. Secure the workpiece firmly before drilling
Did you know that drilling mistakes often stem not from the drill or bit itself, but from the workpiece shifting during drilling? Even the slightest movement while a drill bit is spinning at high speed can cause the bit to deflect, drift off-center, or even crack the surface of your workpiece.
Additionally, in some cases when using an air drill on hard materials such as sheet metal or steel pipes, if the workpiece is not stable enough, the tool may kick back or jerk violently, causing the user's hand to strike the workbench or, worse, leading to a serious accident.
Hand positioning and the height of the workbench or work area are just as important. A work surface that is too high forces you to keep your elbows raised constantly, making it harder to control downward pressure. Conversely, a surface that is too low can cause you to hunch over and lose your balance. Therefore, securing the workpiece firmly and positioning it ergonomically for the user should never be overlooked.
Solution:
- Always secure the workpiece firmly with a bench vise or clamp before drilling.
- Find a stable, non-wobbling work surface with a non-slip base.
- Position your hands stably, and never place your fingers near the drilling point under any circumstances.
Securing the workpiece firmly ensures precise drilling, reduces vibration, and minimizes the risk of the drill bit wandering off-center or skewing.
4. Do not apply excessive pressure; let the air drill do the work
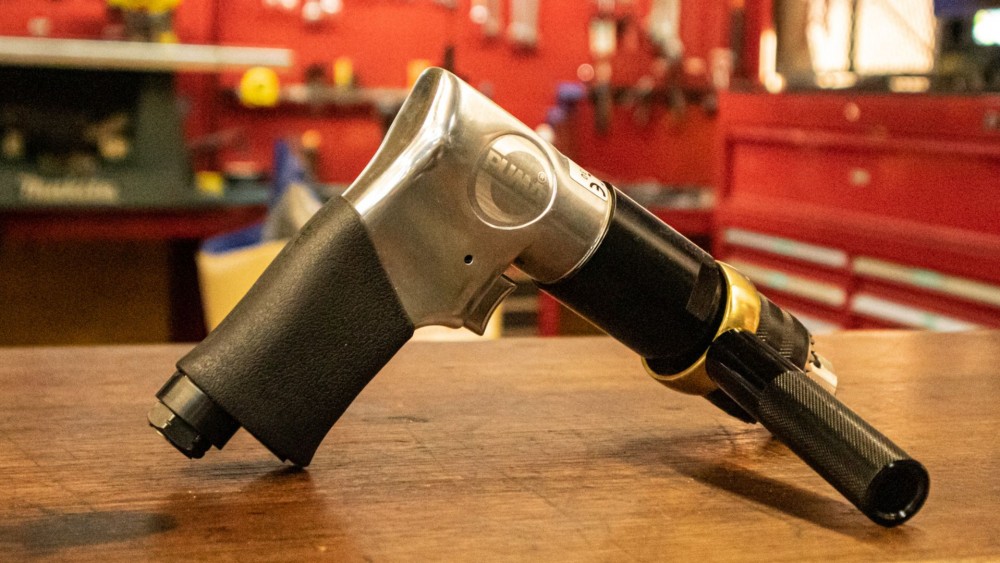
An air drill is not a tool that requires heavy downward pressure, as it is designed to operate at high RPMs and spin rapidly. Forcing it with heavy pressure will not only result in poor hole quality, but it also risks breaking the drill bit. Excessive force also accelerates spindle wear and impairs the tool's long-term performance.
Another crucial point is that excessive pressure can cause internal components to absorb backpressure from hard materials, potentially damaging the drive bearings or causing the tool to overheat during prolonged use.
Therefore, applying just the right amount of pressure, allowing the tool to spin freely as designed, and guiding it steadily with your wrist will ensure clean, precise holes while keeping both you and the tool safe.
Tips for applying the right amount of pressure:
- Apply light hand pressure just enough to maintain control, without leaning your body weight onto the tool.
- If the drill isn't penetrating, check whether the drill bit is suitable for the material rather than blaming the tool.
- Guide the direction with your wrist rather than simply pushing straight ahead.
Controlling your hand pressure properly is the key to accurate drilling. Ask yourself: “Am I assisting the tool or weighing it down?” then adjust your technique accordingly.
5. Always perform post-use maintenance to extend tool life
Finally, maintenance is an aspect that many people often overlook. Keeping an air drill in ready-to-use condition is not difficult once you know the basic steps and make them a habit.
A good tool's quality isn't just about how it performs when brand new, but how it is used and maintained every day. Even though an air drill looks rugged on the outside, its internal components require regular lubrication and dust protection.
Neglecting small steps like wiping away dust after use or not purging air from the tool before storage can be the beginning of internal damage that may not be immediately visible, but will gradually degrade performance over time.
Post-use maintenance steps:
- Purge air from the tool: Before disconnecting the air hose, pull the trigger to blow out air and purge residual oil from the tool.
- Add lubricating oil: Add 2–3 drops of pneumatic oil through the air inlet before storing.
- Wipe down the exterior: Use a dry cloth to wipe off dust, debris, or any attached material residues.
- Store in a case or a moisture-free area: Moisture can cause internal rust.
A well-maintained air drill will last for years without frequent repairs, and most importantly—its performance will remain as consistent as the first day you used it.
Summary: Using an air drill like a pro requires keeping these 3 things in mind
- Use the right tool for the job: Don't pick the wrong model or drill into the wrong material.
- Keep the air system ready: Good air supply means uninterrupted work.
- Maintain consistently: Store it properly once you're done using it.
These three principles may seem basic, but they are the heart of using an air drill effectively and safely. Whether for small DIY tasks or production lines that demand precision and continuous operation, having the discipline to choose the right tool, prepare properly, and maintain it after use will significantly reduce tool breakdowns or drilling mistakes.
Remember that an air drill isn't just another tool; it's a partner by your side every day on the job. The better you care for it, the more it rewards you with precision, stability, and a long service life.
Let me ask you, the reader: What kind of air drill have you used? And what kind of mistakes have you encountered during use? Knowing how to use your tools properly isn't just about safety—it also preserves your tools so they last much longer.
Air Drill Quality results sometimes come down to proper usage rather than just the price tag.